Evolution® IP-20LH Installation Guide
Ceragon Proprietary and Confidential Page 80 of 101
Note: The 90
o
cable connectors are mounted on the interface plate
connectors.
9 Connect a new XCVR-IDU and power cables for the new channel.
10 Remount the front plates and secure all the screws you removed
previously.
11 Pull the XCVR-IDU cables through the holes.
XCVR-IDU Cables
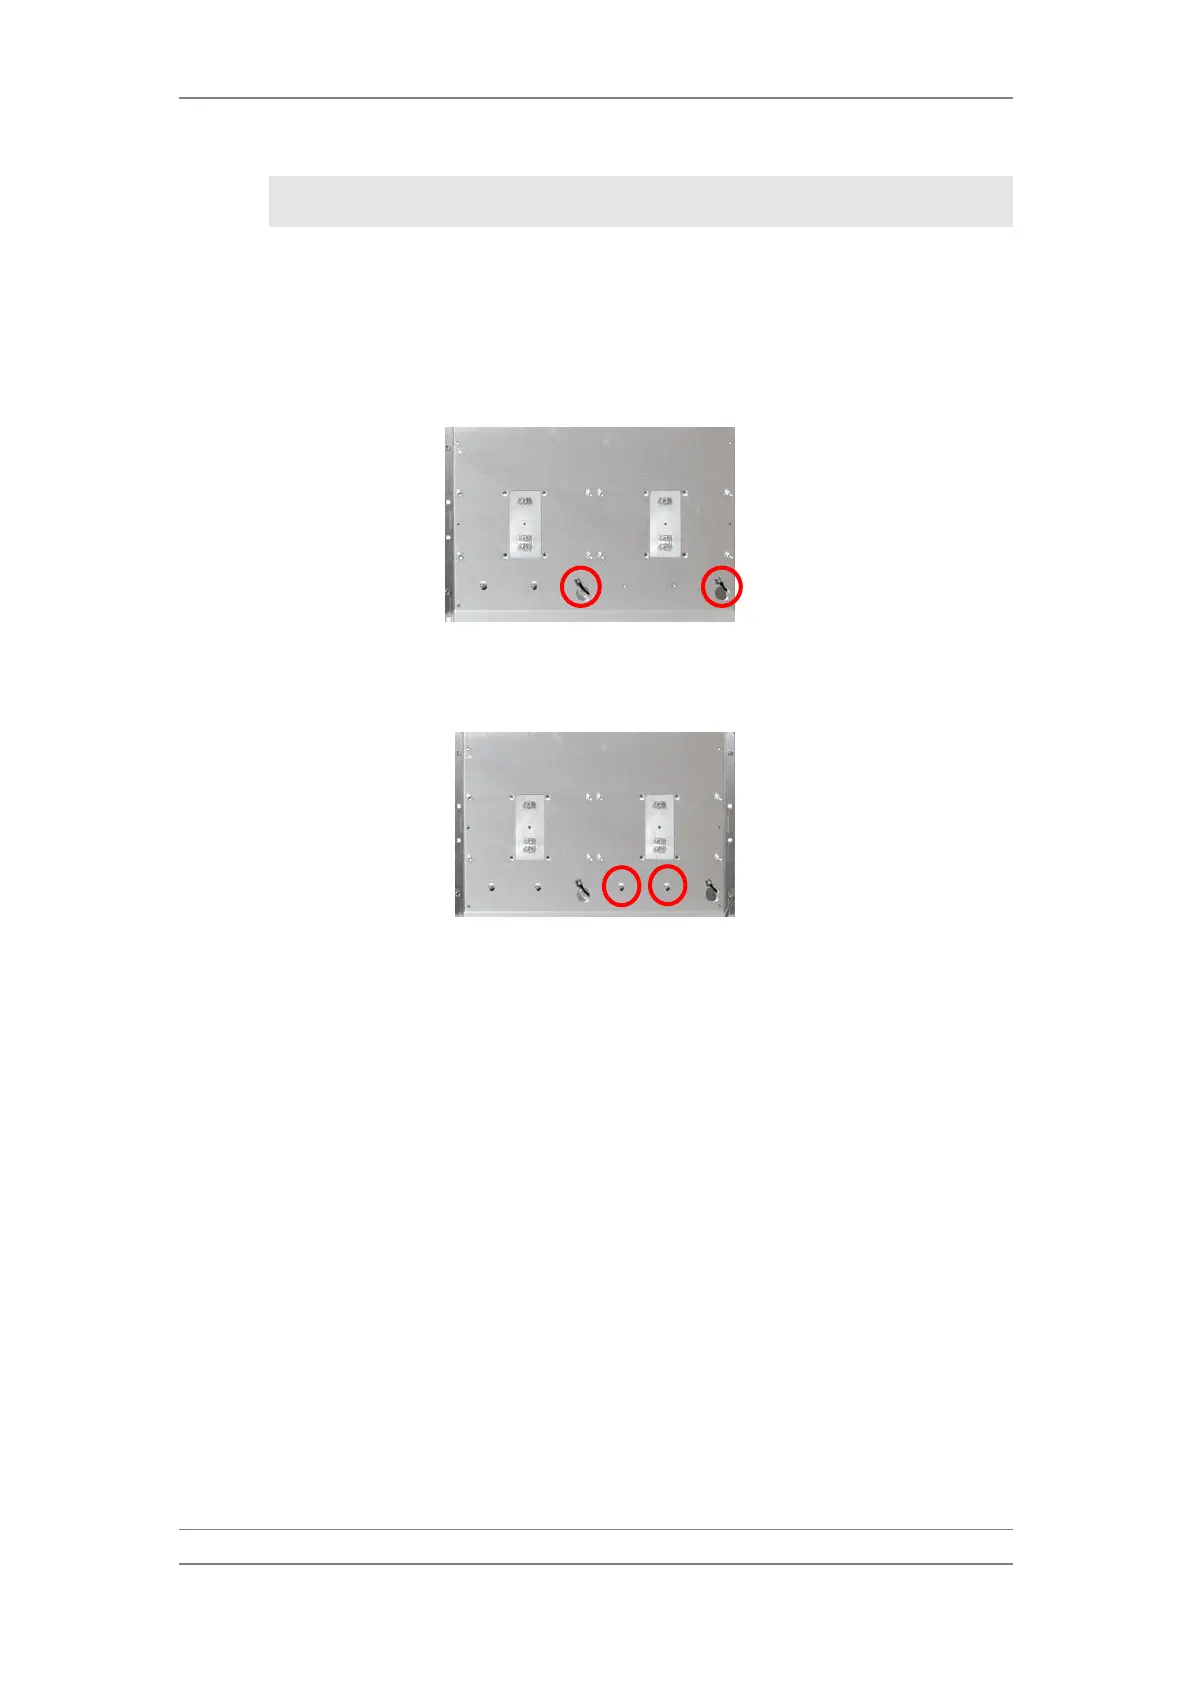
12 Mount two new guide pins for the new XCVR.
XCVR-Guide Pins
13 Mount the XCVR devices and secure their screws.
14 Connect the XCVR-IDU cables.
15 Power up the system by raising fuses M1 and M2.