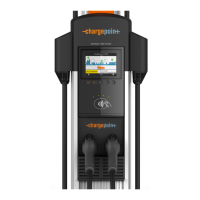
ChargePoint Gateway Installation Guide
45
Required Tools
• Drill
• Phillips screwdriver
• Two adjustable wrenches to remove the internal nut when permanently hard-wiring
Install the Gateway
Follow the steps below to install the ChargePoint Gateway at a permanent location.
Note: For temporary installation to test connectivity, skip to the Power On section below. However,
ChargePoint recommends hardwiring the installation once the final location is established.
Mount the Unit
1. Use the installation template to mark the location of
the four mounting holes.
2. Drill the four mounting holes and insert the anchors.
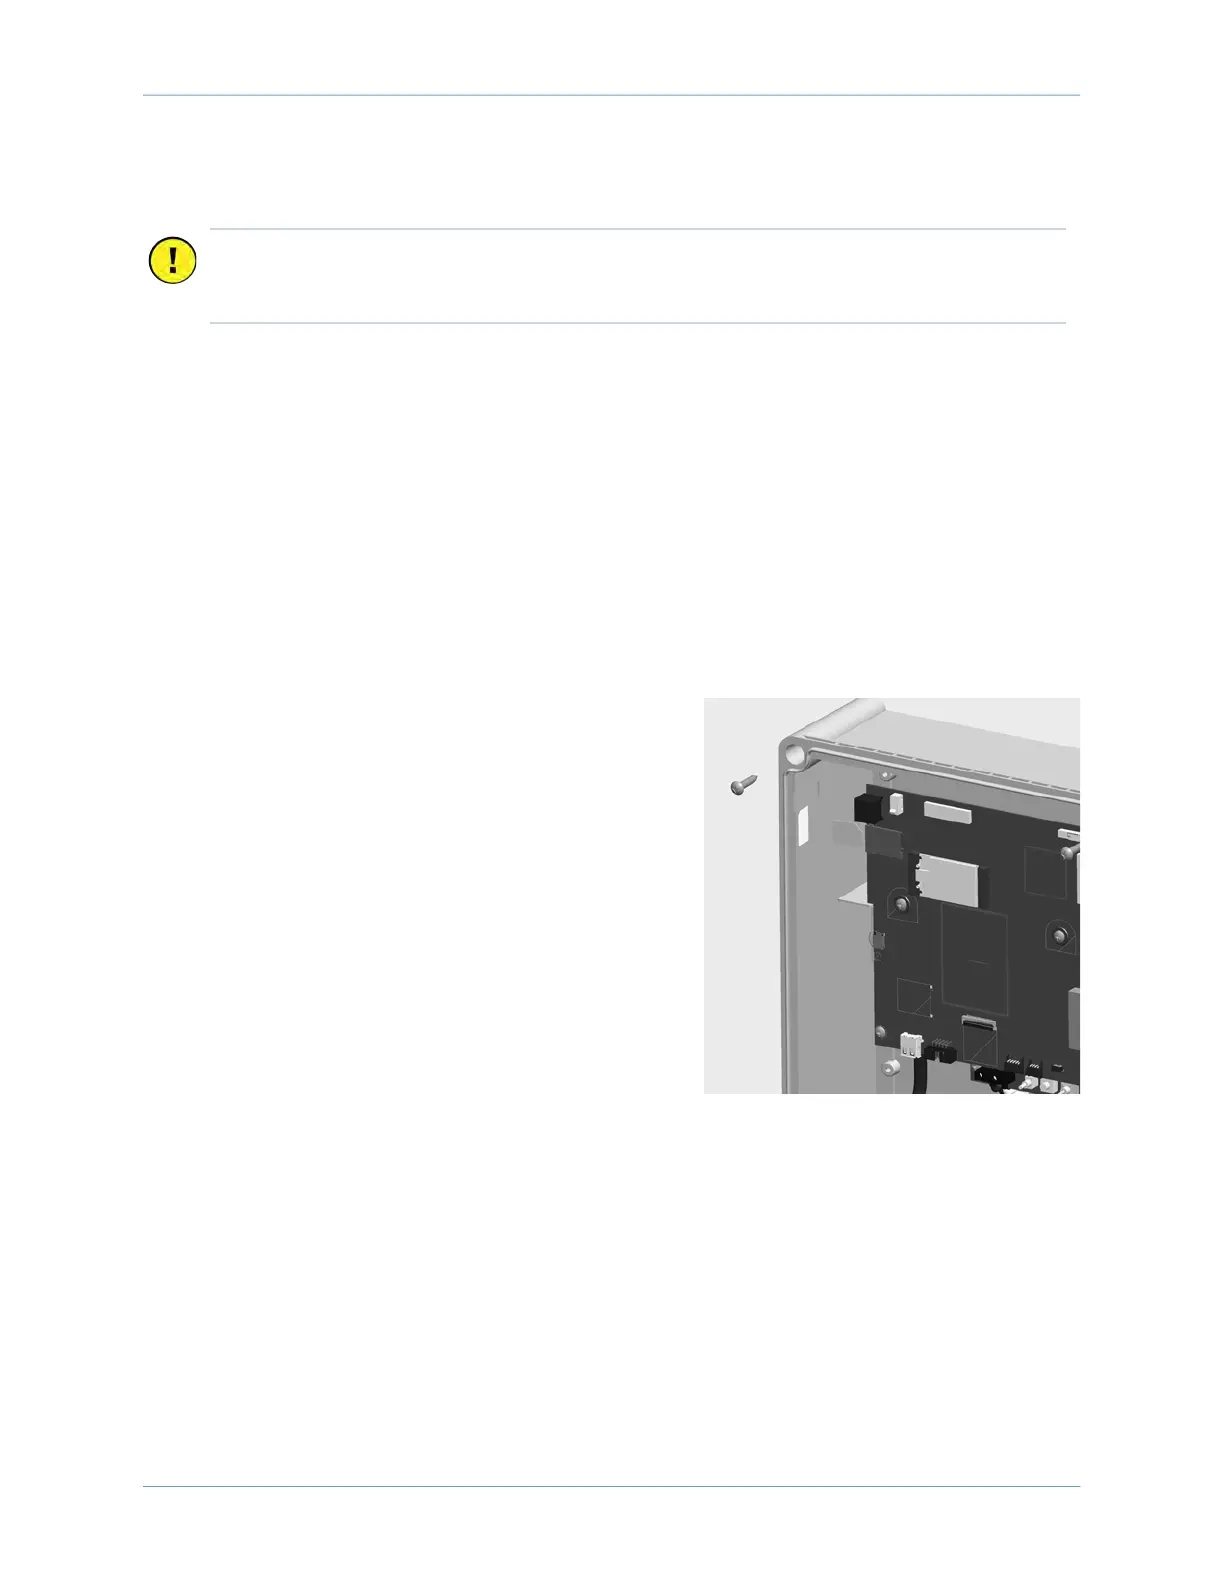
3. Loosen the screws on the front of the ChargePoint
Gateway to remove the front cover.
4. Align the main unit with the mounting holes and
fasten using four of the supplied 10 x 25 mm (1 in)
screws and a Phillips screwdriver.
Remove the Wall Plug
1. Disconnect the wall plug’s wiring from the terminal block.
2. Using two wrenches, one on the inside and one on the outside, remove the internal plastic nut.
3. Remove the power cord from the ChargePoint Gateway.
Important: Keep the spare activation label. It contains critical information that you need to
pinpoint the gateway, which prepares it for activation on the ChargePoint network. See
Activate the Gateway.