48
Activate the Gateway
After completing the physical installation of the ChargePoint Gateway, you must prepare it for
activation on the ChargePoint network by pinpointing its exact location.
Required Tools and Information
• The ChargePoint Gateway’s MAC address and activation password (this is
printed on an activation label that is attached to the main unit, and a spare
label is included in the shipping box)
• The exact location where the ChargePoint Gateway is physically installed
• A smartphone with Internet access
• Installer account information (user name and password) on ChargePoint
(provided upon completion of training)
Pinpoint the Gateway
1. Using your smartphone, navigate to the ChargePoint mobile
site: https://m.chargepoint.com.
2. Log in using your installer credentials.
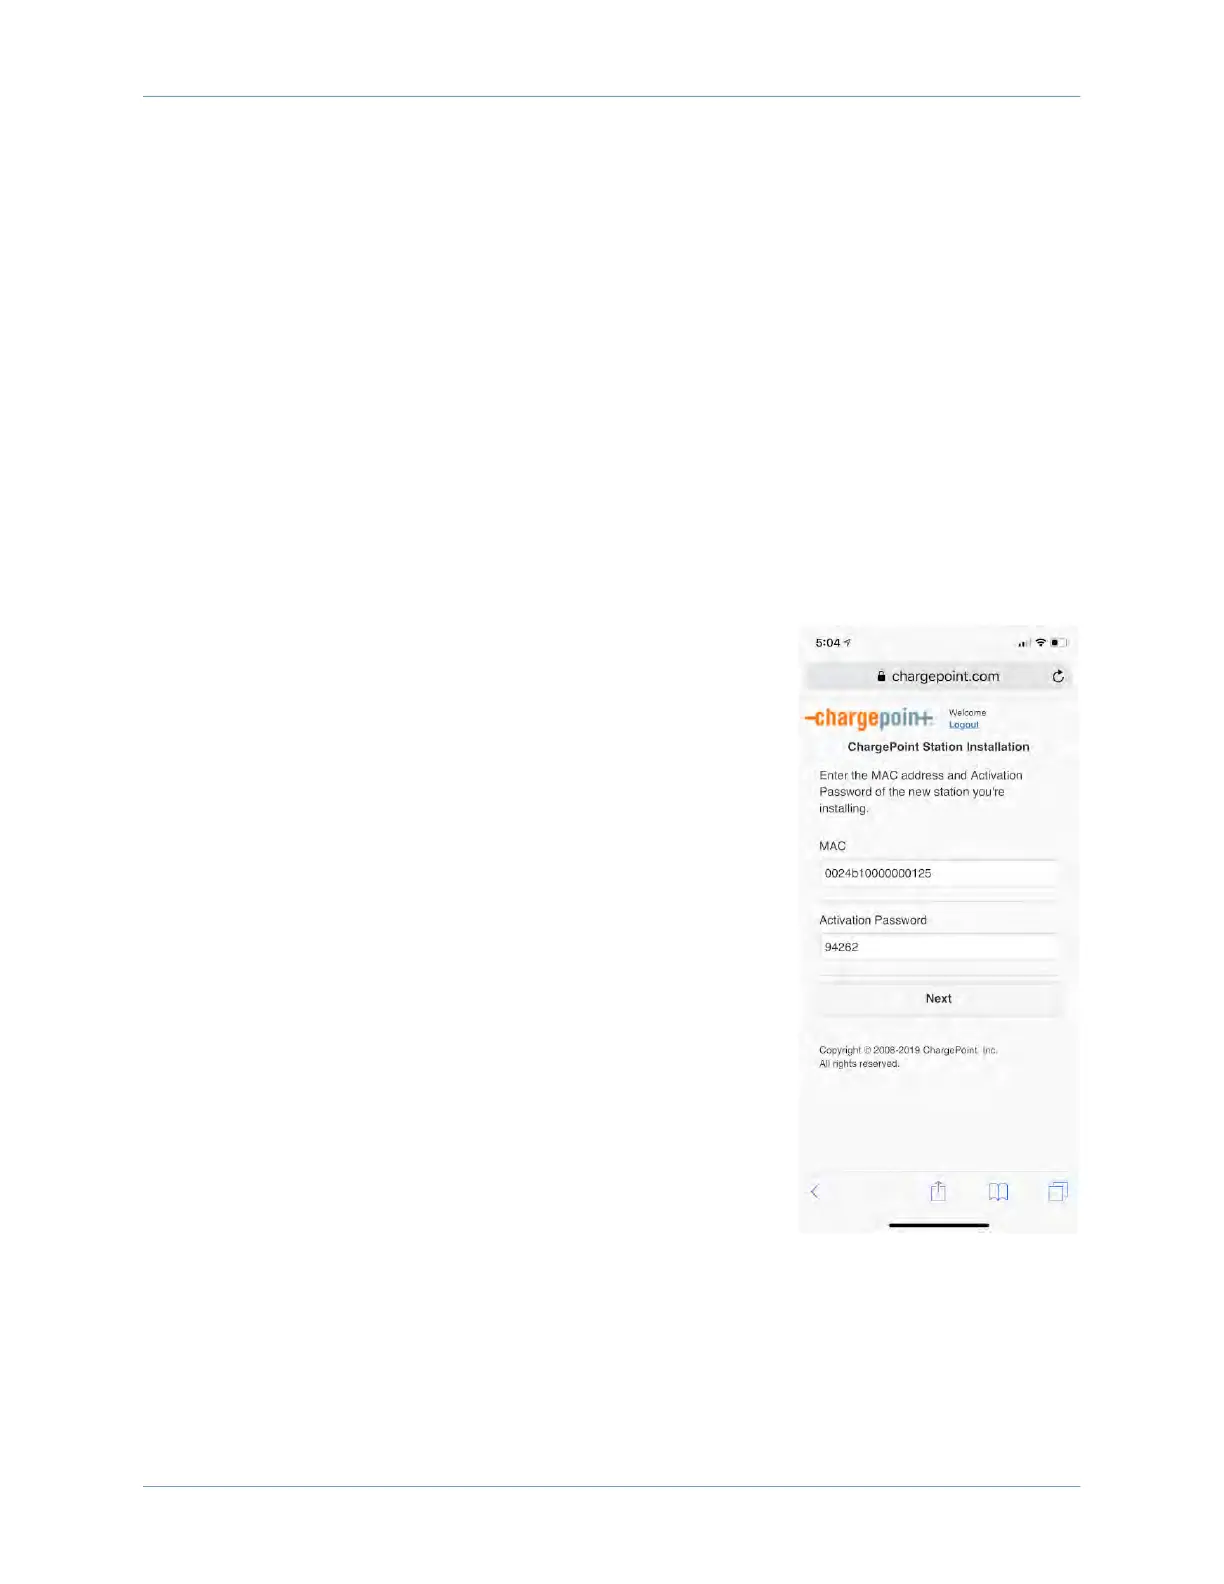
3. Enter the MAC address and activation password from the
activation label.
4. When prompted, touch OK to share your GPS location data with
the ChargePoint mobile site.
5. When prompted, touch OK to review the Gateway’s location on
Google
TM
Maps.
6. Review the address and zoom in to check the location of the
Gateway’s pin on the map.
7. Using your finger, move the pin to the most accurate location
possible.
8. If needed, manually adjust the address of the Gateway’s
location.
9. Take a photo of the Gateway using your smartphone. Scroll
down to “Upload a Station Picture” and choose the photo.
Touch Submit to pinpoint the Gateway on the ChargePoint map.
When the Gateway connects to the ChargePoint network, the LED
turns solid green. If this has not happened within 20 minutes,
contact ChargePoint Support.