Installation Edge MAXX
2-14
2.3 Pre-Operational
Checkout
NOTE: For more information
within this manual about the
contr o l s men t i o ned i n the
following procedures, refer to
the OPERATING GUIDELINES
chapter, Operating Controls
section and to the CHI PANEL
OPERATION bulletin.
The unit requires a thorough checkout before it
can be placed into full operation. This includes:
Final Protective Wrapper Removal
Security of Hardware
Clean the Corner Photosensors
Compressed Air Supply Checkout
Safety Device and CHI Panel Function
Checkout
Spread/Feed Function Checkout
Easi-Glide Checkout (option)
Checkout Completion
Cleaning the Unit
WARNING
Do not put the unit into
service until all controls
are functioning properly.
Failure to do so may result in
serious injury to operators or
maintenance personnel.
Final Protective Wrapper Removal
Remove any and all remaining protective
wrapping or packaging. Remove the protective
plastic covers from the controls.
•
•
•
•
•
•
•
•
•
Security of Hardware
Hardware may loosen during shipment or
rigging.
Required Tools
wrench, Allen wrench
Make sure power is OFF at the main dis-
connect switch.
Open both endframe doors.
Check all hardware connections and
tighten as necessary.
Check that all setscrews are sufficiently
tightened to hold their respective compo-
nents in position.
Close and secure both endframe doors.
Make sure the tail air bar assembly at the
end of the discharge conveyor is securely
attached.
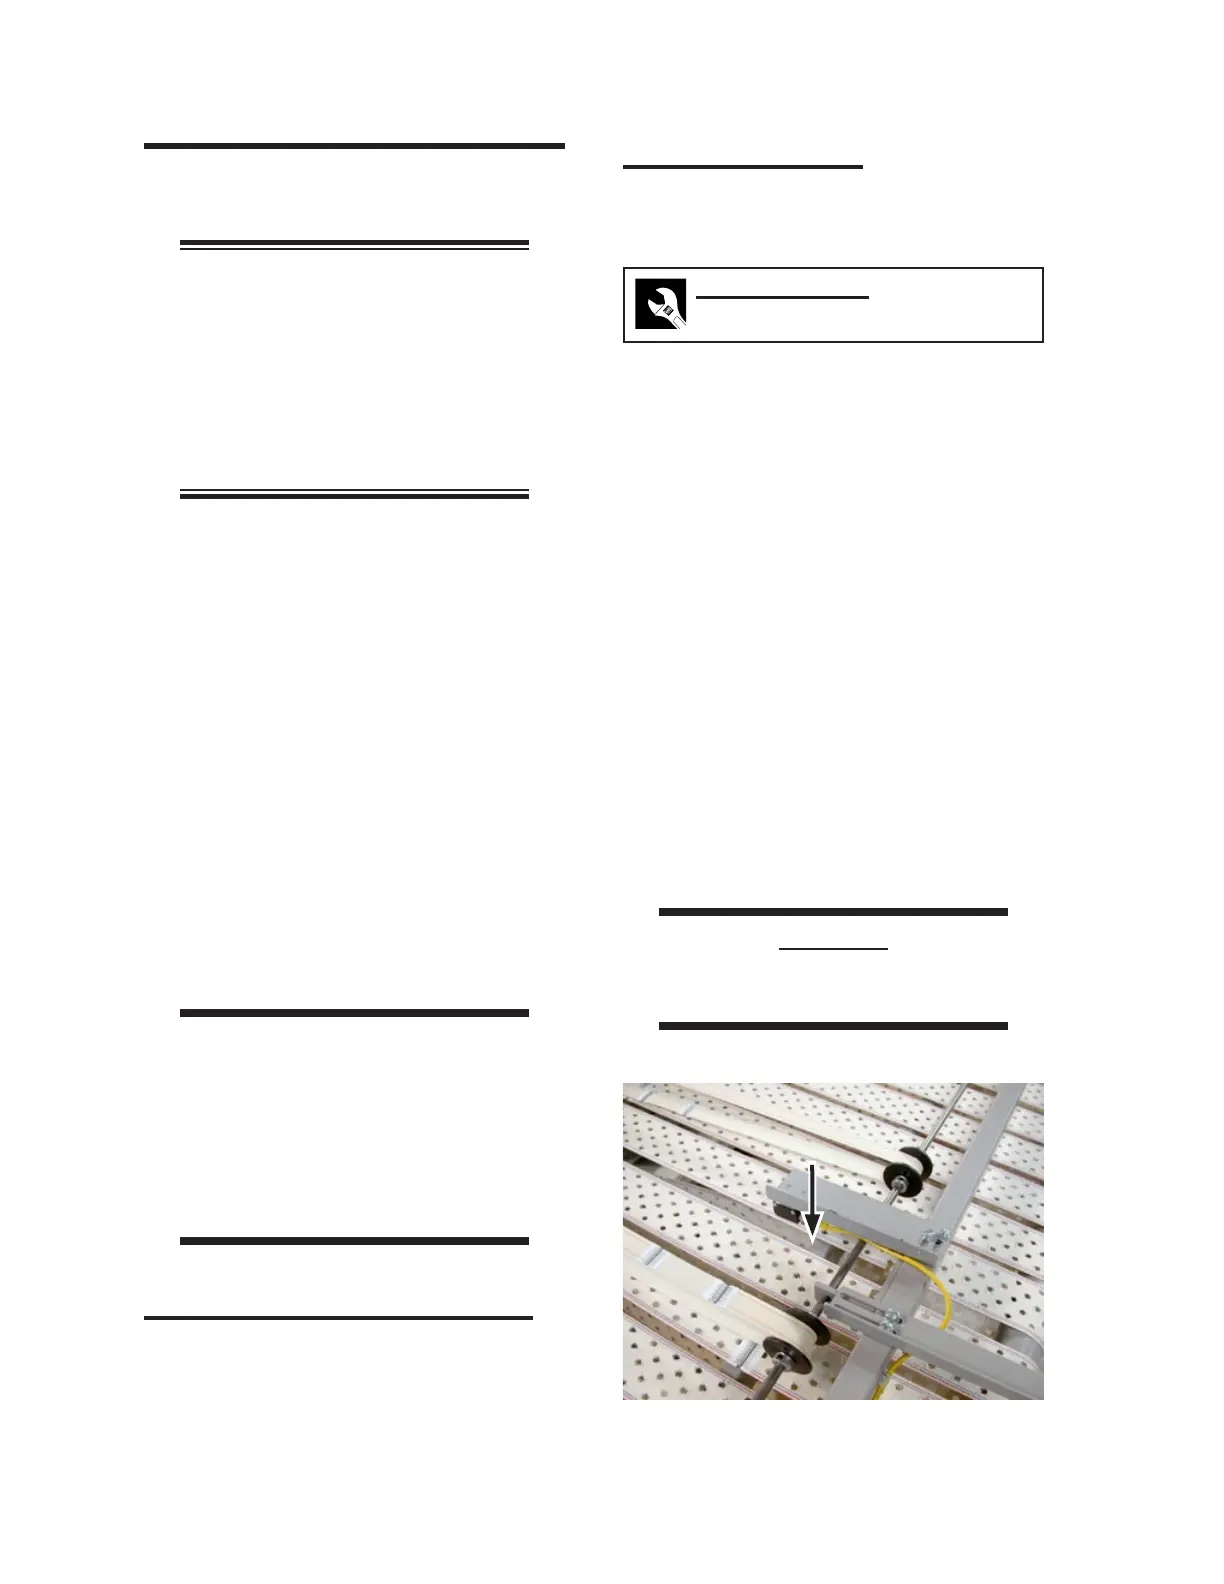
Check the tail air bar sensor and make sure
it is “seeing” between ribbons (Figure 2-
24). Adjust positioning as necessary.
CAUTION
Do not attempt to START the
machine at this time.
1.
2.
3.
4.
5.
6.
7.
Figure 2-24: Tail air bar sensor.
 Loading...