Edge MAXX Installation
2-15
Figure 2-25: The corner photosensors are located
at the front center of the unit.
Clean the Corner Photosensors
Since they look up, dust can easily settle
on the corner photosensors during transit. To
ensure proper operation, clean them before
proceeding.
Required Tools
soft, lint-free cloth
Locate the corner photosensors behind the
front Plexiglas guards: Three is one array
on the left side (Figure 2-25) and one on
the right.
Clean with a soft, lint-free cloth.
CAUTION
Do not attempt to START the
machine at this time.
1.
2.
Compressed Air Supply Checkout
Check the primary air pressure regulators and
make sure each has the correct initial setting.
Perform only when the unit is OFF
with power disconnected.
WARNING
Wear protective eyewear
when working with
compressed air components.
Move the left side of the unit and open the
left endframe door.
Turn ON the compressed air supply to
the unit.
Wait a few seconds and then, in the left
endframe, check the incoming air pressure
gauge (Figure 2-26) and make sure it is set
to 80 psi (550 kPa).
Close and secure the left endframe door.
Turn power ON at the main disconnect
switch.
Press the green Start button at either sta-
tion.
1.
2.
3.
4.
5.
6.
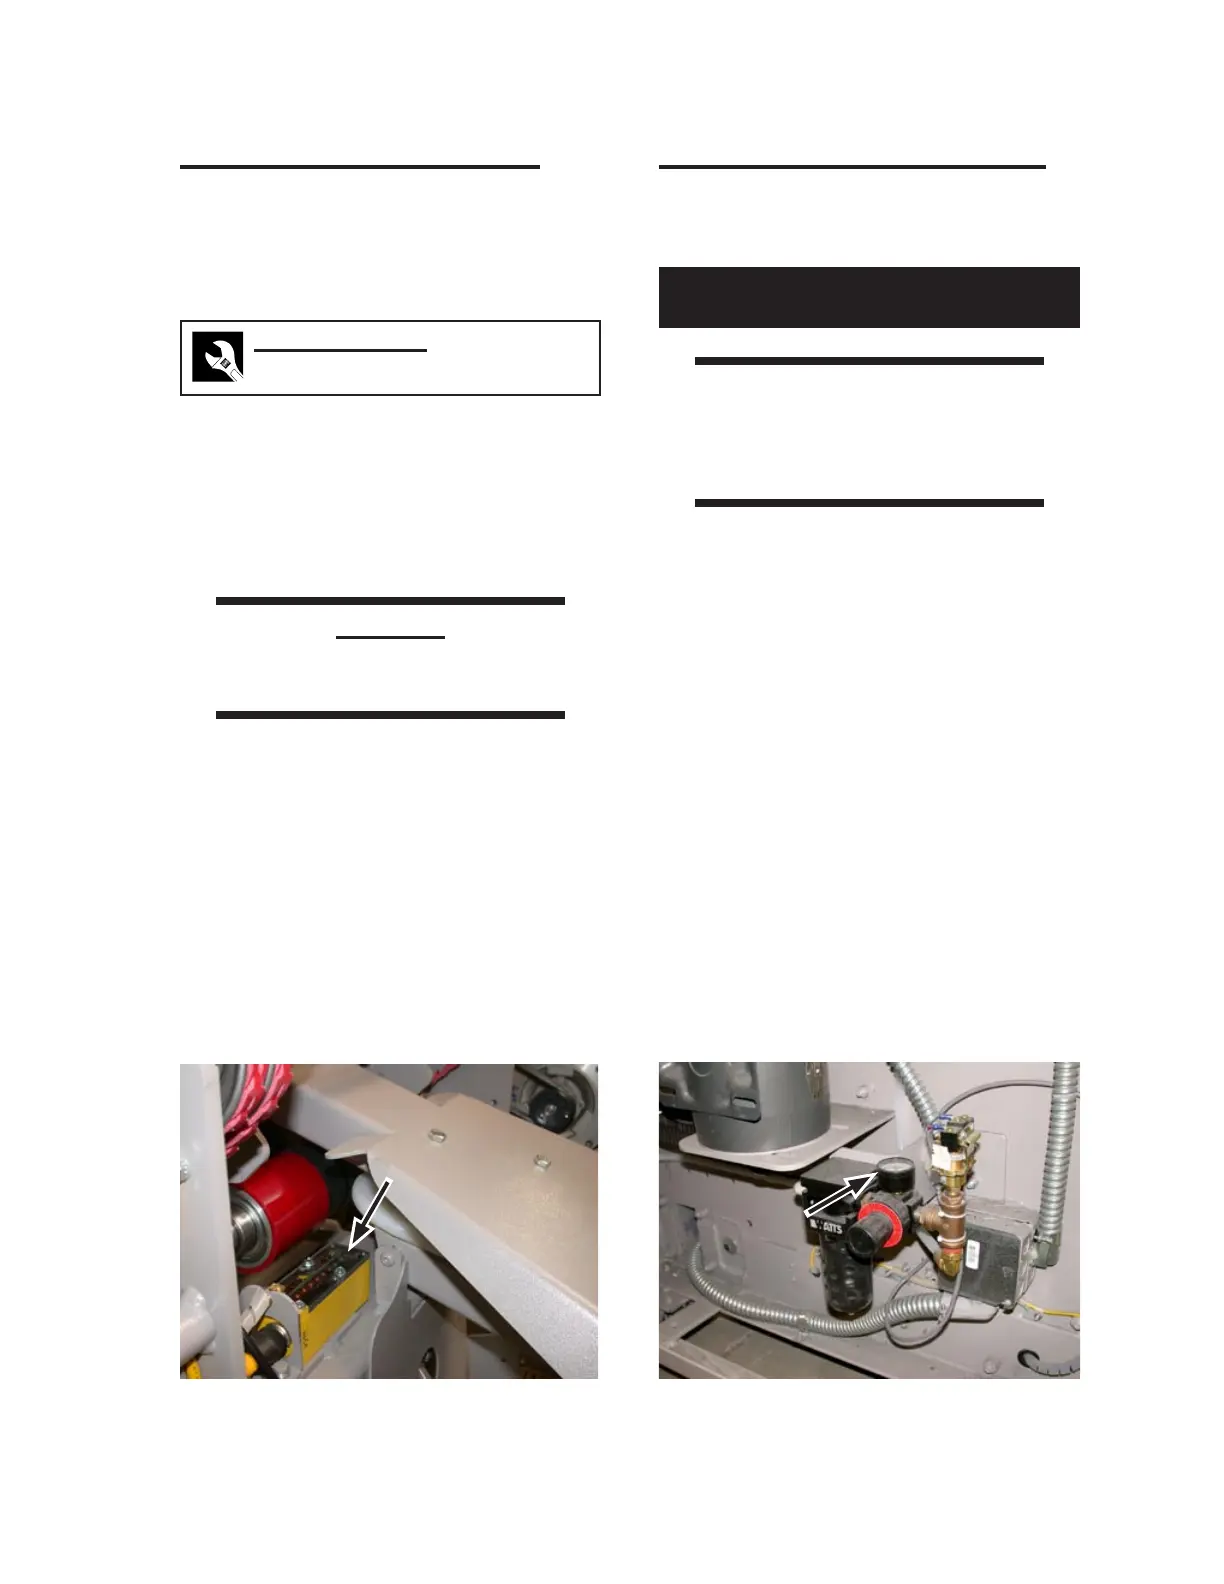
Figure 2-26: Main/high air pressure regulator in
left endframe.
 Loading...