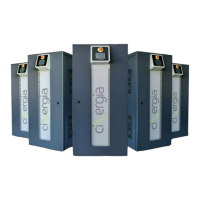
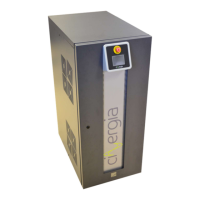
GE+ ACDC Installation and operation manual v11
107 / 121
All setpoints windows have the actual value right beside them. In this
way, the user can know it without being necessary the supervision tab.
5. Set the resistance value to create a voltage drop. It is configurable for each channel
and for independent and parallel mode. The difference between the positive (POS)
resistance and the negative (NEG) resistance is that each one will work depending
on the sign of the flowing current. The maximum and minimum values are 1 and 0Ω.
Please note that it is a virtual resistance. It means that there is any physical
resistance introduced in the equipment.
6. Once all the setpoints are ready, the user must press Send Set Points button and it
will send only the setpoints of the actual control mode (the illuminated part).
For example, if the equipment is in voltage mode, when the voltage setpoints are
ready and the user press Send Set Points, the voltage values are sent whereas the
current, power and impedance values are not sent.
The other buttons are useful to save time when typing setpoints:
a. Refresh Set Points: it will refresh the setpoints with the actual value of
setpoints showed in the actual value windows (beside the setpoints). But if
the equipment is controlling power, for example, the actual value of power
is not being sent to the set point on the left.
b. Load Set Points: the interface saves values as default and the user can set
which are this default numbers in the following point c.
c. Set Default values: introduce the desired values and press this button. Then
these values are going to appear again by pressing the button b.
7. All Visible button un freeze all setpoints windows whatever it is the control mode.
In this situation, if it is sent by pressing Send Set Points, for example, a power
setpoint being in current mode, the equipment will not set this power setpoints.
This button is useful to set the default setpoints of the equipment.
- B: The graph explains which is the direction of the current and power according to the
setpoints.
- C: The equipment has its rated values and limits itself, but the user can set another limits
(lower than the factory ones). The factory limits are the followings: