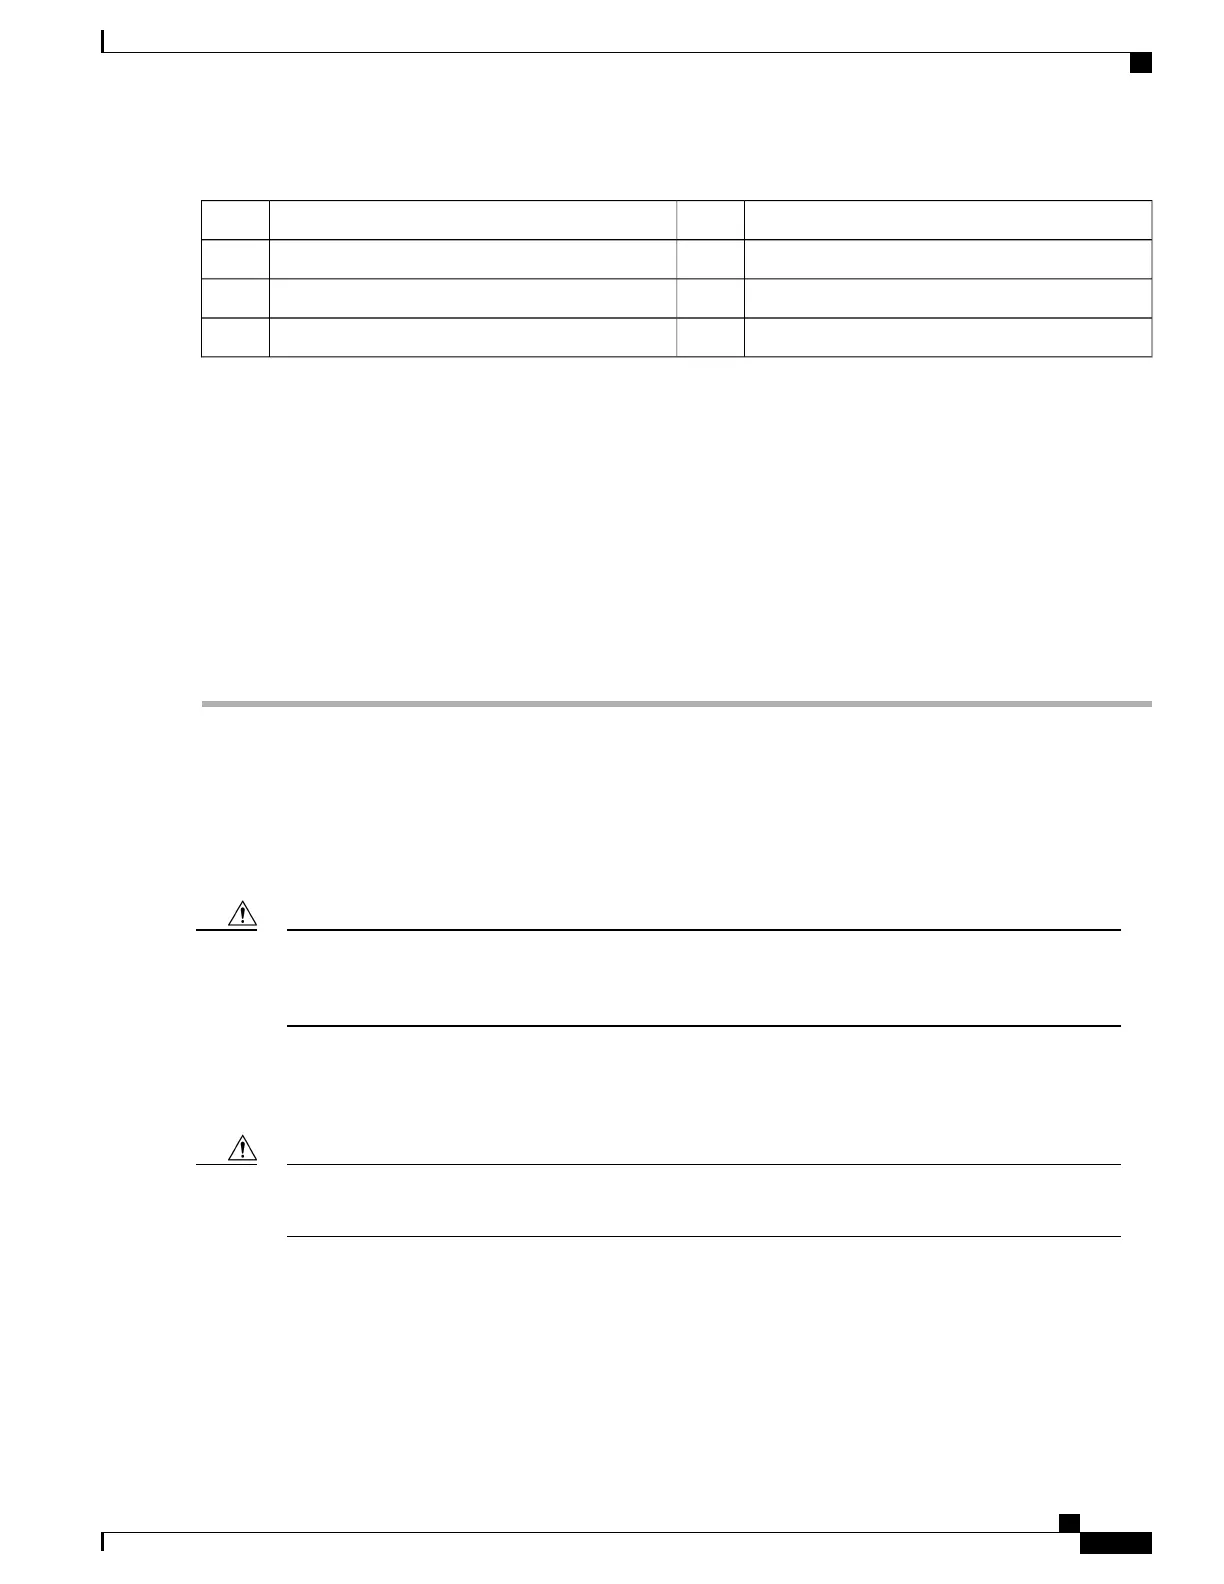
Outer sleeve2Cardboard top1
Accessory box4Inner Sleeve3
End cap6Foam Cap5
Plastic bag (not shown)8Pallet7
Step 3
Lift the outer cardboard sleeve up and over the top of the chassis.
Step 4
Lift the inner cardboard sleeve up and over the top of the chassis.
Step 5
Remove the accessory box. This box contains miscellaneous hardware items and spare air filters.
Step 6
Remove the foam cap from the top of the chassis.
Step 7
Remove the bottom front and rear end caps from the base of the chassis.
Step 8
Remove the plastic bag that covers the chassis.
Step 9
If you will be removing chassis components to reduce the weight of the chassis, leave the chassis on the pallet and
proceed to Reducing the Weight of the Chassis Prior to Installation, on page 35
Step 10
Use a chassis lift or multiple craftpersons to lift or slide the chassis off the shipping pallet. Proceed to Installing the
Chassis, on page 40.
Reducing the Weight of the Chassis Prior to Installation
You can reduce the weight of the chassis prior to installation by removing the upper and lower fan trays, and
the PFUs. Follow the instructions below to safely remove these components prior to installation.
During installation, maintenance and/or removal, wear a grounding wrist strap to avoid ESD damage to
the components. Connect the strap to a ground point on the rack/cabinet frame. Failure to do so could
result in damage to sensitive electronic components and potentially void your warranty.
Caution
Removing the Fan Trays
To avoid personal injury and/or damage to the fan trays, be sure to support each fan tray's weight from
its front and rear as you slide it completely out of the chassis.
Caution
ASR 5500 Installation Guide
35
Chassis Installation
Reducing the Weight of the Chassis Prior to Installation
 Loading...