Page 6 | 53
Chapter 1: Product Introduction
1.1 Product Manual
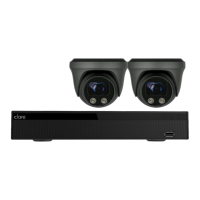
ClareVision NVRs provide local video streaming preview, multi-screen split display streaming, local real-time
storage of video files, support for mouse shortcuts, and remote management and control.
This manual will guide you through all NVR settings, options, and provide additional information on NVR operation.
1.2 Defaults
The factory default username is “admin” and password being the first six characters of the UUID.
NVR and PoE NVR factory default is set to DHCP.
1.3 Product Features
This section introduces the camera product features:
• The "device" mentioned in this manual mainly refers to the NVR.
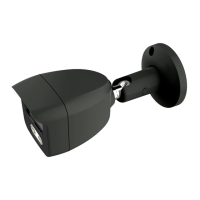
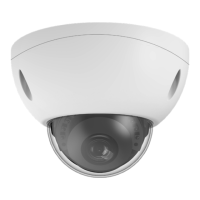
• The "IP device" mentioned in this manual mainly refers to the IP Camera.
• The "channel" mentioned in this manual refers to the NVR's IP channel.
• Click the "X" or "Cancel" button to return to the previous screen.
• Click All Interfaces Default to restore the current factory default settings.
• Click "Apply", "Confirm", and "Save" on all screens to save the current settings.
• Click "Copy" on all interfaces to enter the copy channel interface. Select the channel in which to copy the
current channel.
1.4 Function Features
• H.264 videos condense format, support 4K/6M/5M/4M/3M/2M/1080P/720P/D1 resolution network
camera input.
• G.711U, G711a, ADPCM_DVI4, AAC audio condense format.
• Each channel supports three-stream encoding, including an MJPEG stream.
• Windows-style user interface embedded real-time Linux3.0 operating system.
• Support for independent adjustment of coding parameters for each channel, including coding type,
resolution, frame rate, and bitrate.
• Manual capture and image playback.
• Preview, recording, playback, and backup.
• Select NVRs support fisheye correction, dual-screen preview, PoE, humanoid detection, crossover
detection, regional intrusion, people gather detection, and people gathering.
• Only one USB interface: The NVR needs to use USB interface for task such as Configuration import,
Configuration export, backup, camera update, and manual update. You must first select the
corresponding function, such as click "Config import", and then you receive a pop-up "Please insert the
USB disk". Follow the prompt within the 60 second countdown, and then unplug the mouse and plug it
into the USB device before the countdown ends. After the NVR recognizes the USB device, it automatically
proceeds to the next step.