ROBOT CONFIGURATION CUSTOMIZATION
55
Comau Robotics Product Instruction
x. It will now be possible to carry out e.DO movement through the Teach Pendant
TP5.
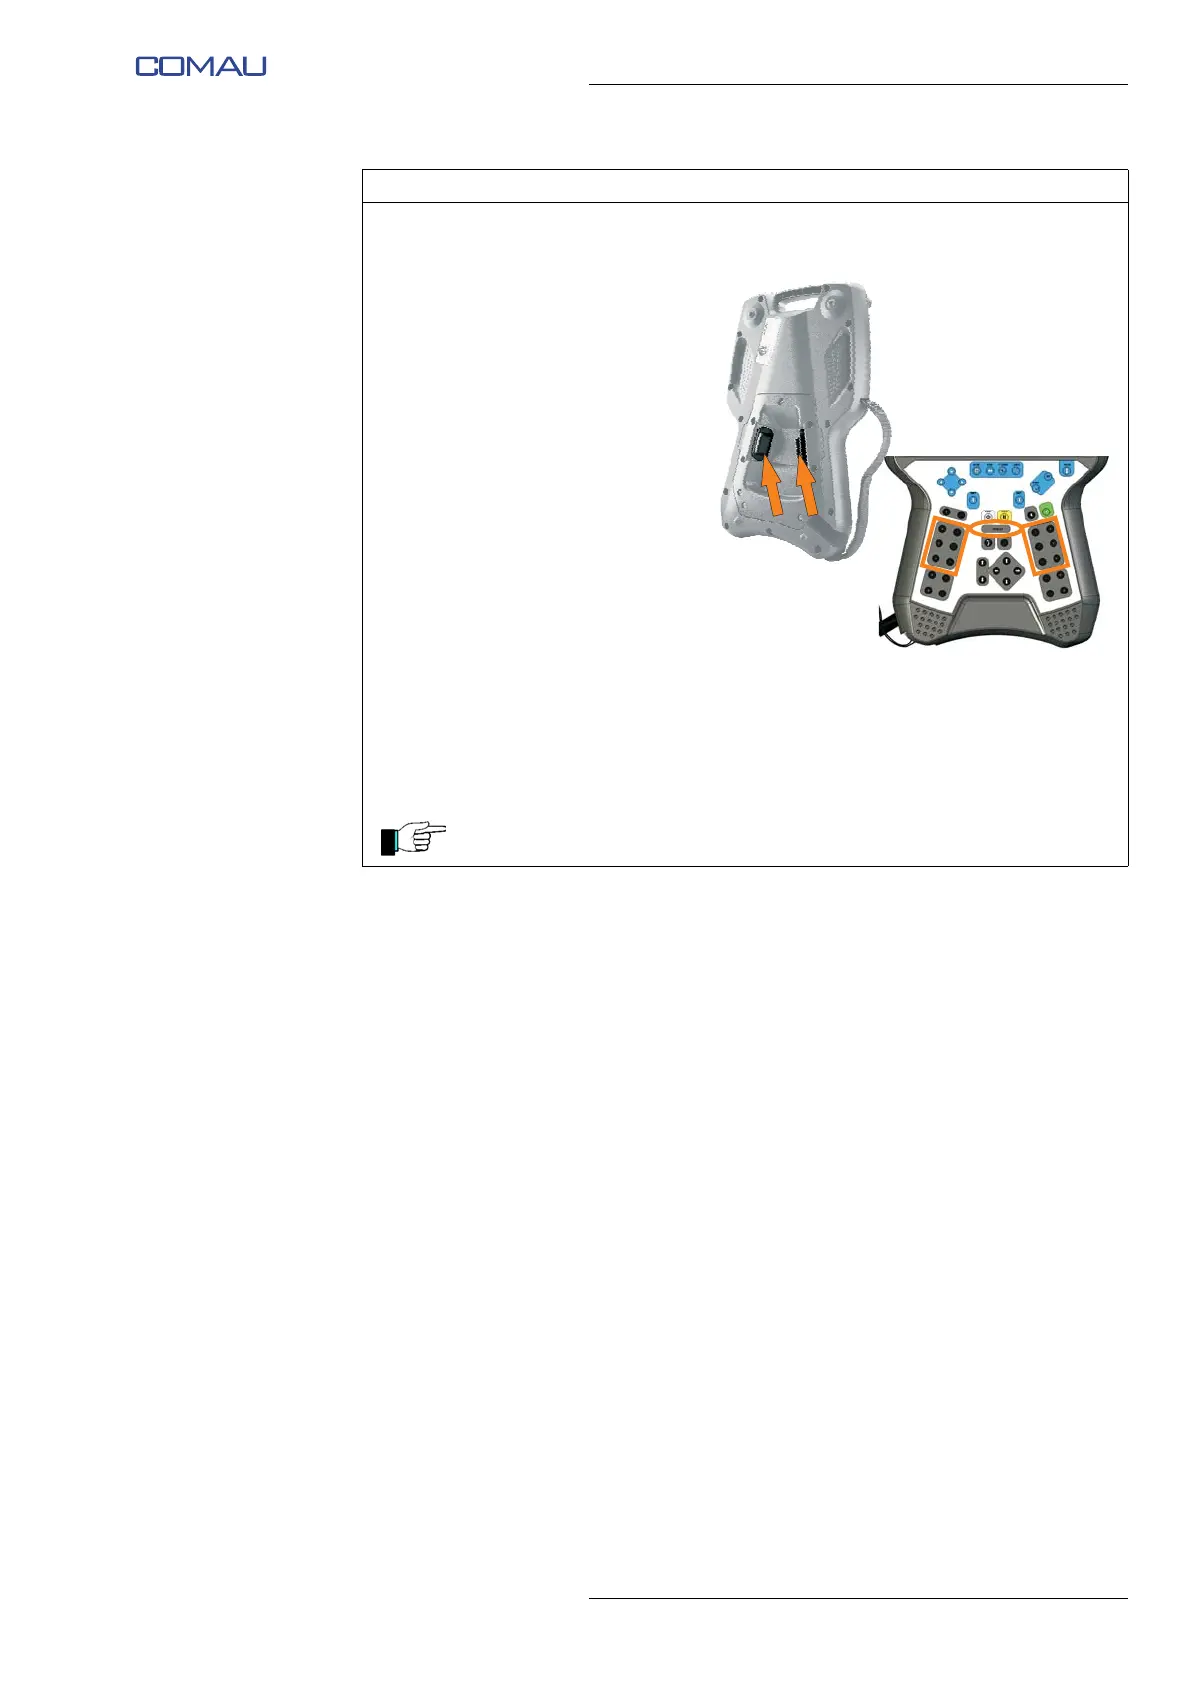
y. Check the Robot proper
functioning:
• provide the “DRIVE ON” to
the Robot by holding one
of the two enabling
push-buttons on the rear
side of the Teach Pendant
in an intermediate
position;
• the DRIVE ON status is
indicated by the lighting of
the relative LED on the
Teach Pendant;
• using JOG keys, move
one axis at a time and
check its correct
functioning.
z. Perform the needed
movements / activities by
means of the Teach Pendant.
At the end of use, before powering off e.DO, move it to calibration position
as indicated from the step h. to the step q. of this procedure.
Operating procedure (Continued)