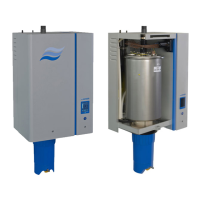
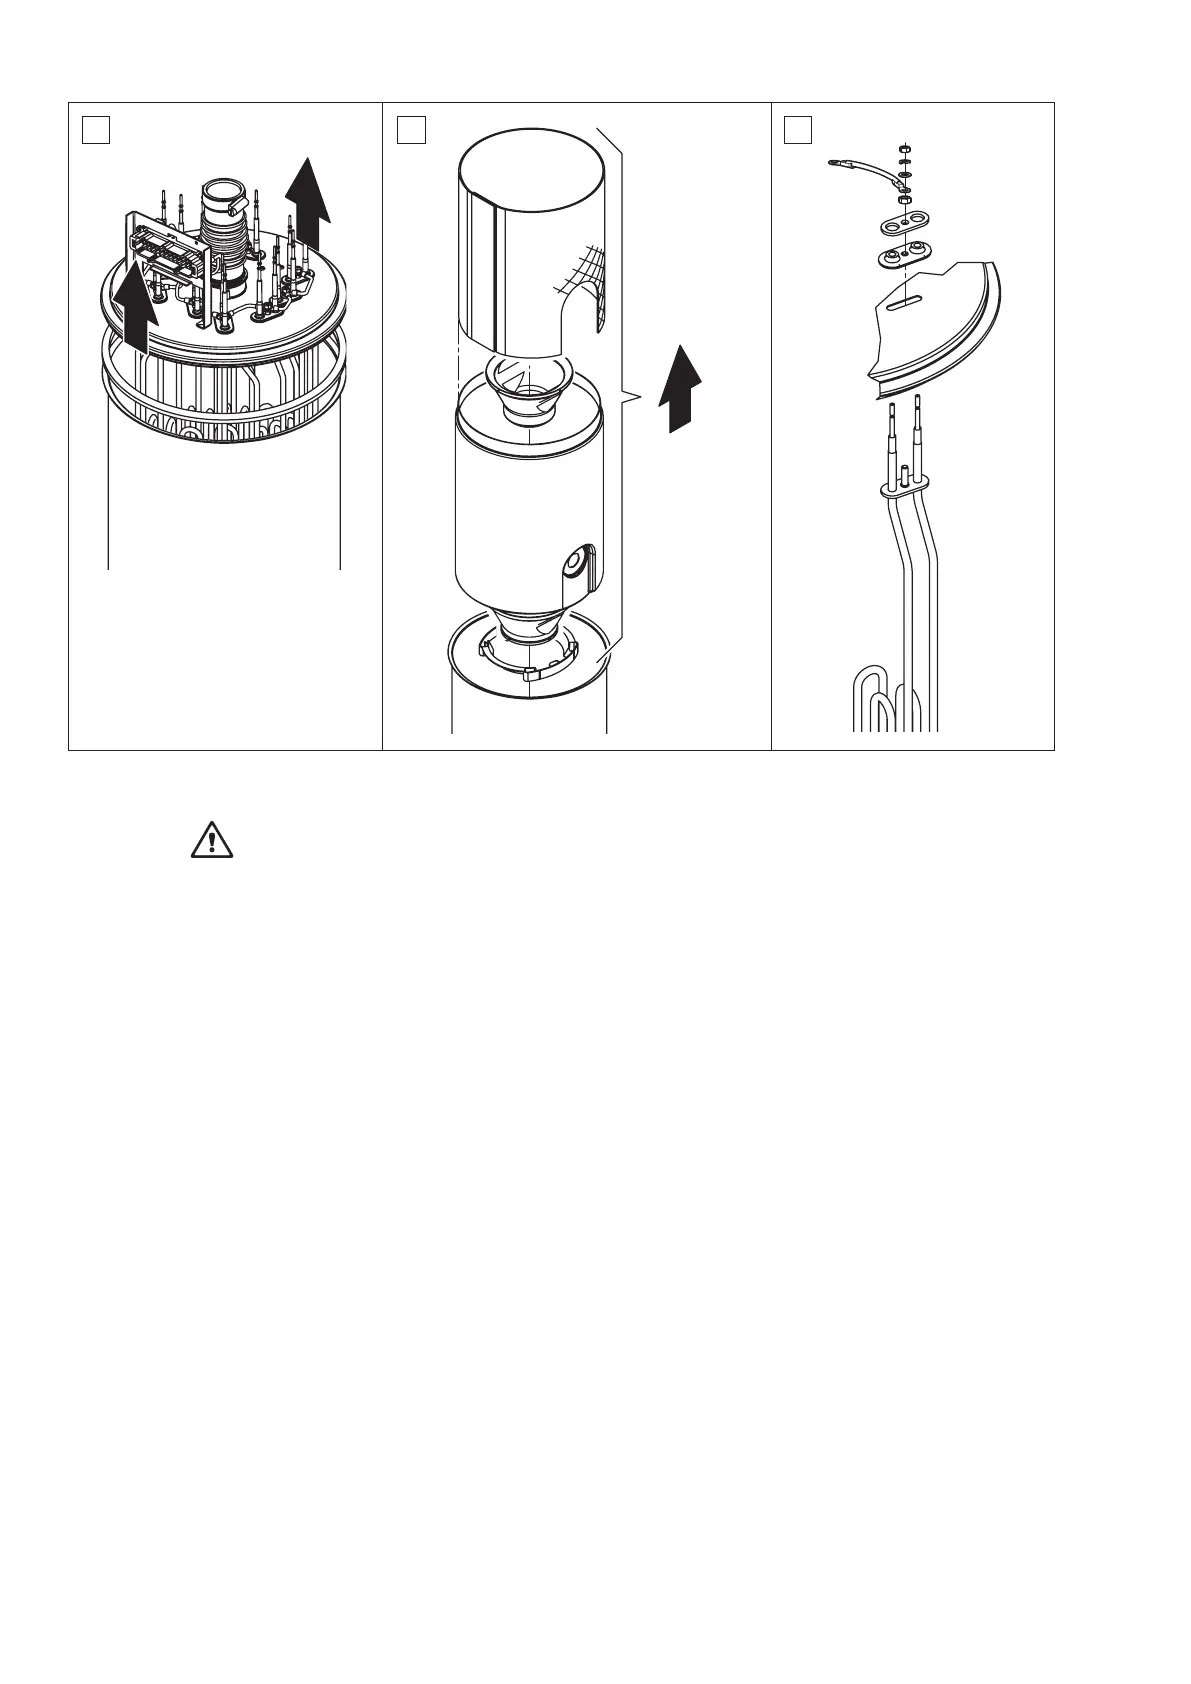
7. Carefullyliftoffthecoverwiththeheatingrods.
Warning!Takecarewiththecoverwhilstitisremoved,soasnottodamagetheheating
rods.
Note:Ifthecovercannotberemovedduetoheavycalcication(maintenanceperiodexceeded),
placethesteamcylinderinabasinofformicacid(8%)untilitcanberemoved(Caution! Observe
instructionsonthesafeuseofthiscleaningagent).
8. If necessary, loosen the cylinder insert by lightly rotating it in either direction and lift it from the steam
cylinder. Then remove the screen insert and the funnel insert.
9. Ifaheatingelementhastobereplacedduringservicing:rstmakeanoteofhowthecablesare
connected and the position of the heating element. Then detach the cable, loosen the clamping nut
and remove the heating element.
Assembly and installation of the steam cylinder
Assemblyofthesteamcylindertakesplaceinreversesequence.Pleasenotethefollowinginstruc-
tions:
– Installationofanyheatingelementswhichhavebeenremovedshouldfollowgure9.Pleasetake
care that the heating elements are correctly positioned and the cables are correctly connected (ac-
cordingtoyournotes).
– Before installation of the steam cylinder cover place the Duro sealant around the edge of the cover.
TheDurosealantmustbecleanandundamaged(replaceifnecessary).
– BeforeinstallationofthesteamcylinderintheunitcheckO-ringsinthecouplingboxfordamage
and replace if necessary.
– Insertsteamcylinderintheunitcorrectlyandfastenwithclampingring.
– Fastensteamhosewithhoseclamps.Aleakysteamhosecancausedampdamageintheinterior
of the unit.
– Theplugof the heating cable boom must connect in theconnectionboxand fastened with the
screws.
7 8 9