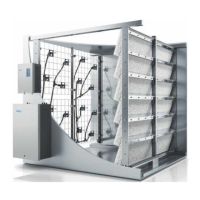
41Maintenance
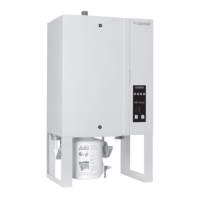
Assembly and installation of the steam tank
Assembly of the steam tank takes place in reverse sequence of the removal. Please note the following
instructions:
• Installation of any heating elements which have been removed should follow the gure of step 7 of
the removal. Please take care that the heating elements are correctly positioned.
• Before installation of the steam tank cover check sealing. The sealing must be clean and undamaged
(replace if indicated).
Important: the sealing must be replaced at least once per year.
Insert the cover sealing into the recess of the cover (consider installation position of the sealing, see
gure of step 5 of the removal.
• Before installation of the steam tank in the unit check O-ring in the steam tank receptacle and the
snap ring for damage and replace if necessary.
• Moisten the O-ring in the steam tank receptacle with water (do not use grease or oil). Then, insert
the stirrup on the backside of the steam tank into the retaining bracket on the back wall of the unit
housing. Insert the connector on the bottom side of the steam tank into steam tank receptacle and
push steam tank downwards until it comes to a stop.
Important: Check whether the steam tank is correctly hooked in the retaining bracket on the back
wall of the unit housing by pulling the steam tank to the front. A correctly mounted steam tank can-
not be moved.
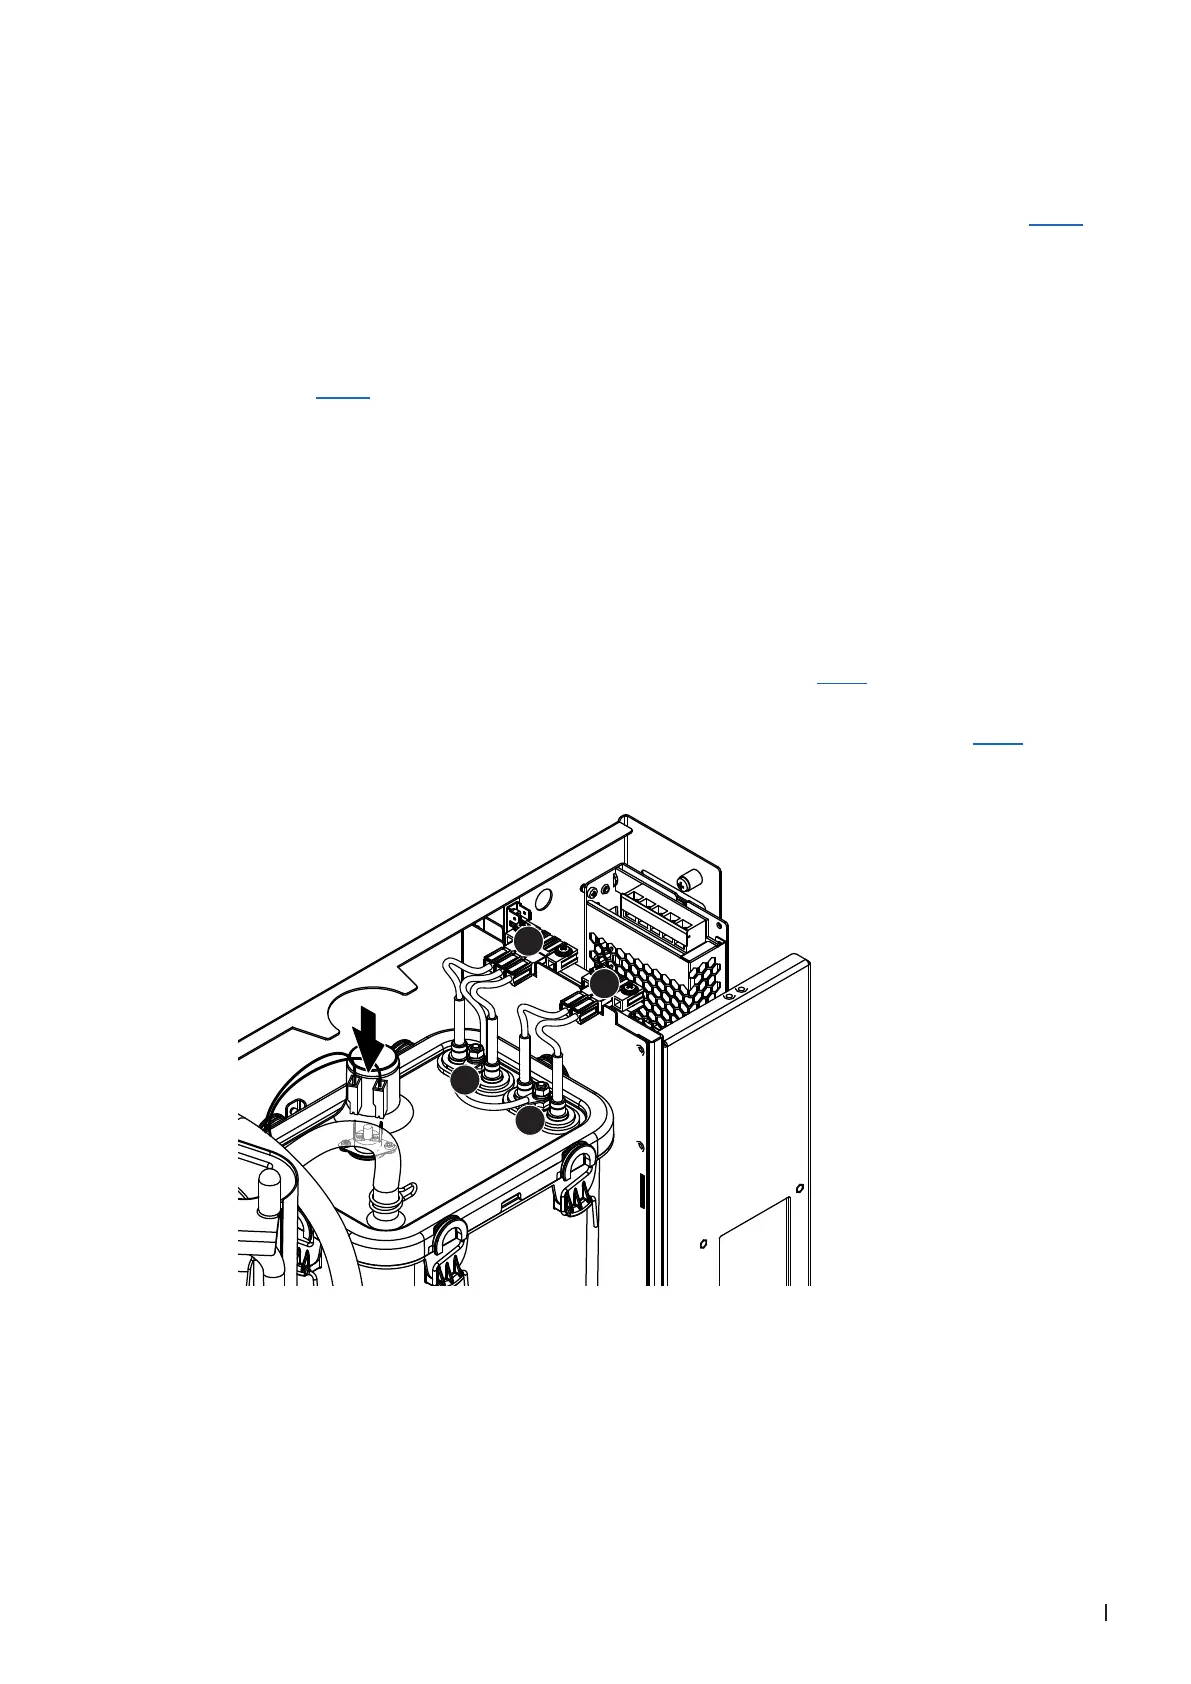
• Connect heating cable plugs into the corresponding sockets (see Fig. 7).
Important: make sure the cables are not crossed!
• Attach connecting cables to the connectors of the overtemperature switch(es) (see Fig. 7).
1
1
2
2
Fig. 7: Connection allocation of the heating cables
• Push steam hose onto the steam connector and fasten with hose clamp. A leaky steam hose can
cause damp damage in the interior of the unit!
• Connect pressure equalizing hose to the connector on top of the steam tank and x hose with the
hose clamp.