Chapter IV – Maintenance
4-3
C
996-0255 rev. b
CAUTION
Base cradle screw threads are aluminum and can be stripped if
over tightened. A snug fit is adequate.
5) Release the laser head from its base cradle plate by screw-
ing clockwise (viewed from above) the thumbwheel
located below the laser head.
CAUTION
Turn off the night-time water pump by flipping the switch on
the rear panel of the power supply.
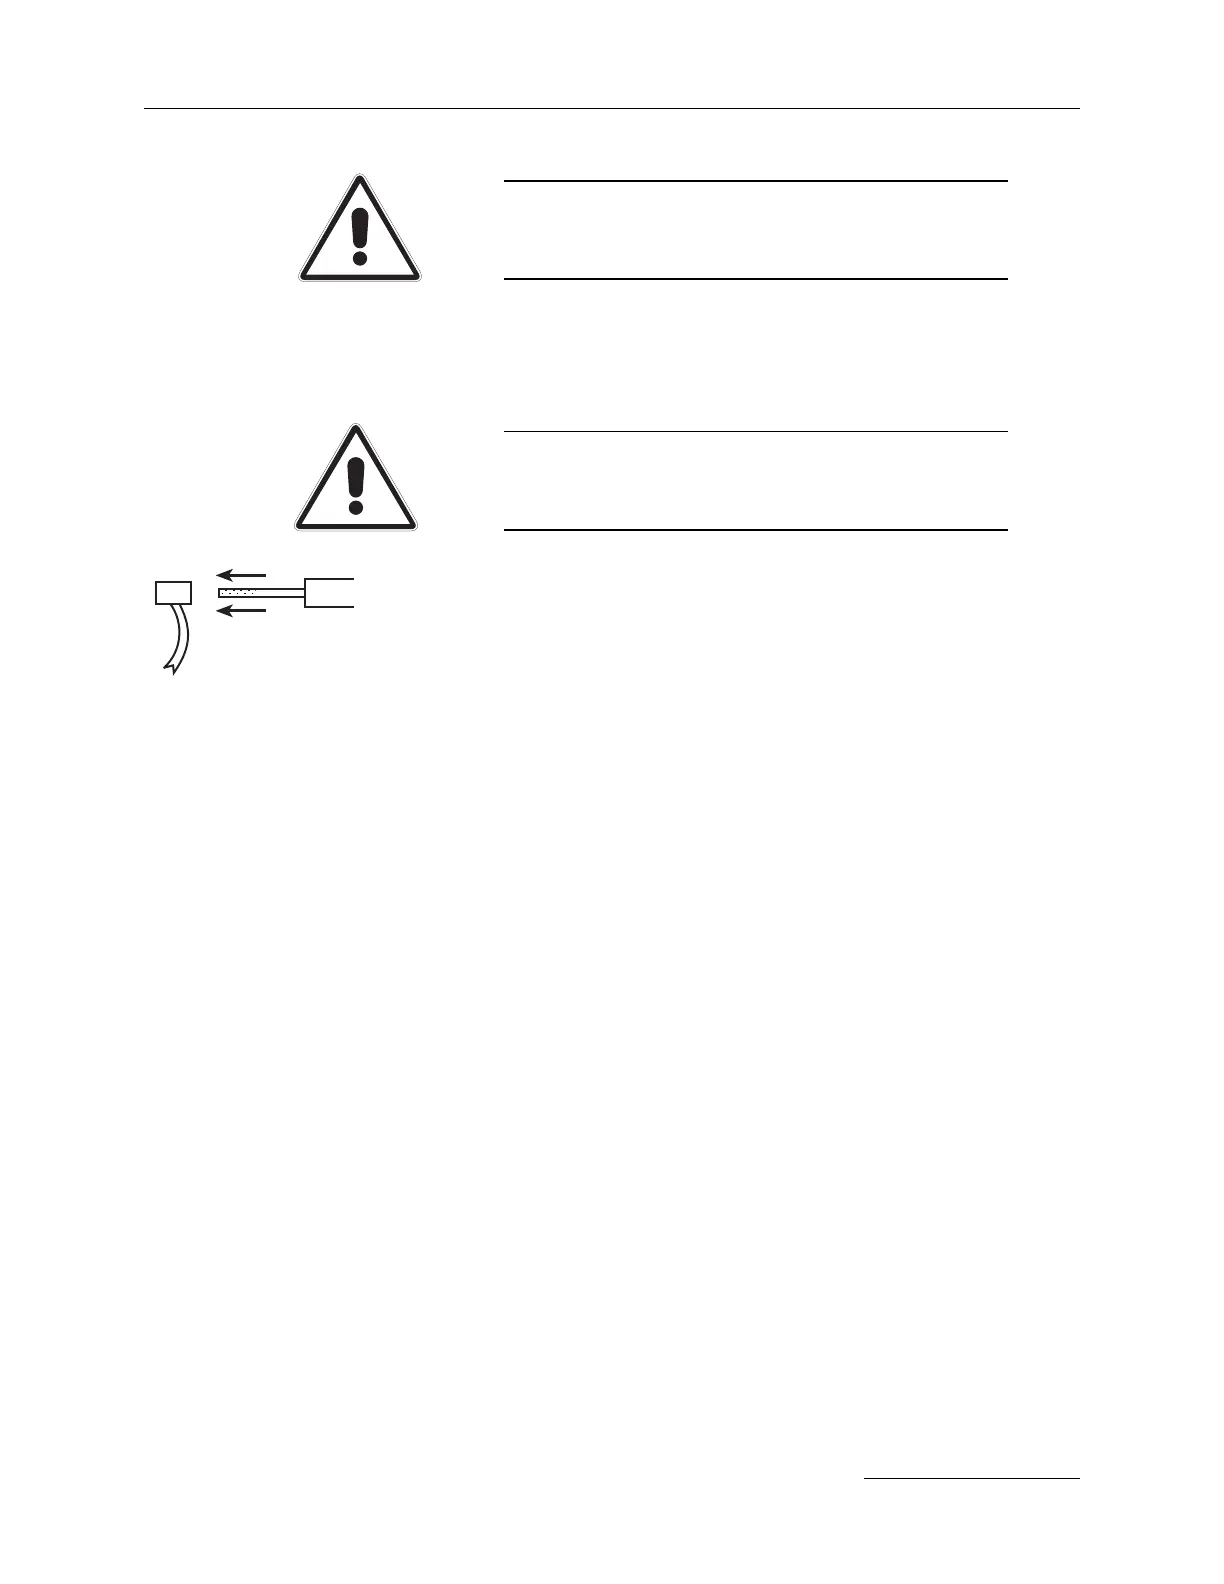
6) Use your fingers to gently pull off the lamp connectors
from the lamp electrodes.
7) Remove the laser head from the bench and place it on a
solid, flat work area.
8) Use a 2.5 mm Allen wrench to remove the Allen bolts
holding the white plastic lamp holders at each end of the
laser head.
9) With a cotton swab wet each end of the exposed
flashlamp electrode, and then gently remove the white
plastic lamp holders.
10) Press firmly on either flashlamp electrode and pull on the
other electrode to remove the lamp. See exploded head
drawings, pages 3-3 to 5.
11) Clean new lamp with lens tissue and methanol before
installation. Note anode/cathode orientation of new lamp
and insert lamp into head according to “+” and “-” stick-
ers on side of head.
12) Slide the new lamp into the laser head and install the
Teflon backing ring and then the black "O"ring over the
ends of the lamp electrodes. Note: wet all parts before
reinsertion.
13) Wet the exposed electrode and then replace the white
plastic lamp holders. A firm slowly rotating motion is
best.
14) Once the lamp retainers have been slipped over the lamp
electrodes, check to make sure the lamp is centered in the
head and then bolt the lamp retainers in place.