Chapter II – System Operation
2-9
C
996-0255 rev. b
4) Turn down power of Precision II so that you can safely
check the optical alignment of the 1064 nm through the
SHG and the 532 nm through the FHG. Also check the
alignment of the 266 nm through port #3.
To reduce power:
a. Locate delay knob on front of oscillator CB630C
and note present reading.
b. Set delay to 550 µs.
c. Perform Daily Startup procedure (page 2-1).
5) On RB601 adjust crystal position for maximum 266 nm
energy.
a. While still at reduced power, place a power meter
after port #3 and align 266 nm into center of detec-
tor head.
b. Using the RB601, adjust harmonics #1, then #2
and then #1 again for highest energy.
c. Slowly bring system up to full power by setting
the CB630C delay to the value noted in step 5a.
d. Again adjust harmonics for highest energy.
6) Harmonic installation is now complete and normal
system operation can begin.
LNE alignment
Equipment needed:
• LNE option
• IR card
• photodiode (risetime ~1 ns)
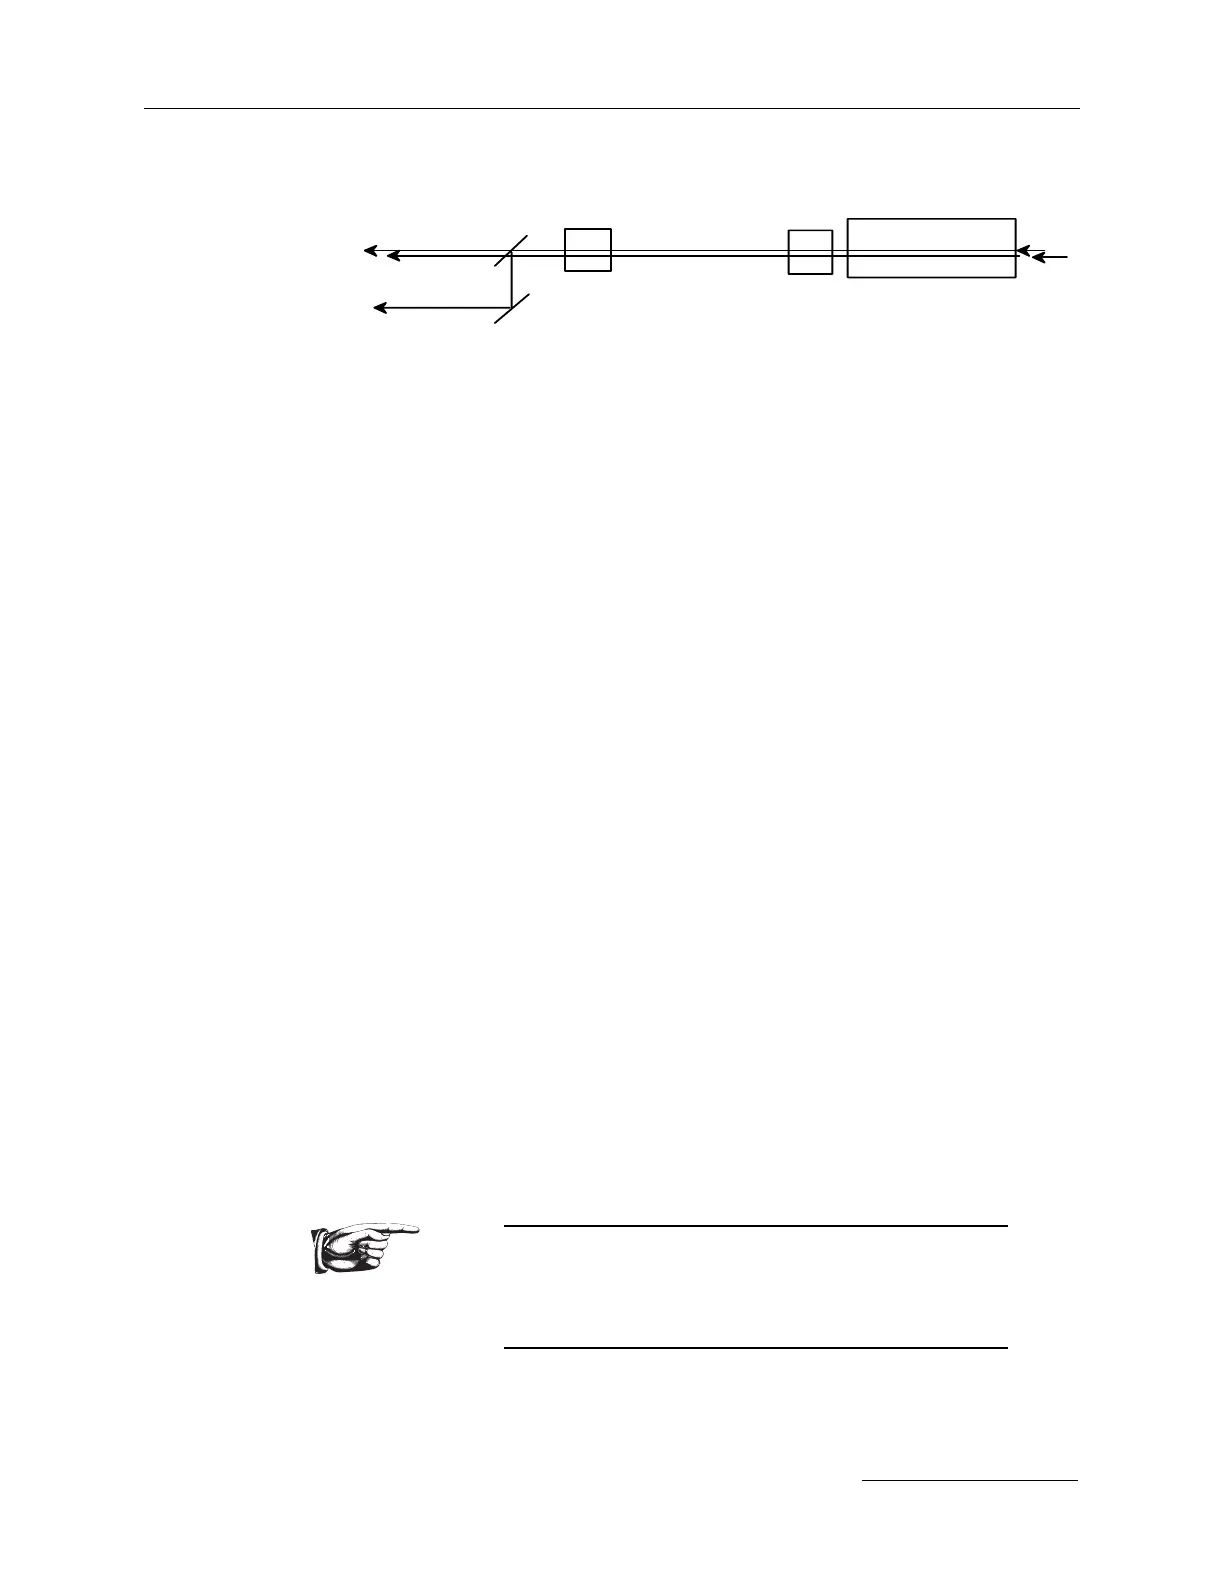
FHG
port 1
port 2
SHG
106
532
266
106
port 3
Fourth harmonic
position.