Precision II Operation and Maintenance Manual C
5-20
996-0255 rev. b
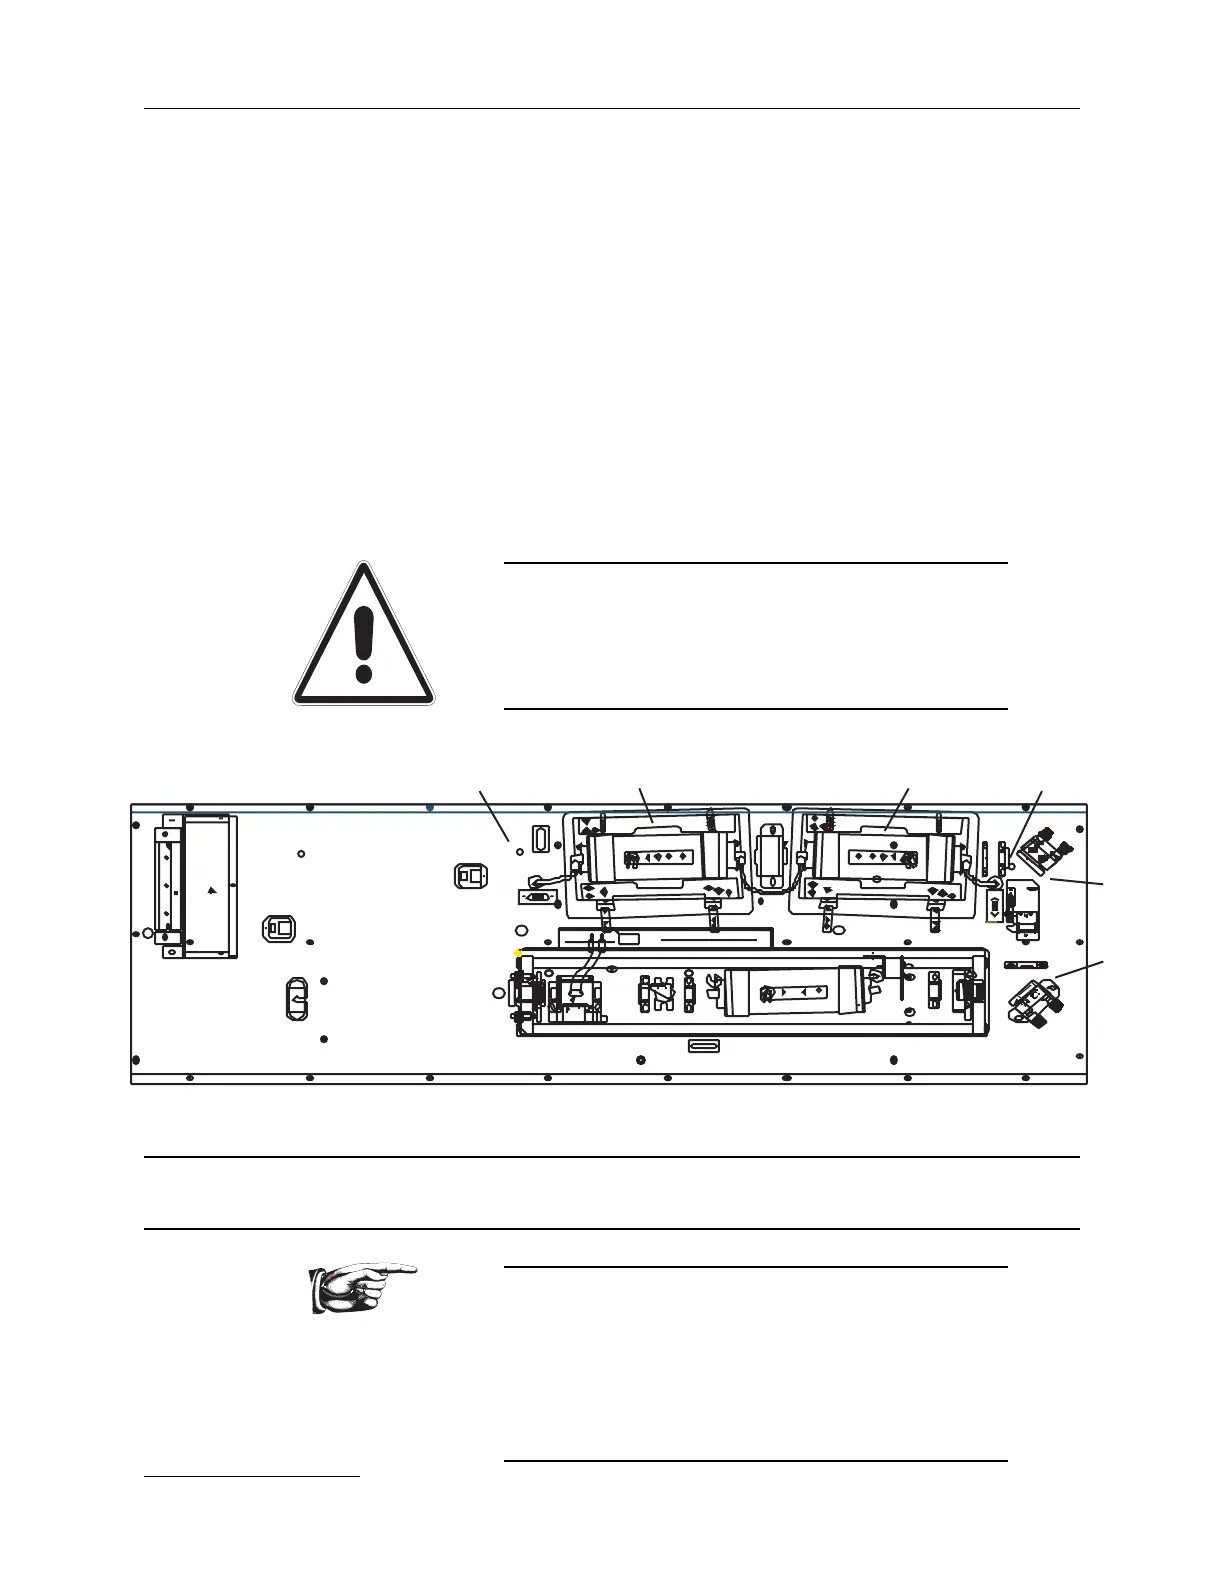
alignment
aperture
location
alignment
aperture
location
amp. #2
amp. #1
mirror
7d
mirror
7c
17) Open the intracavity shutter and look at the oscilloscope
to see if the laser is free-running.
18) If the laser is in a free-running state, then repeat steps 11
through 15 while at this higher pump voltage.
Once the oscillator optics are properly adjusted, passive
free-running should not occur until the pump voltage has
exceeded 100 volts above the normal operating level. In
many cases this voltage “ buffer” will be even greater than
100 volts.
19) Once the “buffer” voltage is greater than 100 volts return
the pump voltage to its normal level.
CAUTION:
After completing the free-running test procedure, it is
very important to check the oscillator alignment once
again. Any movement of the Pockels cell may cause a
misalignment, requiring a rear mirror adjustment (1).
H. Dual inline amplifier alignment single rod head, 811U-09
Equipment needed:
• burn paper
• clear plastic bags
• 1 metric Allen wrench set
• 1 Phillips screwdriver
• high density Styrofoam beam dump
Alignment aperture positions.