Chapter V – Troubleshooting
5-21
C
996-0255 rev. b
The alignment of the Precision II 9000 series is the same for all repetition
rates. This procedure assumes that the operator already knows how to
align an oscillator.
Both amplifier heads in the Precision II 9000 are vertically and horizon-
tally adjustable. They should be HeNe aligned first followed by the
oscillator alignment to fit the pair of amplifiers. This is better than trying
to align each one separately.
1) Remove both heads, quartz rotator mount, apertures and
waveplate from the laser bench.
2) Place two alignment fixtures (pinholes set at 43 mm with
a dowel pin on the bottom, P/N 998-0002), one after the
second amplifier and the other near the wave plate mount
location (see Alignment aperture positions, page 5-20).
3) Starting from the harmonics end of the bench, align the
HeNe through the two pinholes.
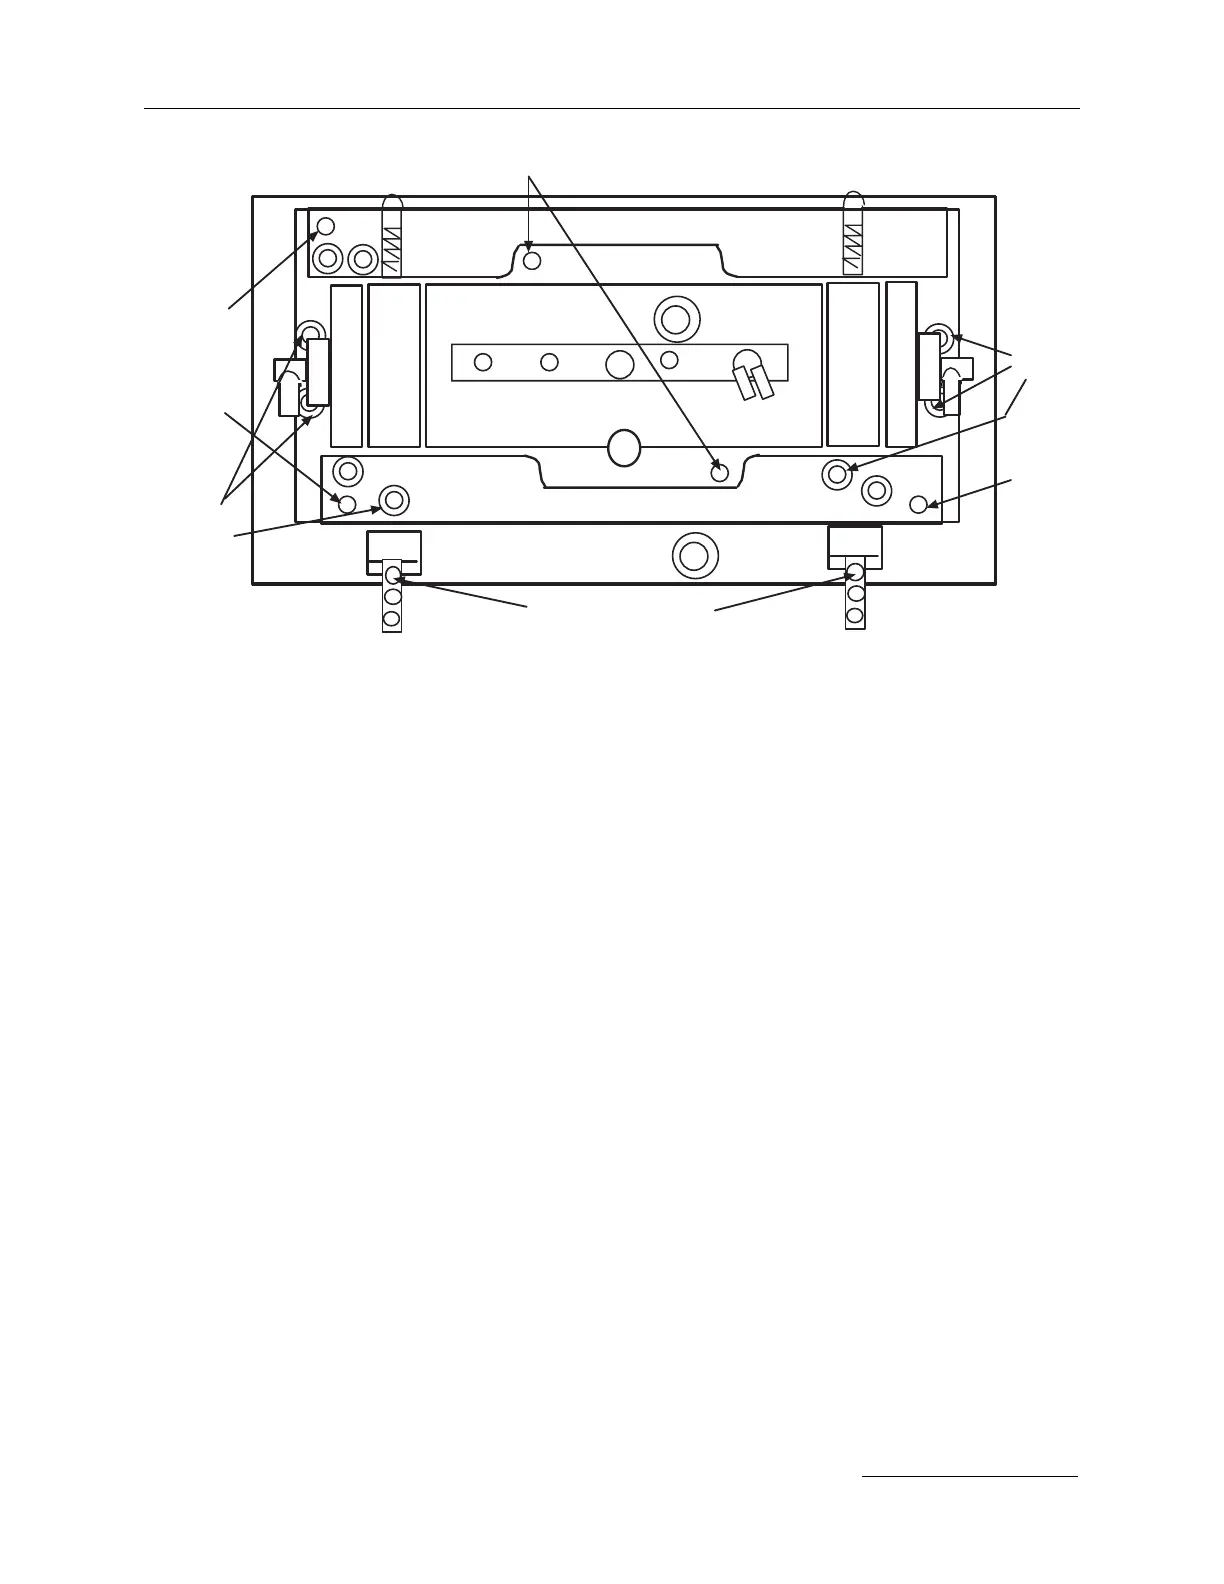
4) Loosen all nine locking screws on each base plate.
5) Set the height from the top of the black anodized sole
plate to the top of the gray base plate to 19 mm using the
three vertical adjustment screws.
6) Using the horizontal adjustment screws, set the distance
from the edge of the base plate opposite the adjustment
screws to the edge of the bench cutout to 6 mm.
Precision II amplifier adjustment screws.
locking
screws
locking
screws
locking screws
vertical
adjustment
vertical
adjustment
horizontal
adjustment
A
B
#1
#2
C
 Loading...