31
time period.
Step 6 Press [ ] or [ ], select “Save” and press [OK] to save the settings.
4.11.3 Time Format
Step 1 In the homepage, press [ ] or [ ], select “System” and press [OK].
Step 2 Press [ ] or [ ], select “Time” and press [OK].
Step 3 Press [ ] or [ ], select “Time Format” and press [OK].
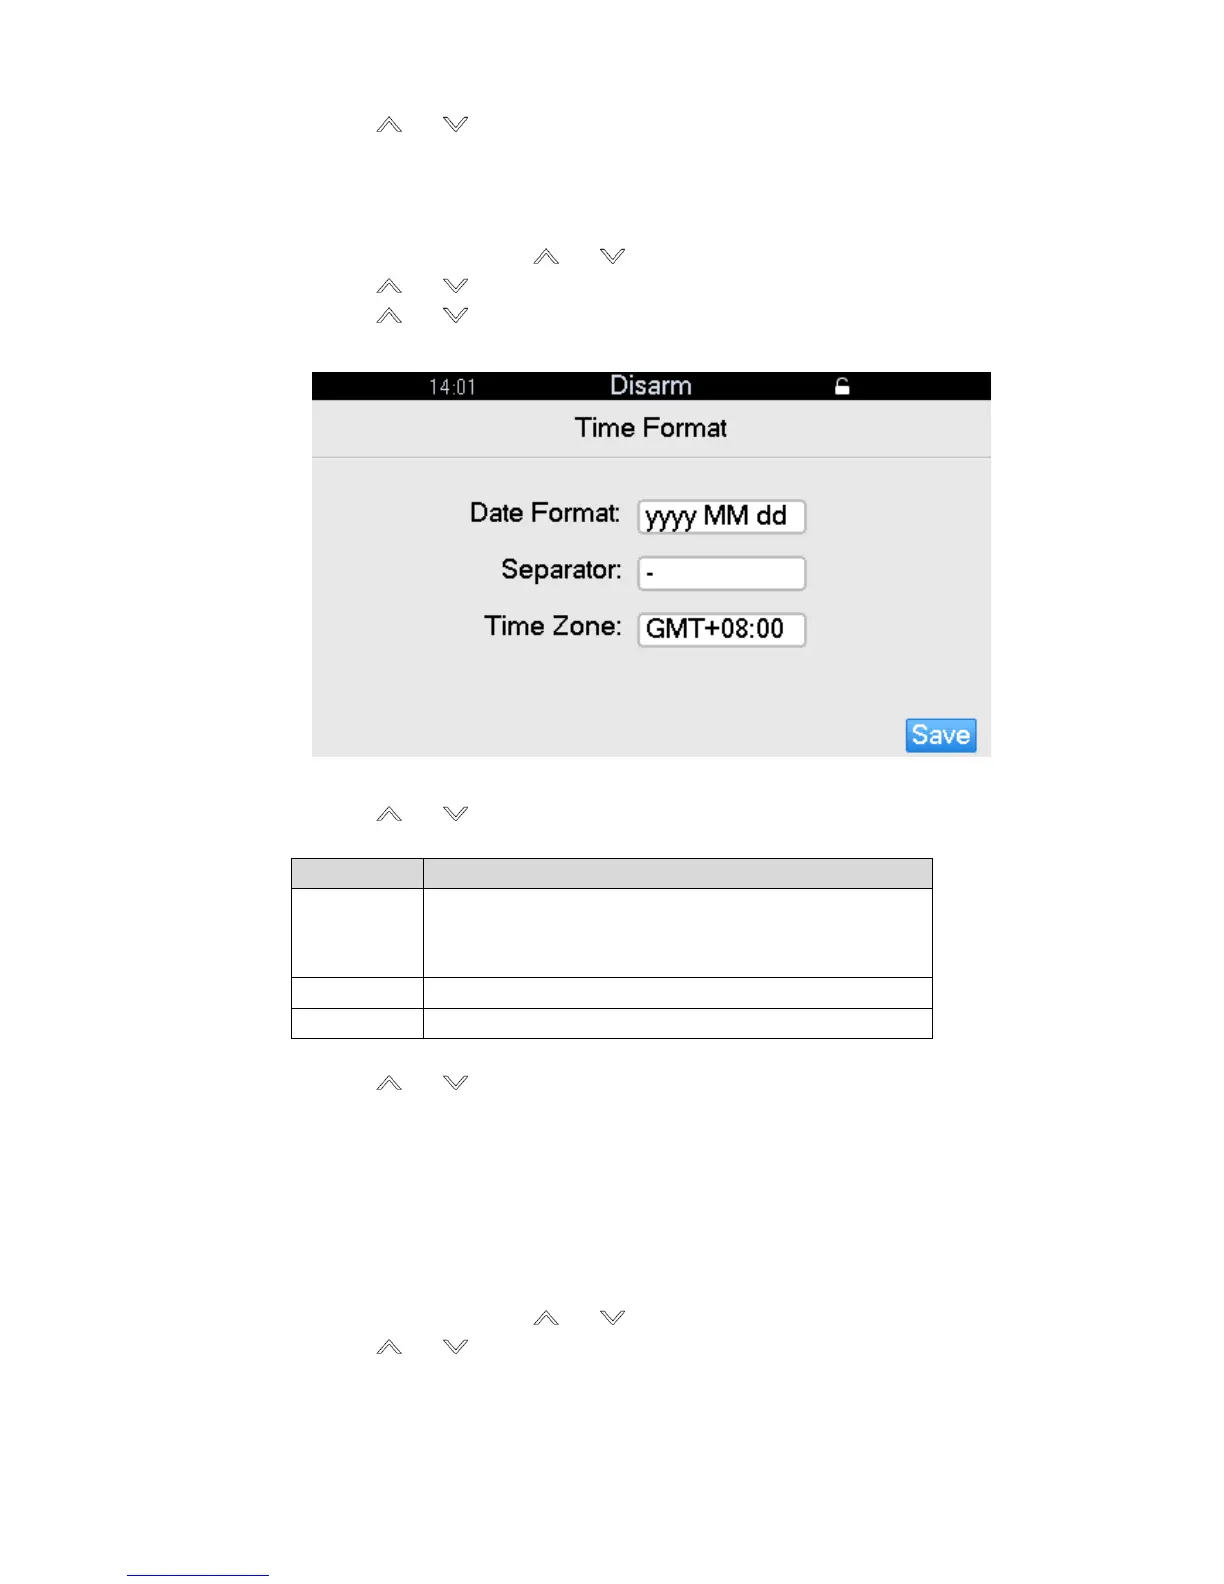
The interface is shown in Figure 4-30.
Figure 4-30
Step 4 Press [ ] or [ ], select corresponding check box and press [OK] to switch format.
For specific parameter descriptions, please refer to Table 4-4.
It includes yyyy MM dd, MM dd yyyy and dd MM yyyy.
yyyy represents year, MM represents month and dd
represents day.
It includes “-”, “.” and “/”.
Please set according to local time zone.
Table 4-4
Step 5 Press [ ] or [ ], select “Save” and press [OK] to save the settings.
4.12 Call Center Setting
Set 2 groups of call center info. After setting telephone number of call center, alarms will be
reported to call center.
Step 1 In the homepage, press [ ] or [ ], select “System” and press [OK].
Step 2 Press [ ] or [ ], select “Call Center” and press [OK].
The interface is shown in Figure 4-31.
 Loading...