Two check boxes represent PSTN 1 and PSTN 2 respectively.
After selection, alarm info will be reported to the selected PSTN when
an alarm is triggered in the zone.
Four check boxes represent record channel 1~ 4.
After selection, the selected channel will start recording when an
alarm is triggered in the zone.
Press numeric key to input record time.
After setting record time, videos will be recorded within the time period
when alarm is triggered.
Table 4-3
Step 5 Press [ ] or [ ], select “Save” and press [OK] to save the settings.
4.8 Mode Setting
The system provides 3 modes, including stay, away and custom. Add required zone to
corresponding mode; realize uniform arm and disarm.
Stay: add zones around the house to “Stay” mode; enable “Stay” mode when you are at
home.
Away: add all zones to “Away” mode; enable “Away” mode when you are out. It includes
exit time and entry delay. Please refer to Table 4-5 for details.
Custom: add required zones to “Custom” mode; enable “Custom” mode in due time.
For example, add 3 zones to “Stay” mode.
Step 1 In the homepage, press [ ] or [ ], select “Setting” and press [OK].
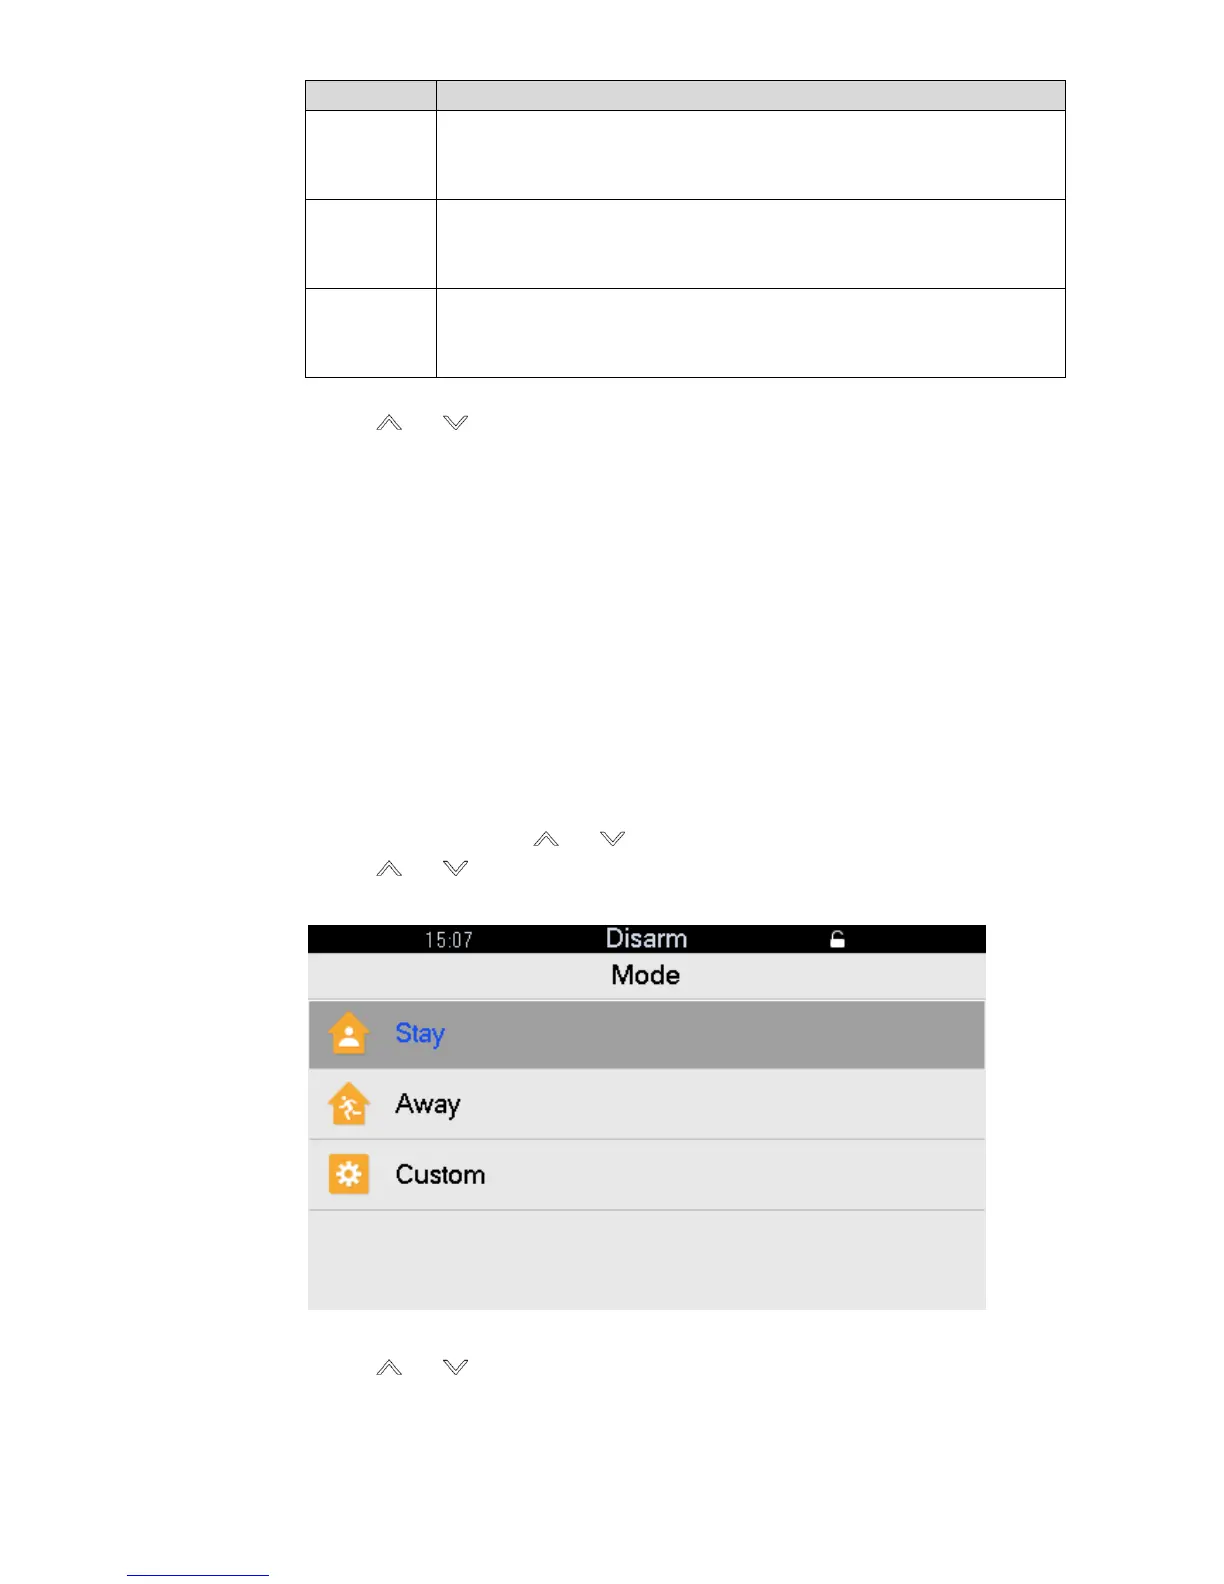
Step 2 Press [ ] or [ ], select “Mode” and press [OK].
The interface is shown in Figure 4-24.
Figure 4-24
Step 3 Press [ ] or [ ], select “Stay” and press [OK].
The interface is shown in Figure 4-25.
 Loading...