32
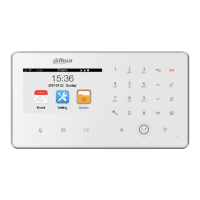
Figure 4-31
Step 3 Press [ ] or [ ], select “Call Group” text box and press [OK].
Switch between Call Center 1 and Call Center 2. Taking “1” for example, it means to
view or set Call Center 1.
Step 4 Press [ ] or [ ], select other parameter text boxes, input with input method or
numeric keys, and thus set “Name”, “Number” and “User Code” of this call center.
For operation, please refer to “Appendix 1 Operating Instructions of Input
Method”.
Set actual user code of call center.
“Clear” is used to delete alarm events that exist in the system but are not sent yet.
Step 5 Press [ ] or [ ], select “Save” and press [OK] to save the settings.
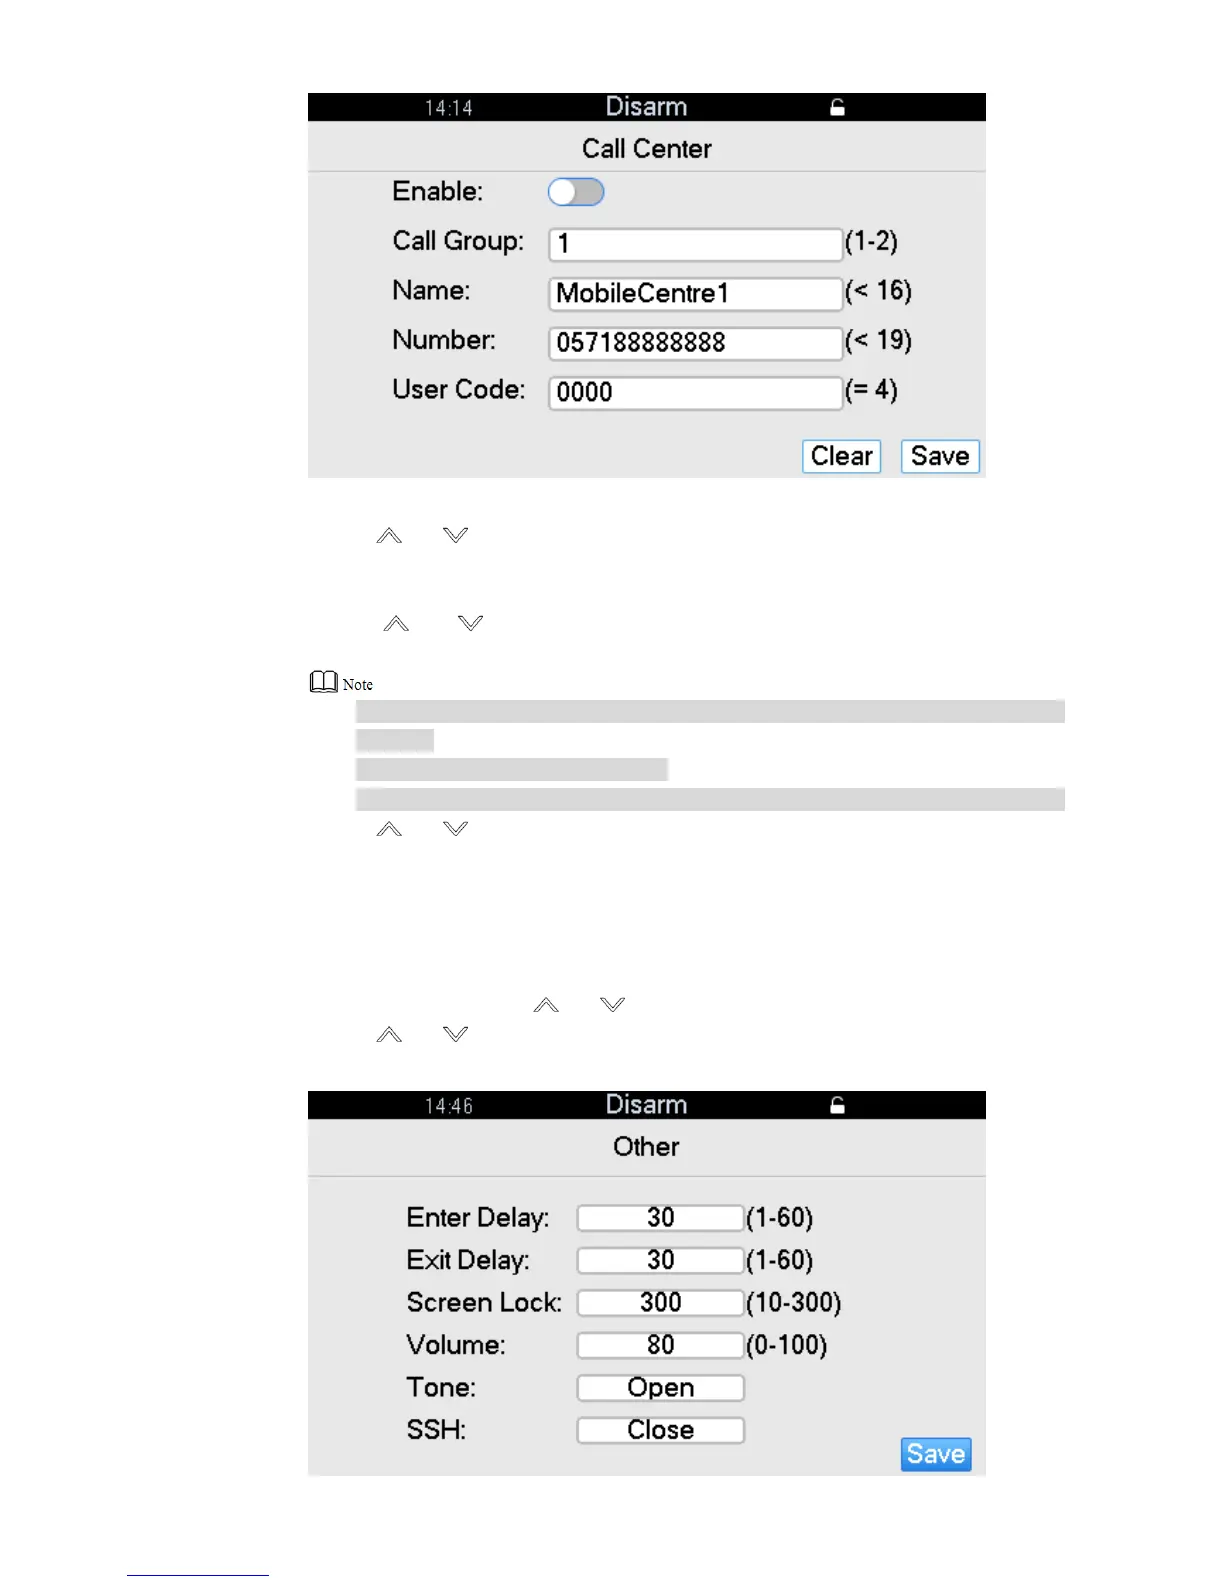
4.13 Delay and Volume Setting
Step 1 In the homepage, press [ ] or [ ], select “System” and press [OK].
Step 2 Press [ ] or [ ], select “Other” and press [OK].
The interface is shown in Figure 4-32.
 Loading...