vPad-A1 OPERATORS MANUAL
To begin operating the simulator, follow instructions in 3.2 -
Assembly and Setup
. The App should start
automatically when hardware setup is complete. If the App does not start automatically on connection of the
hardware, or to restart the App after exiting it, press the icon on the Home screen.
The App adopts typical Android conventions for receiving user input, as outlined in the following sections.
4.1.2 Parameter Selection
vPad-A1 comprises three test modules: the Multi-Parameter Patient Simulator (vPad-PS), the pulse oximeter
or SpO2 tester (vPad-O2), and the NIBP simulator (vPad-BP). “Multi-Parameter” in vPad-PS refers to
ECG waveforms, Respiration, Temperature, Cardiac Output, and Invasive Blood Pressure.
Simulations and performance tests can be configured manually or recalled through an AutoSetting. This
section covers methods of manually operating the simulator by choosing and entering new test parameters.
For details on quick, automated testing with AutoSettings and AutoSequences, see section 5.2 -
Test
Automation
.
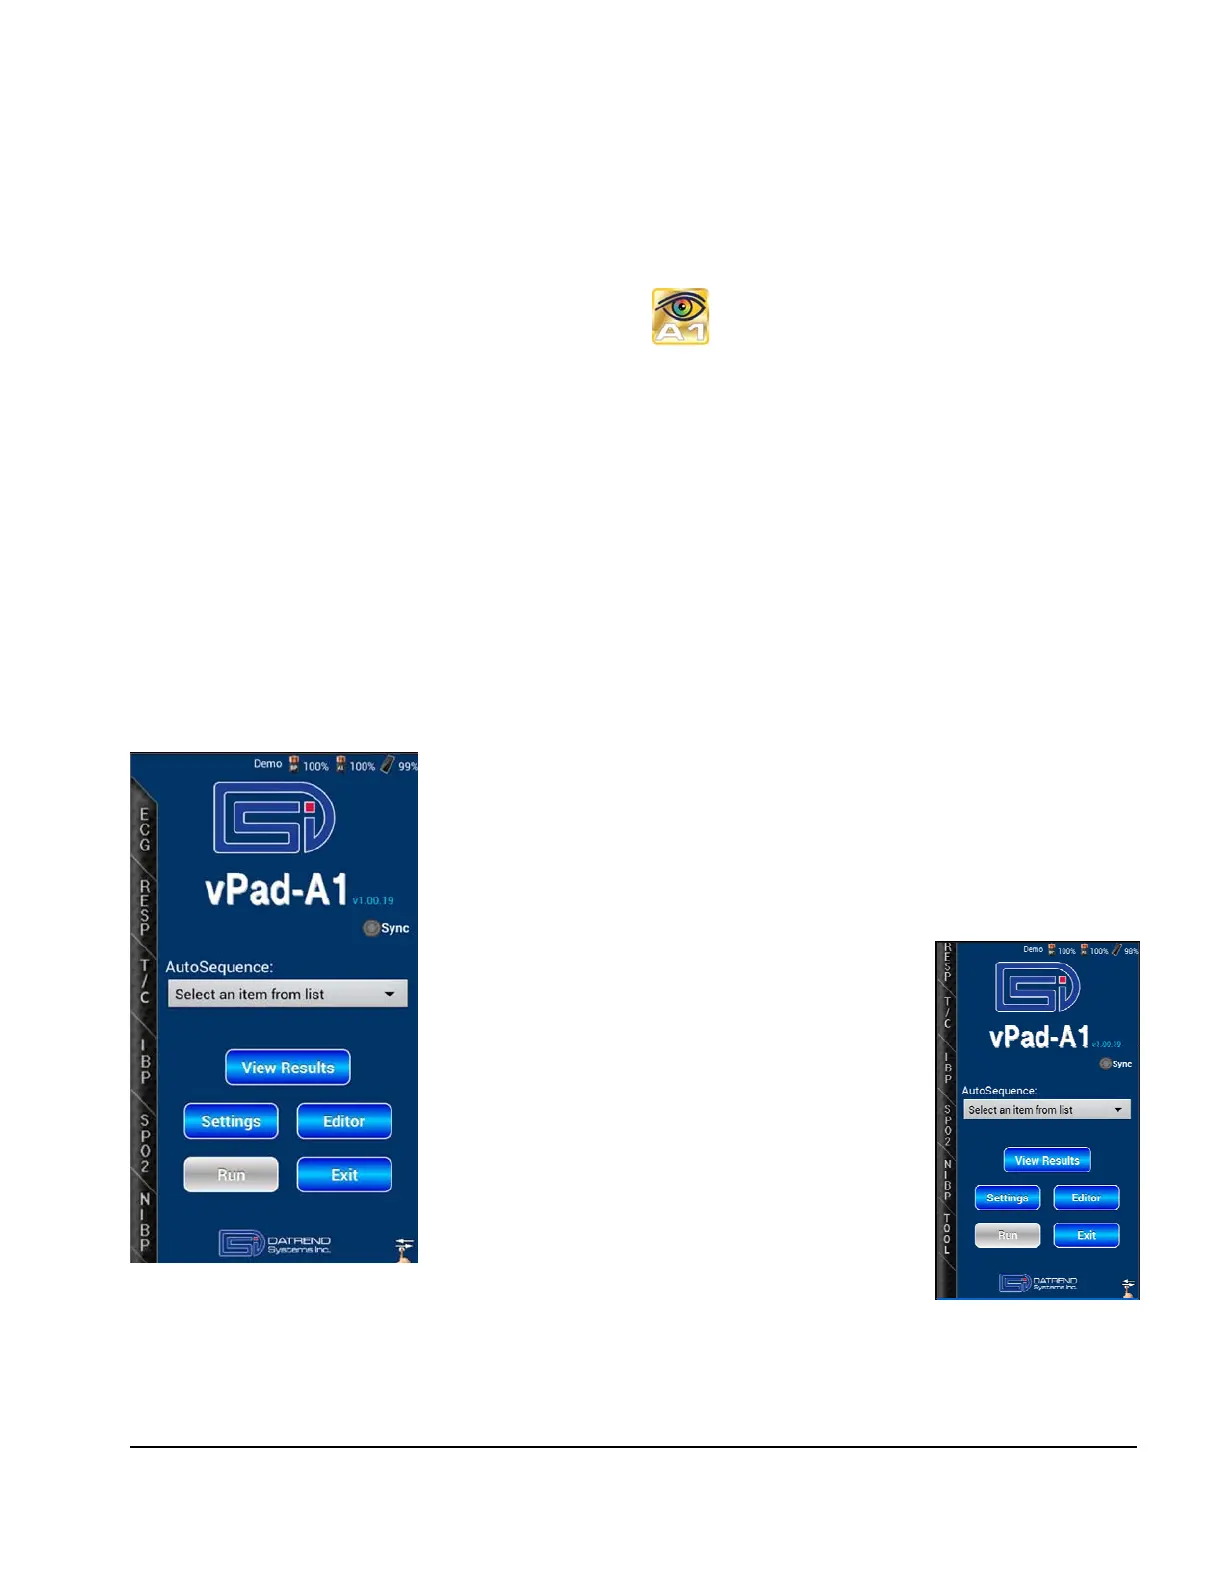
On startup, the App will display its Main screen as shown in
Figure 17
. A
tabbed vertical toolbar on the left edge of the Main screen lists all the
simulation categories provided, though some may be initially hidden. To
reveal more tab options, touch and drag the vertical bar up towards the
top of the screen.
Figure 18
shows the Main screen with the bottom-most
tab visible.
The tabbed toolbar provides access to each type of
simulation or performance test. Touching a tab will
launch the main setup screen for the chosen
physiological simulation (e.g. ECG). On these setup
screens, users can select test options, enter
parameter values, and record Test Results.
The Tool tab in
Figure 18
is the only tab that does
not control a simulation. It provides a
timer/stopwatch utility intended for timed
observation and inspection procedures.
Figure 17
Figure 18
Manual Operation/Chapter 4 # Page 28
 Loading...