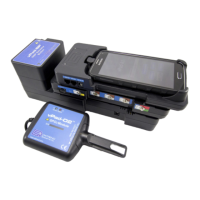
vPad-A1 OPERATORS MANUAL
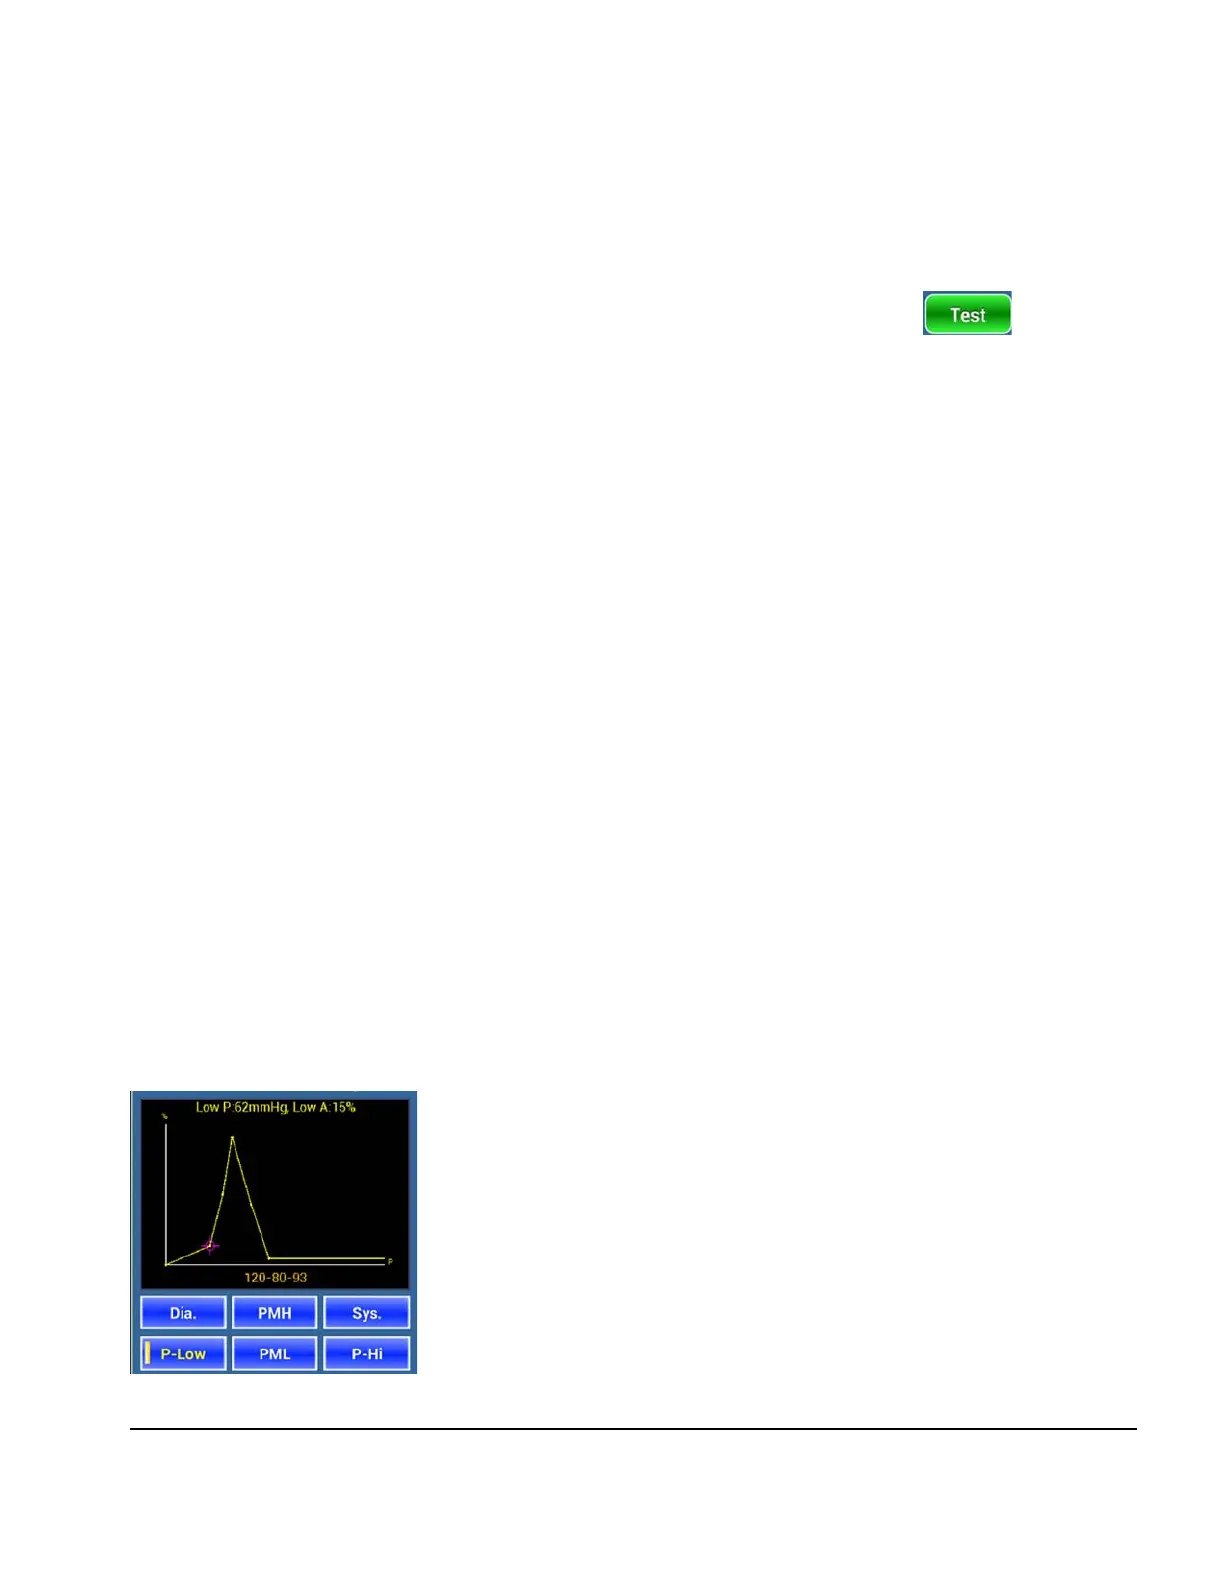
PML PMH
Dia. Sys.
P-Low P-Hi
Each time a change is made to an Envelope inflection point, users must press button for
the new parameters to take effect.
A typical Envelope customization makes the following adjustments through experimentation, in no
particular order.
• PMH + PML: Adjust these pressures (x positions) to achieve a target MAP reading.
Some devices require both points to coincide at the desired MAP in a sharp
peak.
Other devices perform better when the points form a plateau near MAP,
with one or both points offset from the target reading.
• Sys. + Dia.: Adjust these pressures (x positions) so that they correspond to the target
SYS and DIA readings, respectively.
Adjust amplitudes (y positions) until successive SYS and DIA readings on
the NIBP monitor are within acceptable tolerance of the targets.
• P-Hi + P-Low: Different devices can have vastly different "ideal" Envelope shapes that
conform best to their algorithms.
If monitor
NIBP readings are unstable (e.g. successive measurements differ
by more than 5 mmHg), moving the pressures (x positions) away from the
MAP peak may improve the results.
To select an inflection point for editing, simply press a button in
Figure 104
to highlight it on the graph. For all selected points (except for PMH and
PML), a brief description above the graph shows the current pressure (x
position) measured in mmHg, and amplitude (y position) as a percentage of
the maximum pulse height.
PMH and PML are always at 100% peak, so their amplitudes are not shown
and their amplitude adjustment buttons will be disabled. Instead, the
description shows the pressure of both PMH and PML at once, as well as
the mid-point (mean) and pressure difference (delta) between them.
Figure 104
Manual Operation/Chapter 4 # Page 70
 Loading...