Installing the power interposer board
Prerequisites
1. Follow the safety guidelines listed in the Safety instructions.
2. Follow the procedure listed in the Before working inside your system.
3. Remove the expansion card risers 2.
4. Remove the air shroud.
5. Remove a power supply unit or Remove a power supply unit blank.
6. Disconnect the cables that are connected to power interposer board (PIB) and from the system board.
NOTE: The procedure to install the PIB is same for Rear Accessed and Front Accessed configurations.
Steps
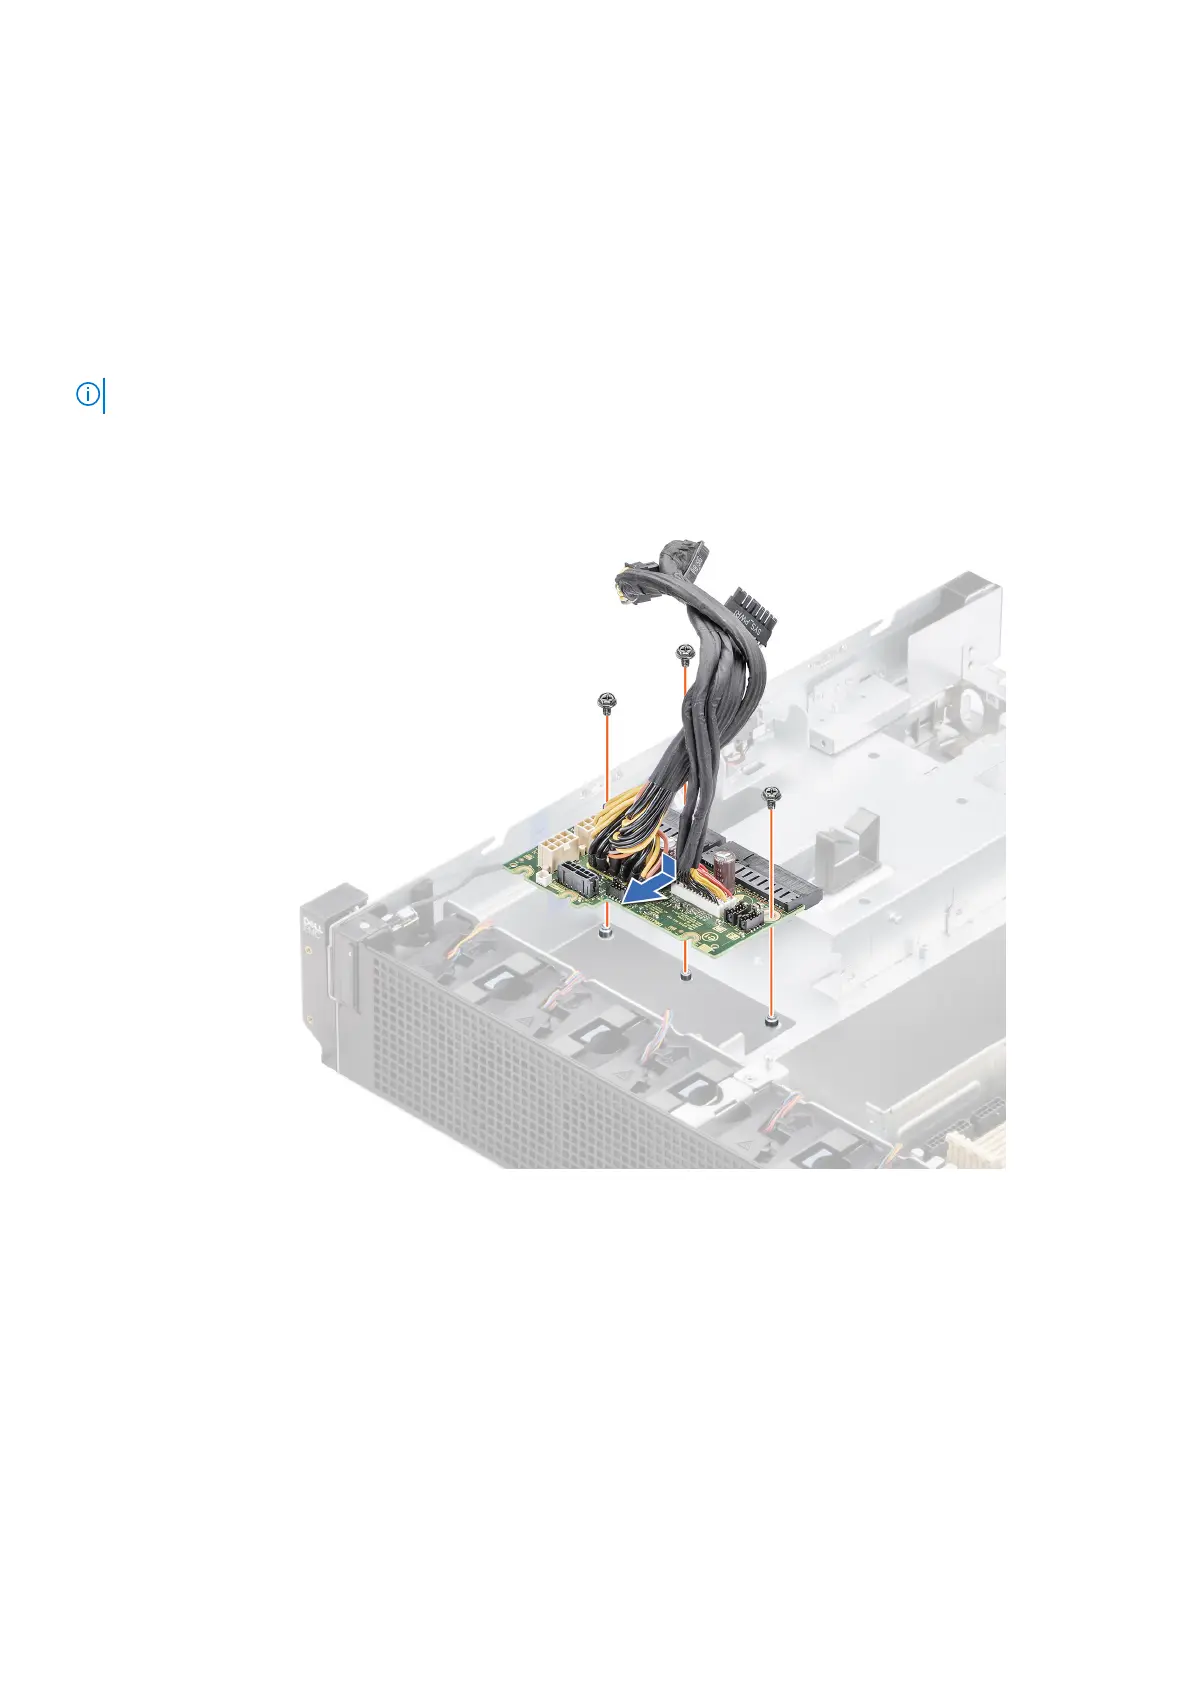
1. Align the slots on the PIB with the hook on the chassis and slide it into place.
2. Using Phillips #2 screwdriver, tighten the screws to secure the PIB to the system.
Figure 113. Installing the power interposer board
3. Reconnect the cables that are connected to the power interposer board (PIB) and also to the system board.
Next steps
1. Install the air shroud.
2. Install the expansion card risers 2.
3. Follow the procedure listed in After working inside your system.
102
Installing and removing system components
 Loading...


