Table 25. Connector descriptions for PIB to Riser 2 with double-width, full-length GPU
From To
GPU_PWR1 (PIB power cable connector) GPU_PWR (GPU power cable connector)
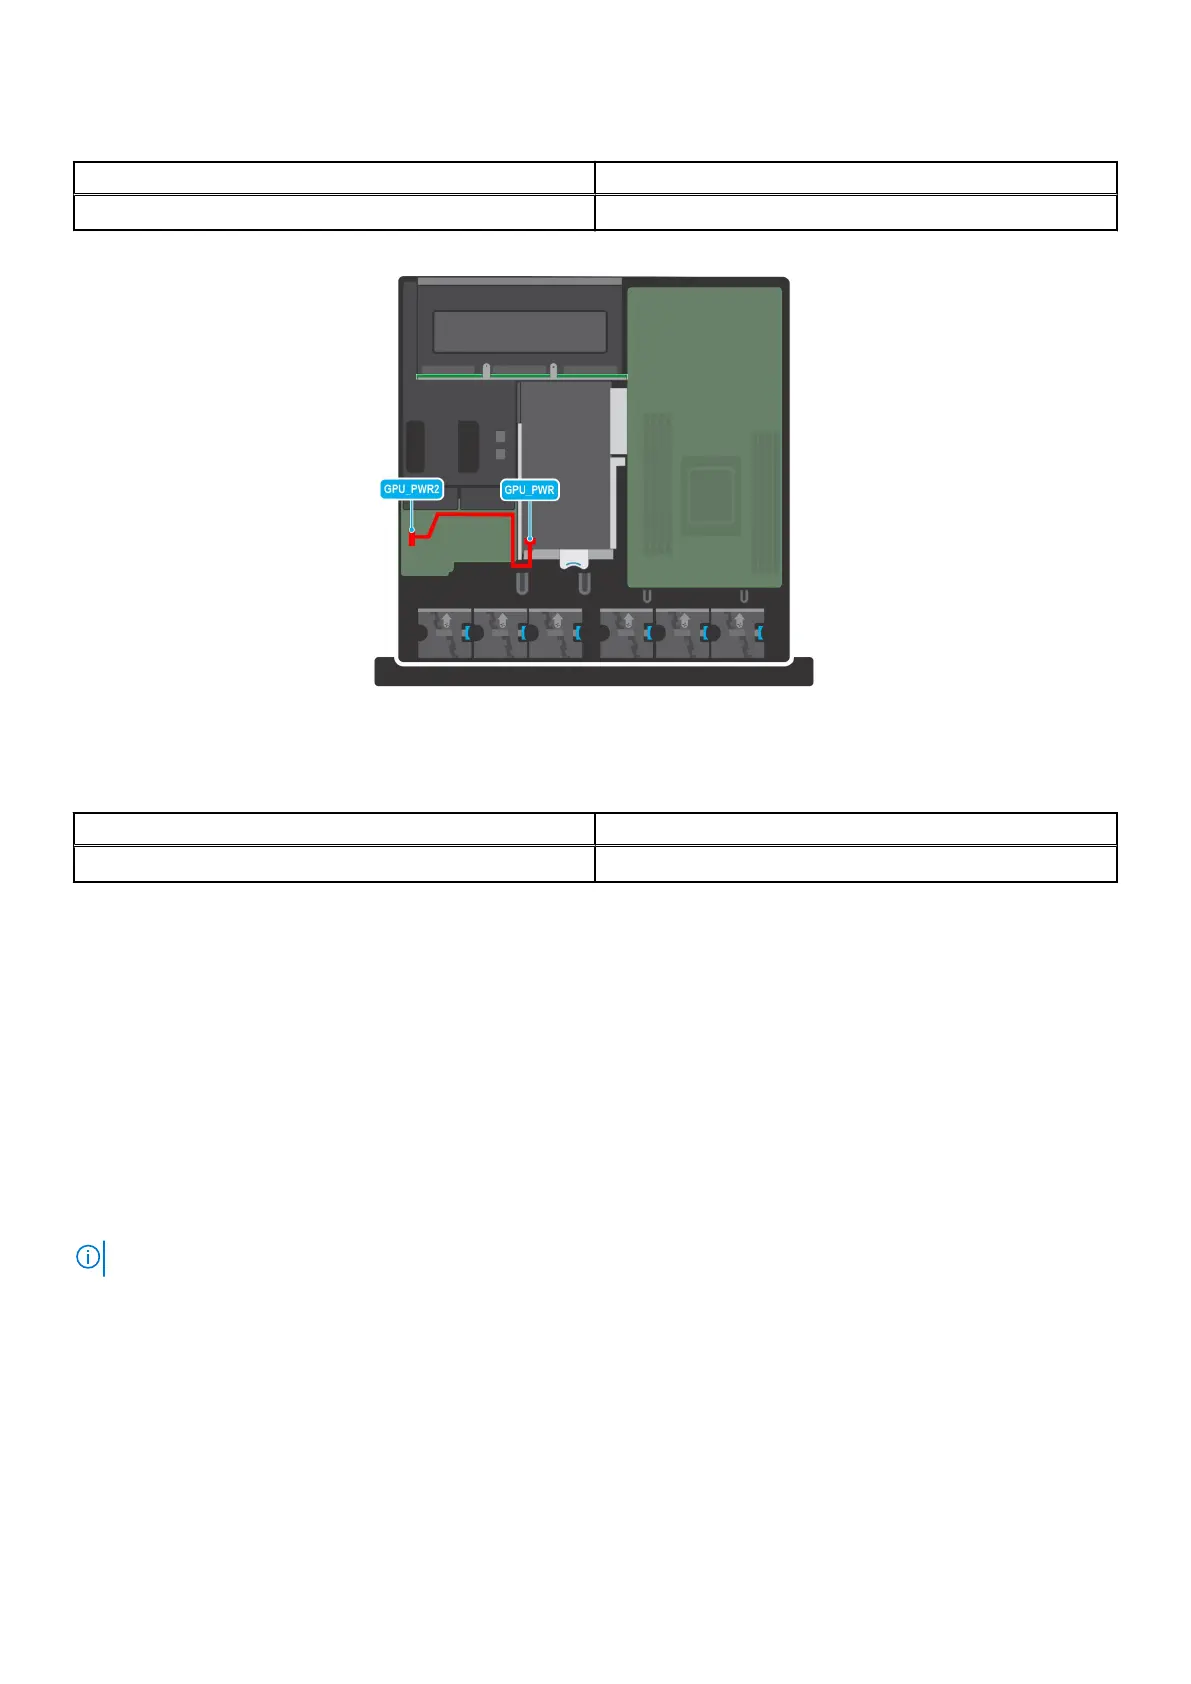
Figure 80. PIB to Riser 3 with double-width, full-length GPU
Table 26. Connector descriptions for PIB to Riser 3 with double-width, full-length GPU
From To
GPU_PWR2 (PIB power cable connector) GPU_PWR (GPU power cable connector)
Drive cage
This is a service technician replaceable part only.
Removing the drive cage
Prerequisites
1. Follow the safety guidelines listed in the Safety instructions.
2. Follow the procedure listed in the Before working inside your system.
3. Remove the drives.
4. Remove the backplane.
NOTE: The procedure to remove the drive cage is the same for Rear Accessed and Front Accessed configurations.
Steps
1. Using the Phillips #2 screwdriver, loosen the blue thumbscrews.
2. Hold and lift the drive cage out of the system.
72
Installing and removing system components
 Loading...


