Heat sink
Removing the heat sink assembly
1 Follow the procedure in Before working inside your computer.
2 Remove the:
a battery cover
b battery
c base cover
d hard drive
e keyboard
f palmrest
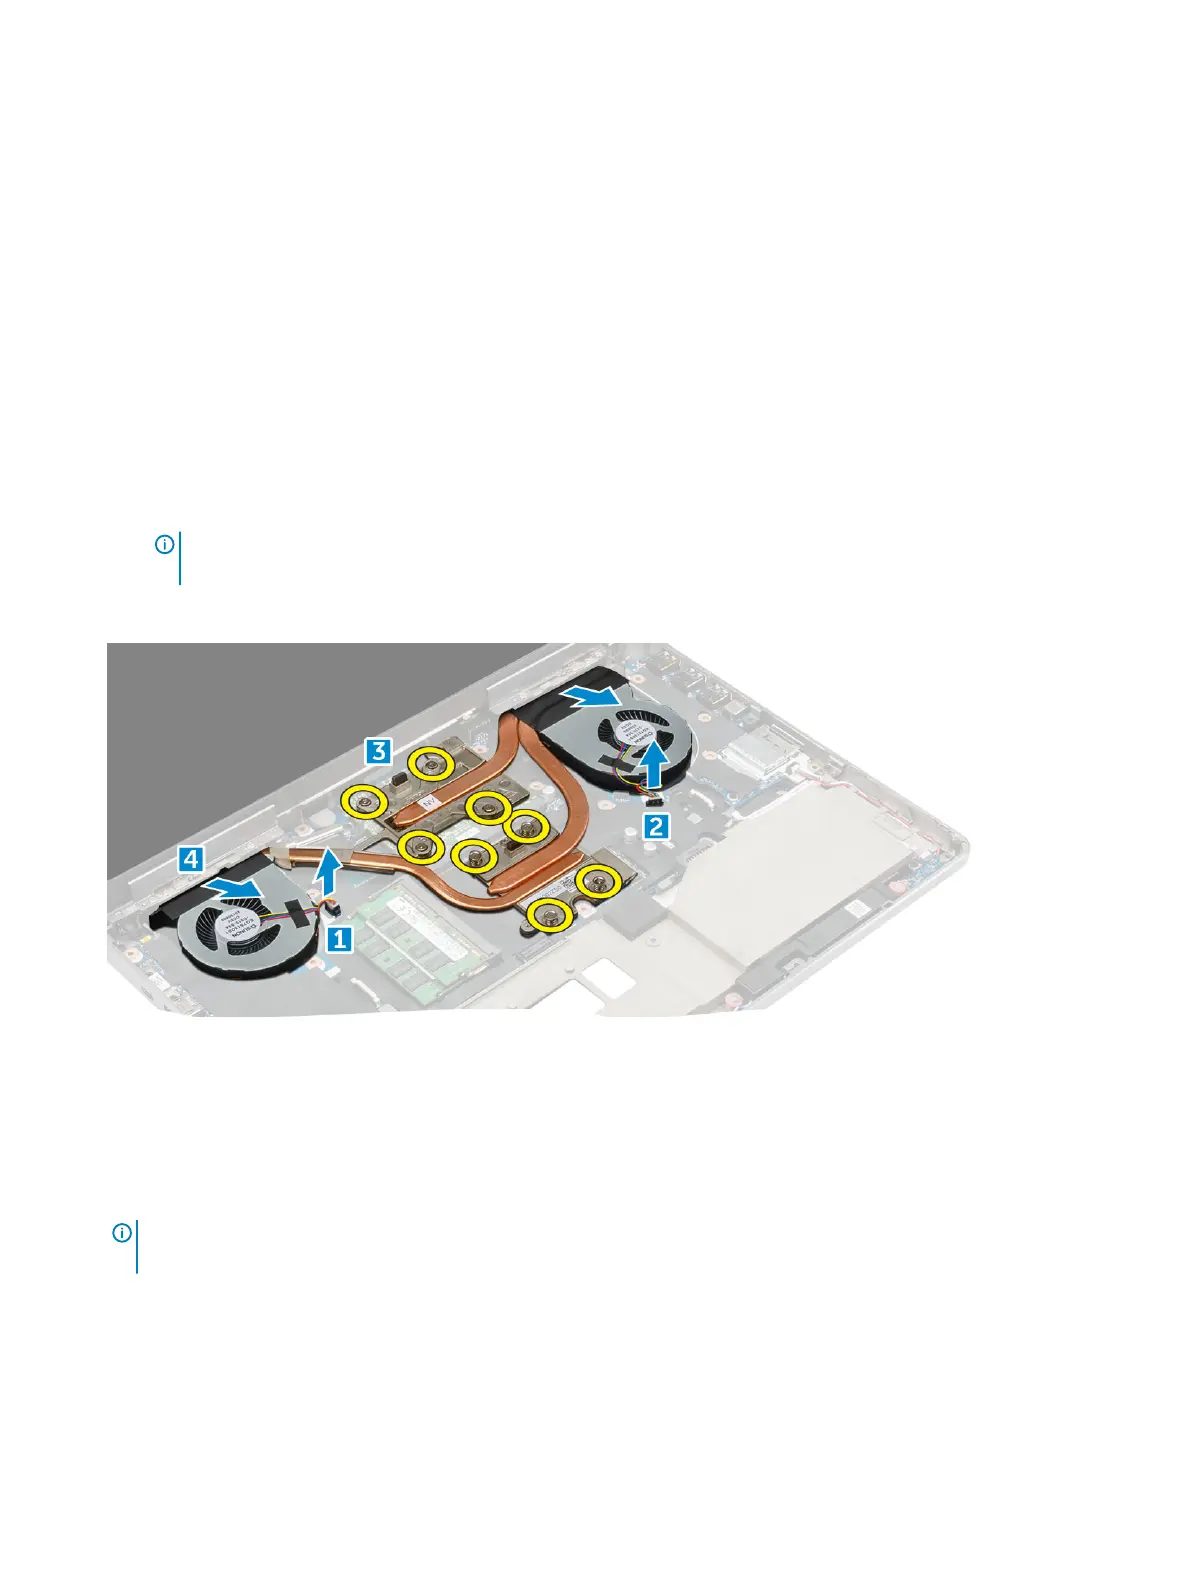
3 To remove heat sink:
a Disconnect the fan cables from the computer [1, 2] .
b Loosen the captive M2.5x5.0 screws that secure the heat sink assembly to the computer [3].
NOTE: Remove the screws that secure the heat sink to the system board in the order stamped onto the heat sink next
to the screws [1, 2, 3, 4, 5, 6, 7, 8].
c Peel o the tape on the heat sink assembly.
d Lift and remove the heat sink assembly from the computer [4].
Installing the heat sink assembly
1 Insert the heat-sink assembly in its slot.
2 Ax the tape on the heat sink assembly.
3 Tighten the captive M2.5x5.0 screws to secure the heat-sink assembly to the computer.
NOTE
: Tighten the screws on the system board in the order stamped onto the heat sink next to the screws [1, 2, 3, 4, 5, 6,
7, 8].
4 Connect the fan cables to the system board.
5 Install the:
a palmrest
b keyboard
c hard drive
d base cover
30
Disassembly and reassembly