Steps
1. Remove the three screws (M2x5) that secures the USB-C connector module to the bottom side of the system board.
2. Remove the USB-C connector module from the system board.
NOTE: The USB-C bracket is part of the system-board assembly.Do not remove the bracket from the system board.
Installing the USB-C Connector Module
CAUTION: The information in this installation section is intended for authorized service technicians only.
Prerequisites
If you are replacing a component, remove the existing component before performing the installation procedure.
About this task
The following images indicate the location of theUSB-C Connector Module and provide a visual representation of the installation
procedure.
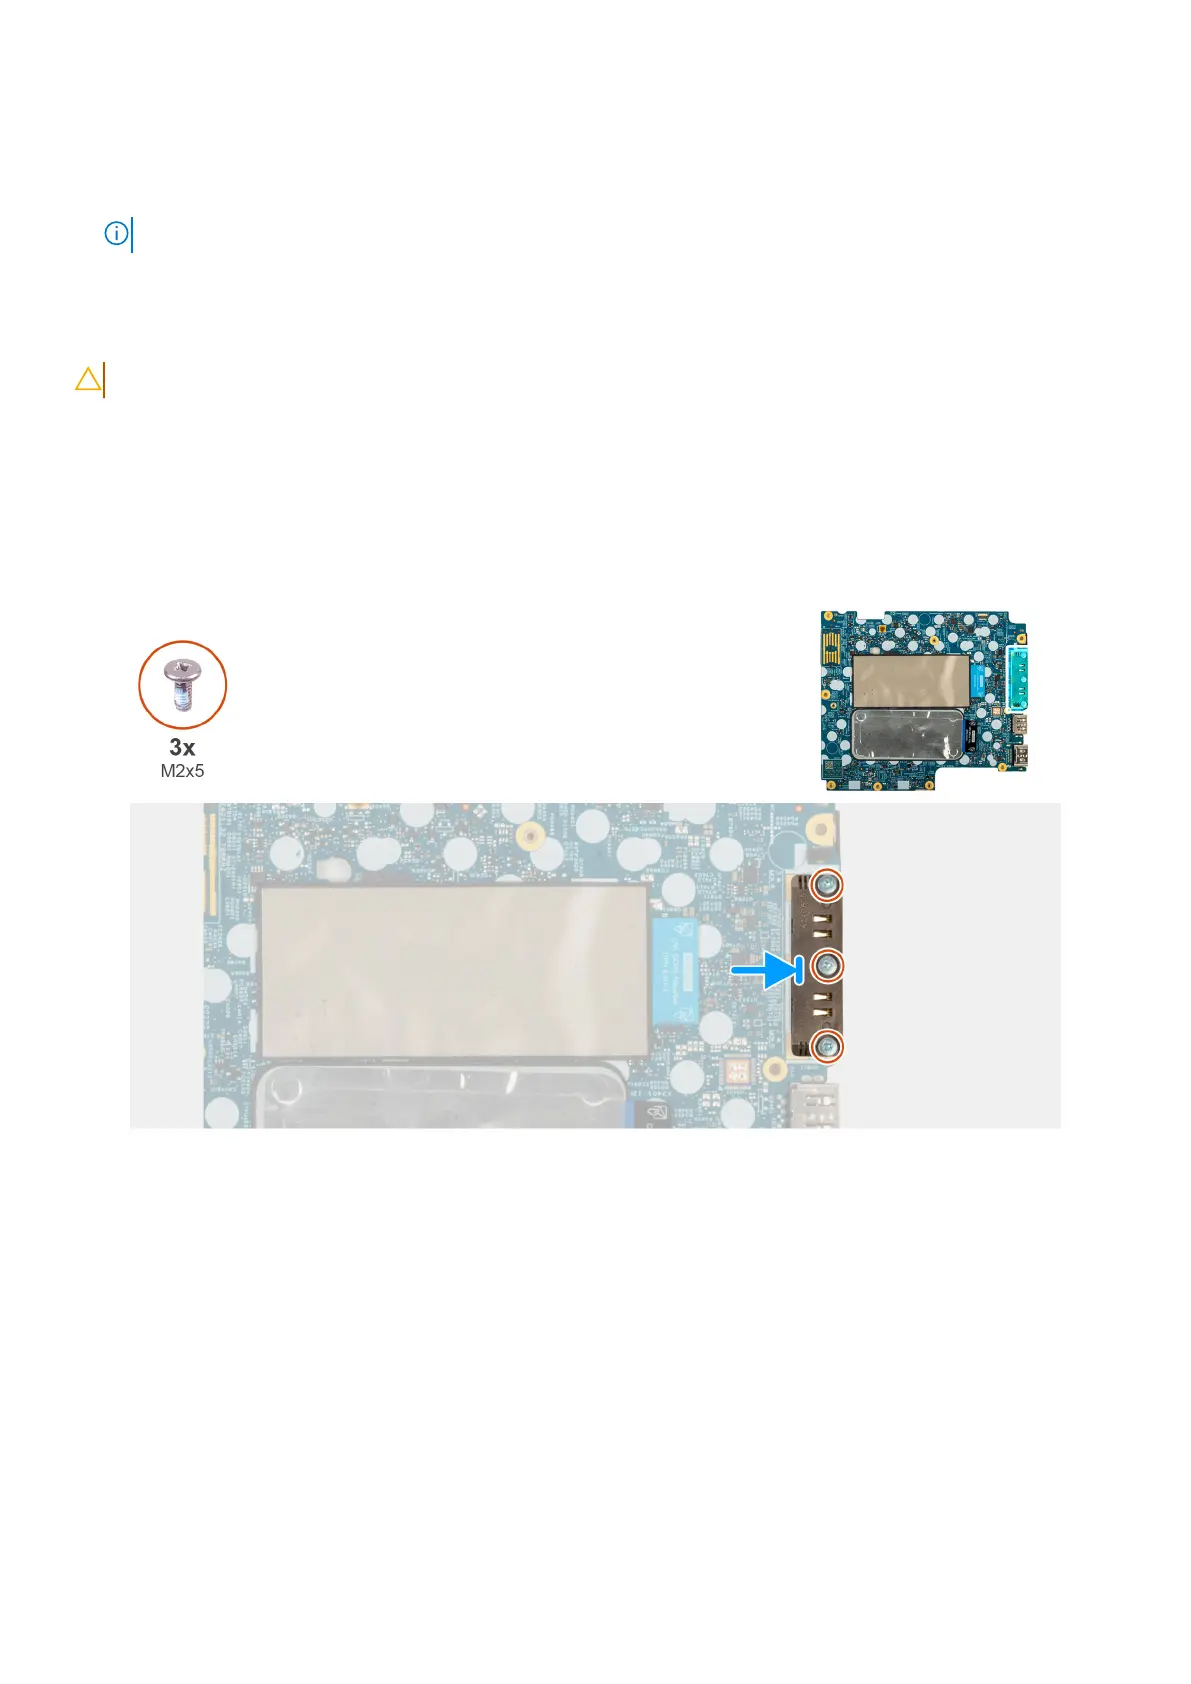
Figure 53. Installing the USB-C Connector Module
Steps
1. Place the USB-C module to the slot on the bottom side of the system board.
2. Replace the three screws (M2x5) that secure the USB-C connector module in place.
Next steps
1. Install the system board.
2. Install the speakers.
3. Install the 5G WWAN card
4. Install the M.2 2230 or M.2 2280 SSD, as applicable.
5. Install the heat sink.
6. Install the base cover.
7. Install the SIM card tray, if applicable.
102
Removing and installing Field Replaceable Units (FRUs)