About this task
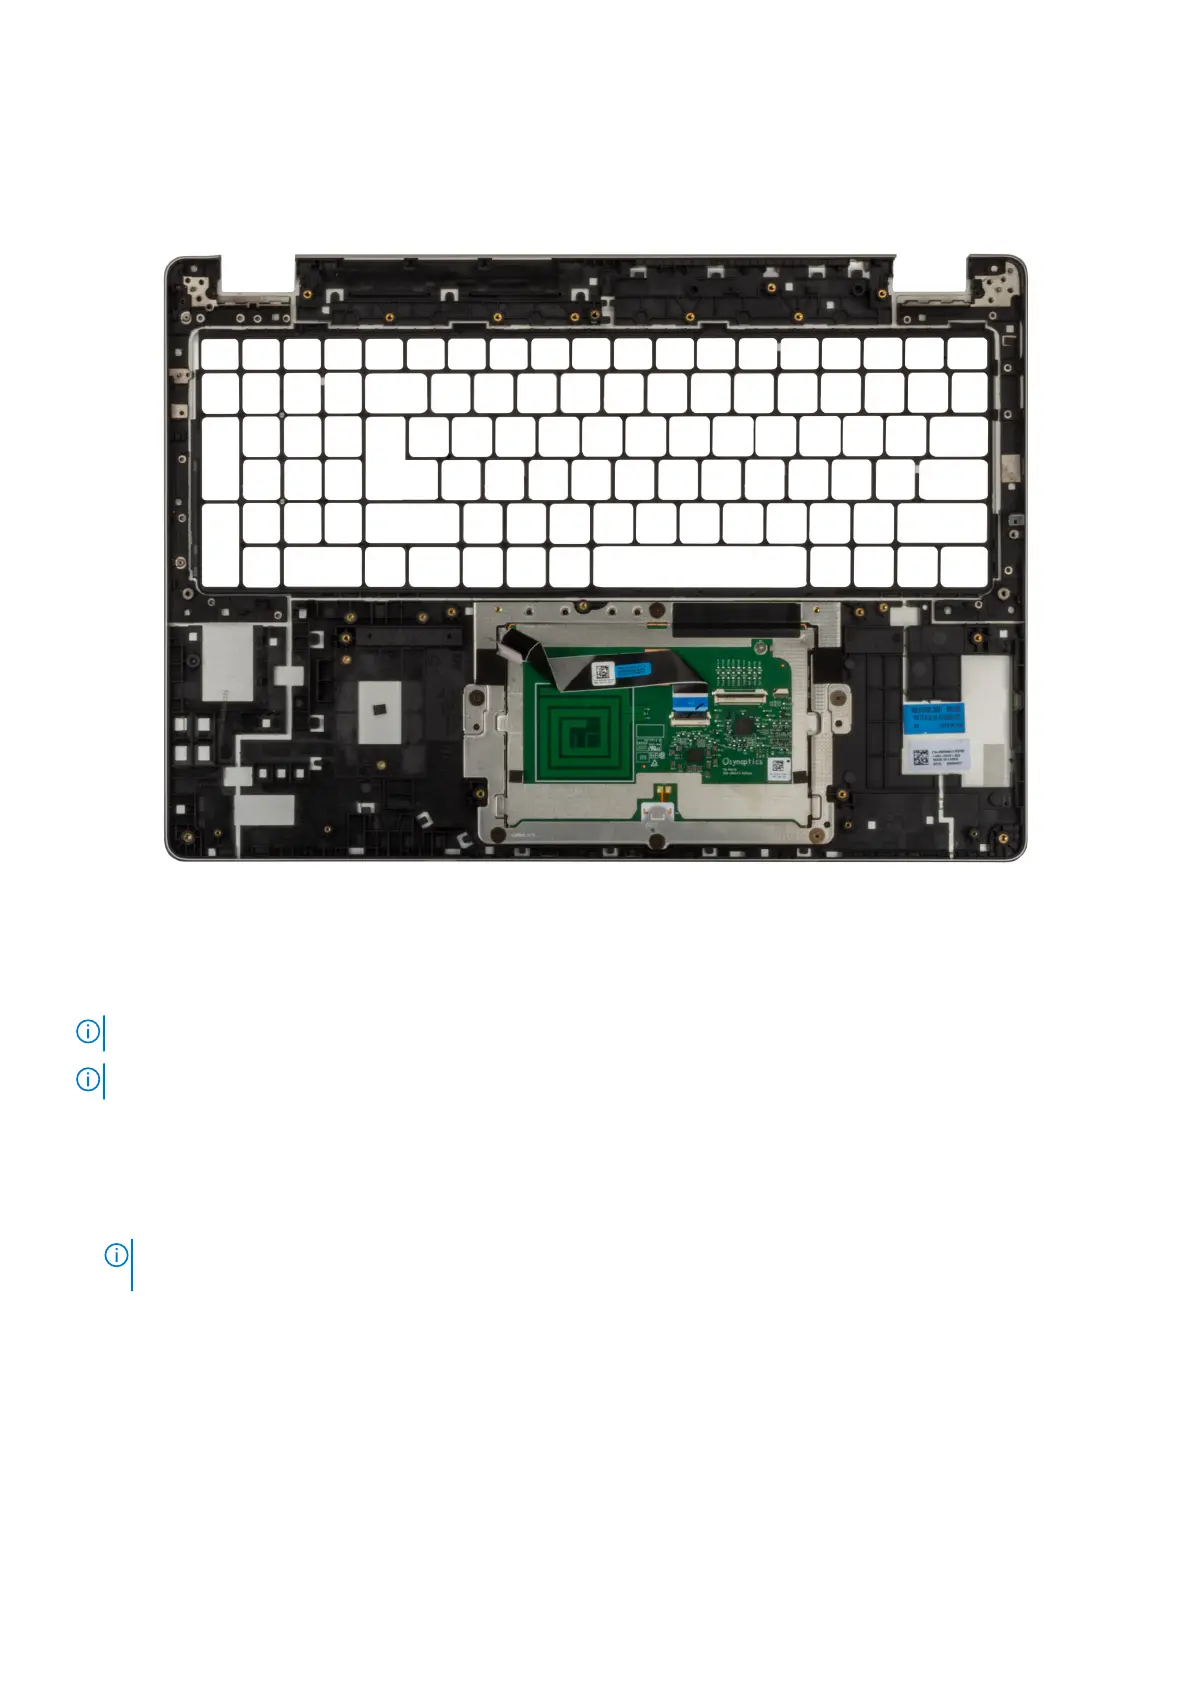
The following image indicates the location of the palm-rest assembly and provides a visual representation of the installation
procedure.
Figure 62. Installing the palm-rest assembly
Steps
Place the palm-rest assembly on a clean and flat surface.
NOTE: Touchpad is pre-assembeled with the palm-rest assembly.
NOTE: Battery support bracket and the keyboard support frame must be added to the replacement palm-rest assembly.
Next steps
1. Install the display assembly.
2. Install the system board.
NOTE:
The system board can be removed and installed with the heat sink attached in order to simplify the procedure
and preserve the thermal bond between the system board and heat sink.
3. Install theUSH Daughter Board
4. Install thesmart-card reader
5. Install thepower button with an optional fingerprint-reader
6. Install the speakers
7. Install the battery.
8. Install the heat sink
9. Install the 5G WWAN card
10. Install the M.2 2230 or M.2 2280 SSD.
11. Install the base cover.
114
Removing and installing Field Replaceable Units (FRUs)