Chapter 3: Installing and Configuring C|24 15
Chapter 3: Installing and
Configuring C|24
Installing C|24
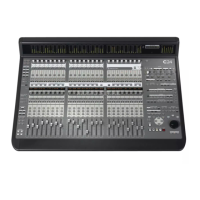
C|24 can be set on a level table top or mounted
in a console or desk.
Wherever you install C|24, make sure not to
block air circulation to the vents on the back of
the unit.
Connecting Power to C|24
C|24 comes with a dedicated external power
supply that has an IEC standard AC receptacle.
This connector accepts a standard AC power
cable.
To connect power to C|24:
1 Connect the external power supply to the
connector marked “To Ext PSU” on the back
panel of C|24. Make sure the connector is ori-
ented correctly before securing the connection.
2 Connect the included AC power cord to the
external power supply.
3 Connect the other end of the AC power cord
to a power source.
Connecting C|24 to the
Computer
C|24 communicates with Pro Tools using
Ethernet. This connection uses a standard RJ45
connector.
If you are connecting C|24 directly to your
computer, use a crossover Ethernet cable (one is
included with C|24).
If you are connecting C|24 to an Ethernet hub
or network, use a standard Ethernet cable (not
included).
If C|24 will be the only Ethernet device connected
to your computer:
1 Connect one end of the included crossover
Ethernet cable to the Ethernet port on the back
panel of C|24.
2 Connect the other end of the crossover Ether-
net cable to the appropriate Ethernet port on the
computer.

 Loading...