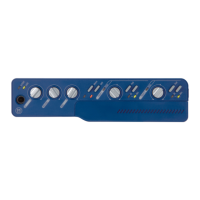
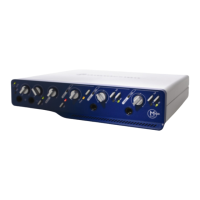
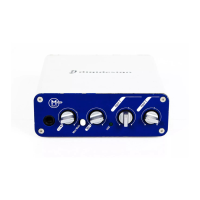
Getting Started with Mbox48
5 In the Mix Window, record-enable the MIDI
track.
6 Make sure MIDI > MIDI Thru is selected, then
play some notes on your MIDI controller. The
MIDI instrument assigned to the track should
sound, and the track’s meters should register
MIDI activity.
To record onto a MIDI track:
1 Verify that the MIDI track you want to record
to is record-enabled and receiving MIDI.
2 In the Transport window, click Return To Zero
to start recording from the beginning of the ses-
sion. You can also record according to a selec-
tion or from the cursor location in the Edit
window.
3 Click Record in the Transport window.
4 Click Play in the Transport window or press
the Spacebar to begin recording.
– or –
If using Wait for Note, the Play, Record, and
Wait for Note buttons flash. Recording begins
when the first MIDI event is received.
– or –
If using Countoff, click Play. The Record and
Play buttons flash during the Countoff, then re-
cording begins.
5 Play your MIDI instrument.
6 When you have finished recording, click Stop
in the Transport window, or press the Spacebar.
The newly recorded MIDI data appears as a MIDI
region on the track in the Edit window, as well
as in the MIDI Regions List.
To play back a recorded MIDI track:
1 Click the Record Enable button to take the
MIDI track out of Record mode.
2 In the Transport window, click Return To Zero
to play back from the beginning of the track.
You can also play back according to a selection
or from the cursor location in the Edit window.
3 Click Play in the Transport window to begin
playback. The recorded MIDI data plays back
through the track’s assigned instrument and
channel.
Monitoring MIDI Instruments Without a Mixer
To monitor your MIDI instrument’s analog out-
put, you can use an Auxiliary Input. Auxiliary
Inputs function as inputs for both internally
bussed signals and external audio sources.
To configure an Auxiliary Input for MIDI
monitoring:
1 Connect the MIDI instrument’s audio output
to the appropriate inputs on your Mbox.
2 Choose File > New Track and specify 1 mono
or stereo Auxiliary Input, then click Create.
3 Click the Input selector of the Auxiliary Input
channel and choose the input to which your
MIDI instrument is connected.
4 Adjust the level of the Auxiliary Input with its
volume fader.