Chapter 5: Working with Pro Tools LE 45
Markers nor Selections, but have Track Height,
Zoom Settings, or other options enabled, you
can use Memory Locations to zoom in and out
using just the numeric keypad.
Importing Audio
Pro Tools LE lets you import existing audio files
from disk. This is very useful if you have audio
files already recorded to disk or if you are work-
ing with CD-based sample libraries that you
want to use in a new session.
To import audio files or regions from disk:
■ Choose File > Import Audio to Track to import
files and regions to new audio tracks (they will
also appear as regions in the Audio Regions List).
– or –
■ Choose Import Audio from the Audio Regions
List pop-up menu to import files and regions to
the Audio Regions List only.
To import a CD audio track:
1 Put the source CD into your computer’s CD
drive.
2 Use a third party software program of your
choice to extract audio from the CD.
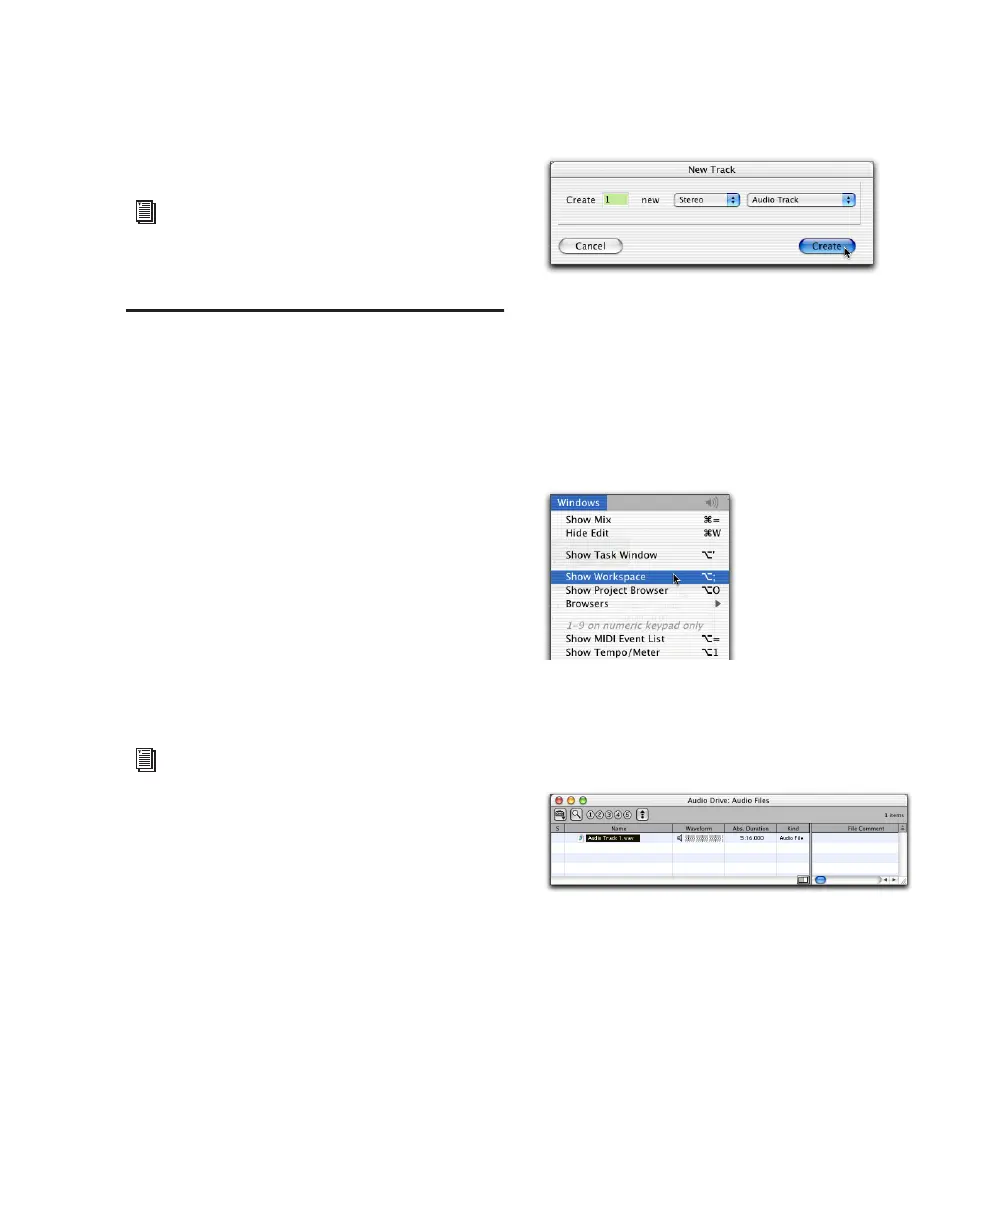
3 In the session, create a new track by choosing
File > New Track.
4 In the New Track dialog, specify 1 Stereo Au-
dio Track, and click Create.
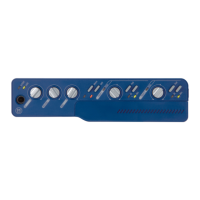
5 Open the Workspace Browser by choosing
Windows > Show Workspace. The Workspace
Browser is a window where you can find, audi-
tion, and manage your audio files.
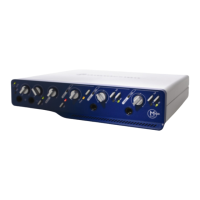
6 In the Workspace Browser, navigate to the lo-
cation where you saved the audio you extracted
from your CD in step 2.
For more information on creating memory
locations, see “Memory Locations” on
page 43.
For more information on importing audio
into sessions, refer to the Pro Tools Refer-
ence Guide.
Creating a new stereo audio track
Opening the Workspace Browser
Audio file in the Workspace Browser