3. Select the Number of print heads drop down setting and select the number of print heads
that the controller will command.
4.
Use the Print group number drop down settings, to assign each print head to a print group.
End of procedure.
Print Group Setup
Print groups can be set-up in one of the 3 modes described below:
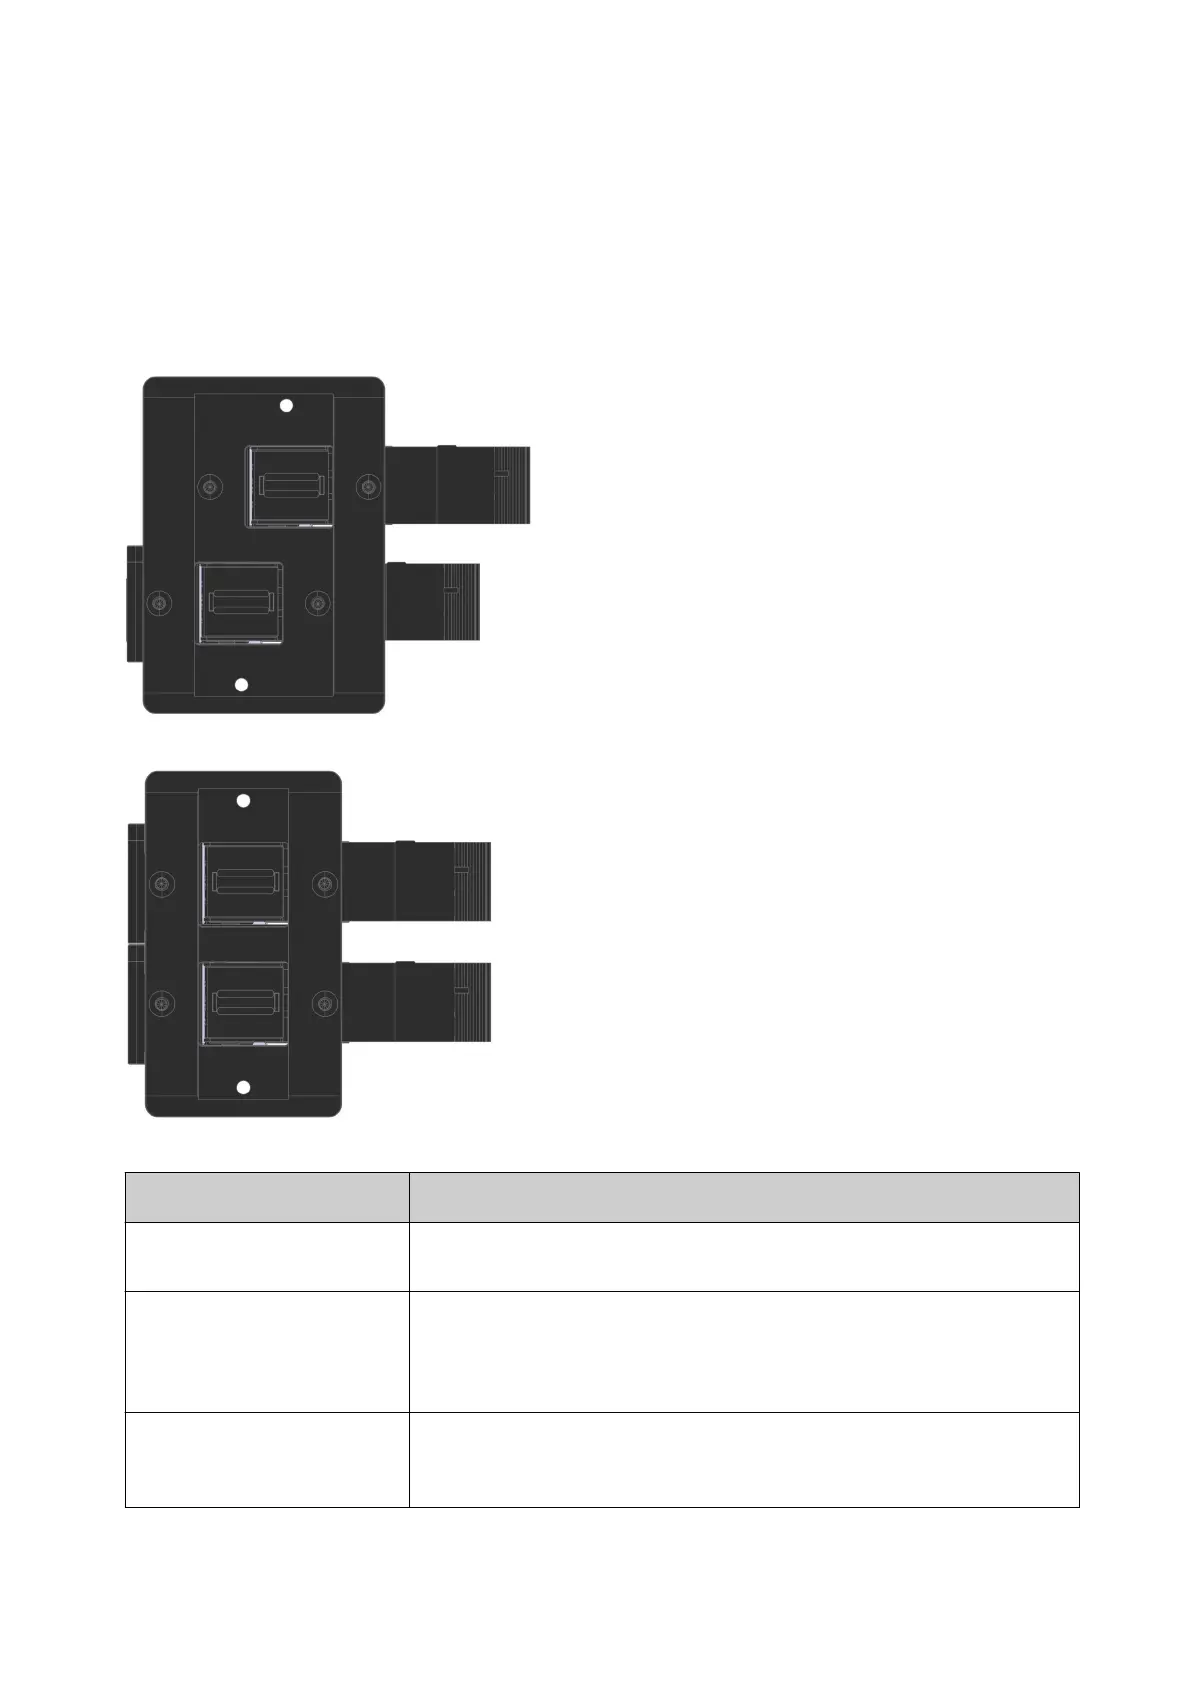
Stitch Print Head Arrangement
Auto-Swap/Parallel Print Head Arrangement
Print Group Mode Description
Stitch Print heads are side by side and slightly oset. This increases the
height of the printing area.
Auto-swap Print heads are side by side with no oset. This allows the print
heads to print alternately. Also, when one cartridge needs to be
replaced, another print head in the group will take over to let
printing continue.
Parallel Print Print heads installed side by side with no oset. The print heads
will overprint each other to produce a higher contrast print. This
mode can be used to increase print density at higher print speeds.
INSTALLATION
65 EPT053091 - Issue 5 - 07 May 2021
 Loading...