Setup SMB on the Gx-Series Controller
To setup SMB on the Gx-Series controller:
1. Ensure the Gx-Series controller and the directory containing the shared folder are both
setup and connected to the same network.
2.
Select Home > Setup > Printer network > SMB.
3.
Tick the Enable tick box.
4.
Select Add new SMB setting.
5.
The settings described below can now be defined:
Setting Name Explanation
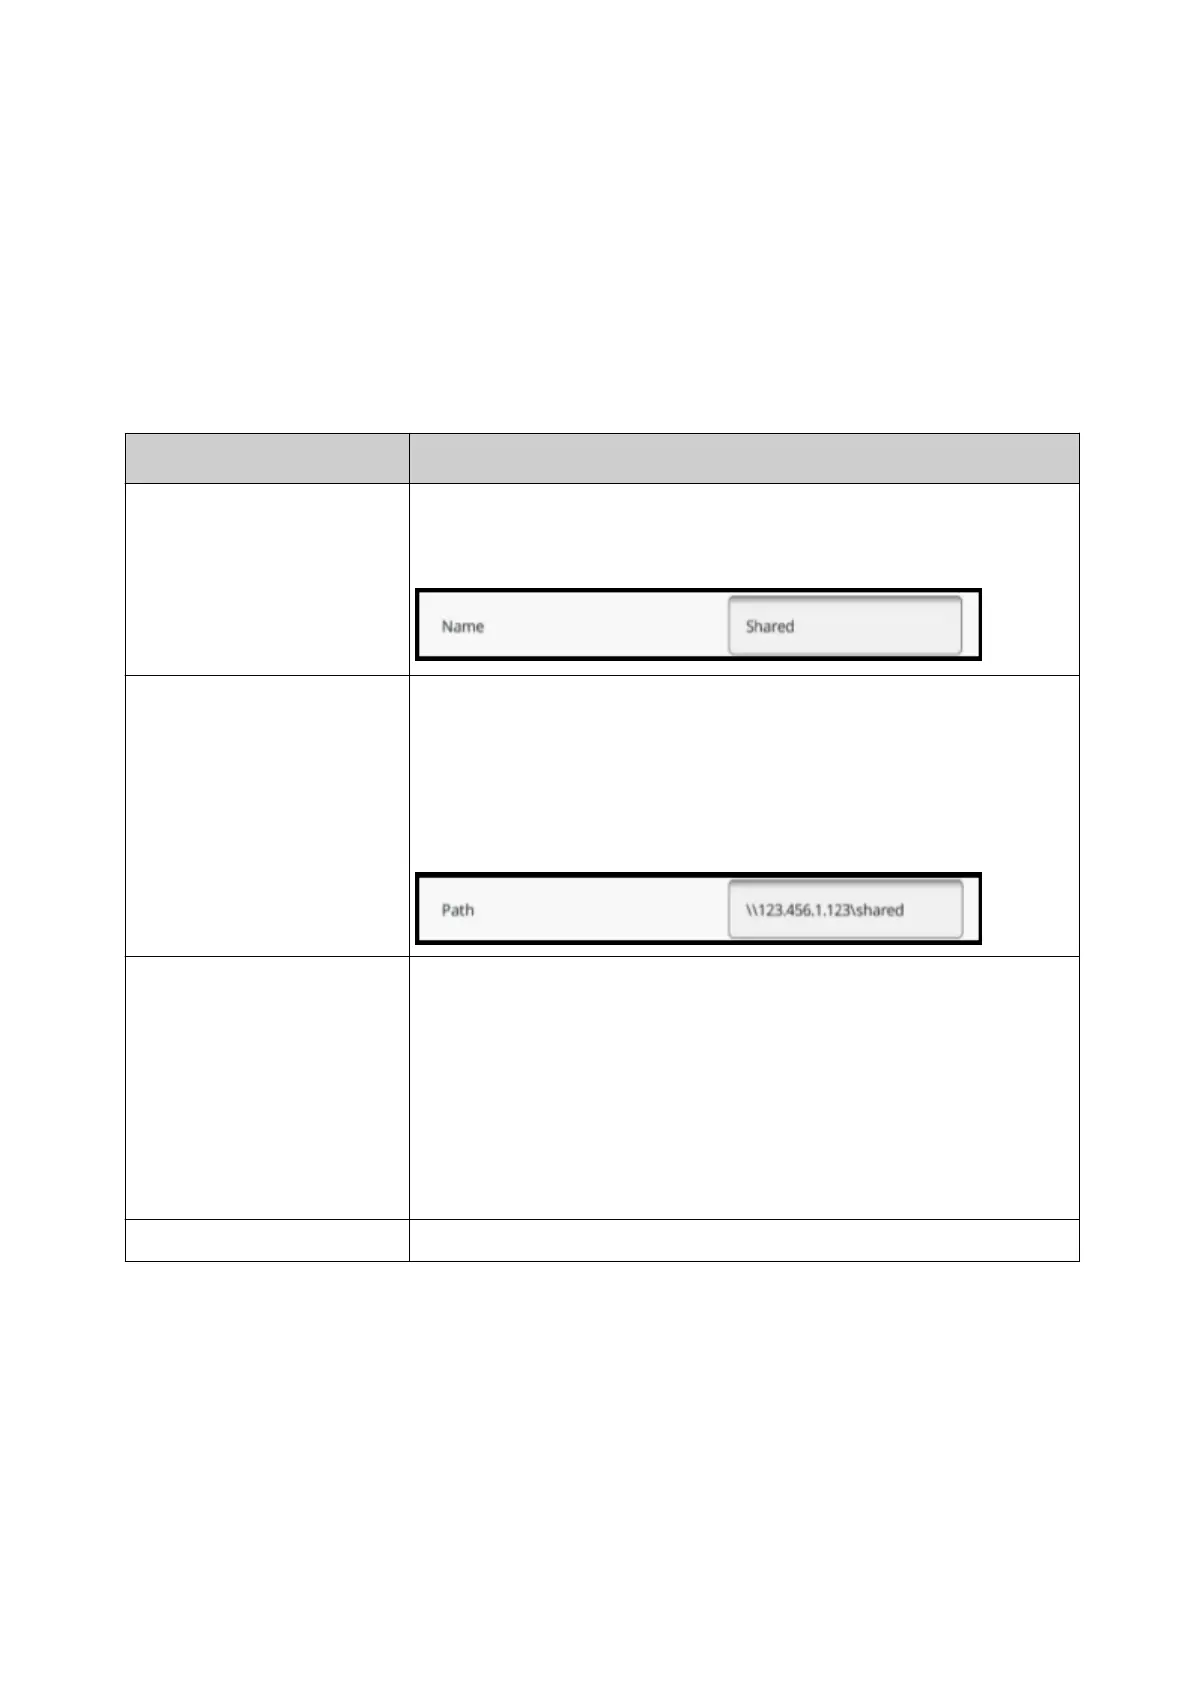
Name Enter a name for the shared folder that will be shown in the
controller's file manager.
For example:
Path Enter the directory path to the shared folder. If this setting is left
blank, the root directory of the server will be shown.
Note
The path can only contain the computer name if it is
on the organisations network with the DNS server.
Otherwise, the IP Address should be used.
For example:
User ID Enter a username (Windows login) to access the server.
1.Notes The User ID is the domain user name. Do not
enter a user's email address.
2. The maximum User ID length is 15 characters.
3.
There may be user ID limitations on some
characters, depending on the domain being
used. Seek guidance from your PC/server
support team.
Password Enter a password (Windows login) to access the server.
6.
Select Save.
End of procedure.
INSTALLATION
EPT053091 - Issue 5 - 07 May 2021 92
 Loading...