19
■ Adjusting Print Position
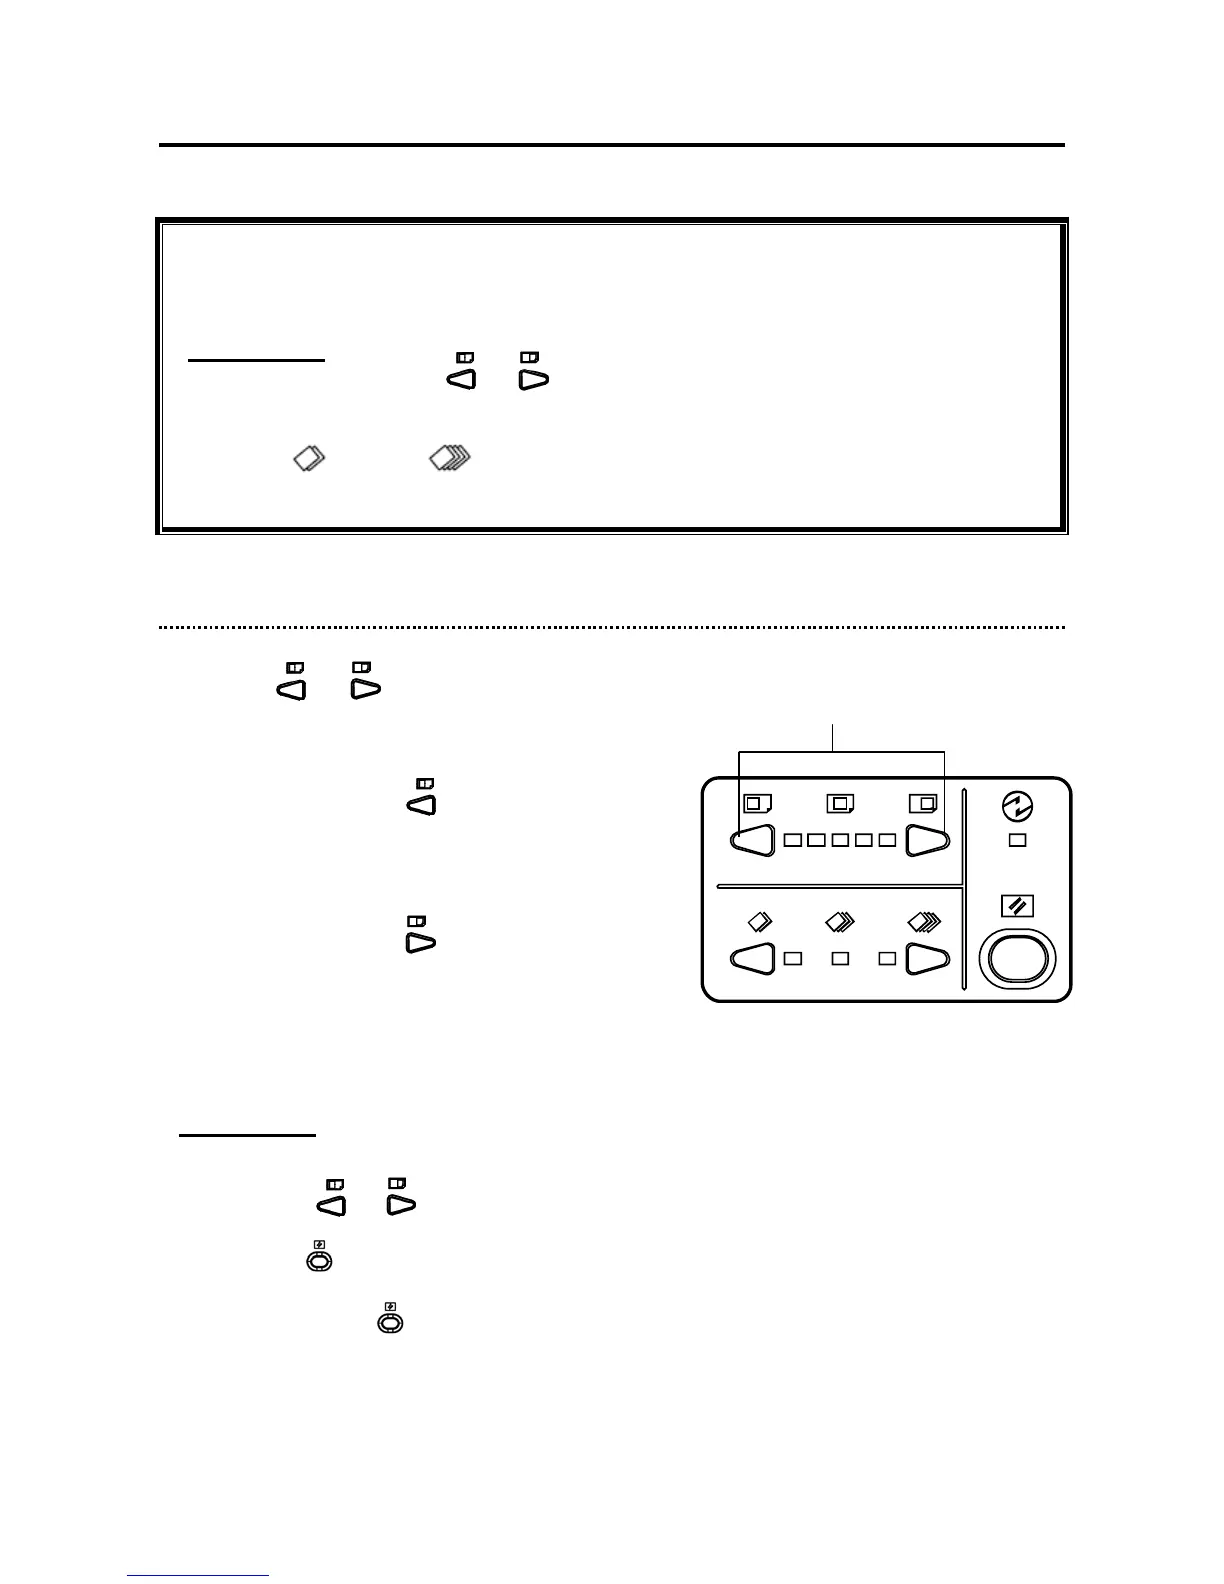
● Print Position Adjustment Function
After master making has finished, you can fine-tune the position of the printed image ±15mm in
the vertical direction.
REFERENCE:
● Pressing and holding the or PRINT POSITION key continuously adjusts print
position. The print position indicator lamps change for each approximately 3mm change
in the print position
Use the (LOW) or (HIGH) key to select the optimum print speed.
● You can adjust the print speed while the machine is printing.
►How to Set Print Position Adjustment Function
1. Press the or PRINT POSITION key
to adjust print position.
● To move print position to the left (paper feed
direction), press the key.
The print position indicator lamp moves to the left.
● To move print position to the right (paper ejection
direction), press the key.
The print position indicator lamp moves to the right.
REFERENCE:
To return to the default setting, use one of the following two methods:
● Press the or key repeatedly until the print position indicator lamp moves to the
center.
● Press the RESET key.
In this case, all settings are reset to standard mode.
Do not press the RESET key while printing.
PRINT POSITION keys
 Loading...