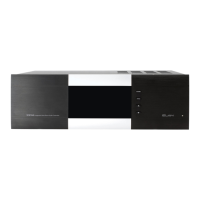
E L A N H O M E S Y S T E M S S1616A AMPLIFIER MODE
© ELAN Home Systems 2012 | All rights reserved.
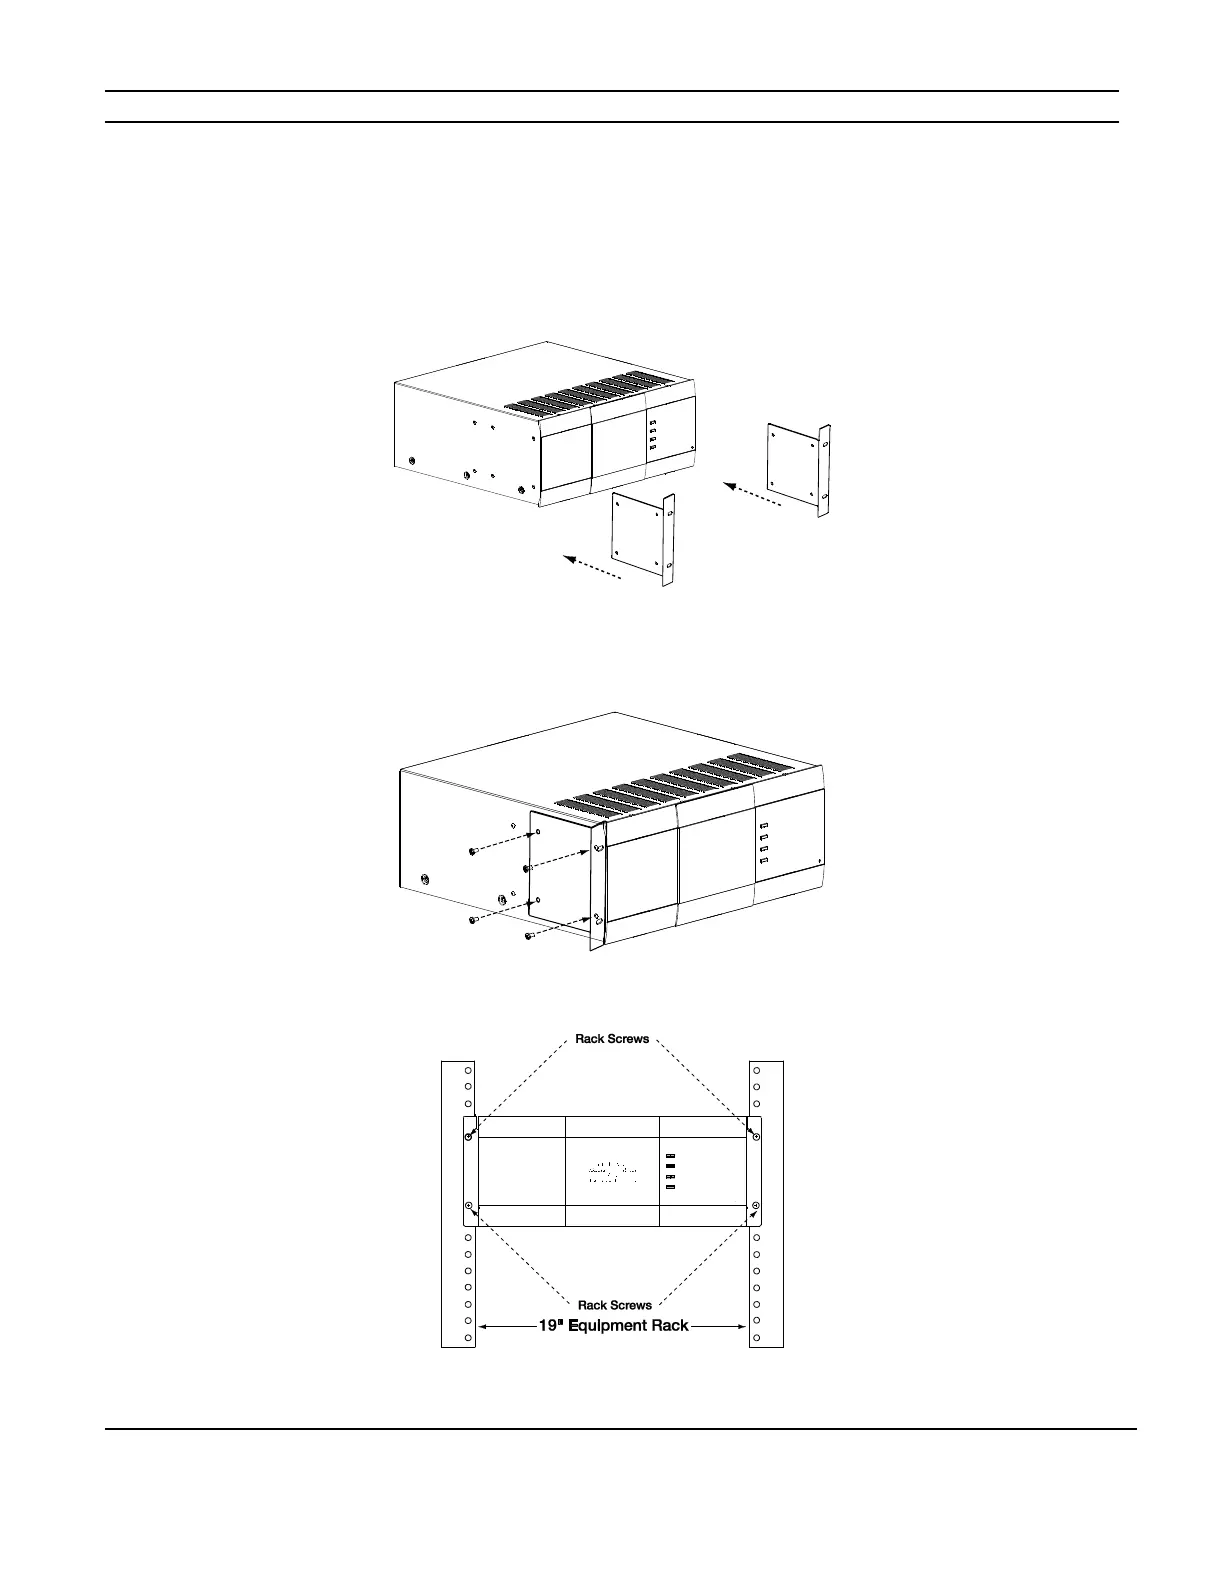
Appendix B: Rack Mounting
When mounting the S1616A in an equipment rack, use the included Rack Mount Brackets for secure mounting and proper ventilation. The
S1616A requires three rack spaces.
1. Attach the rack mount bracket onto the S1616A chassis from the front as shown in Figure A-1.
2. Ensure that the brackets are flush with the front of the unit. Install each of the eight screws (included) through the side mounting
flanges into the holes in the sides of the unit as shown in Figure A-2. Hand tighten screws! Over-tightening could cause damage
to the S1616A chassis.
3. 3. Once the brackets are securely mounted, install the entire assembly into a standard 19” equipment rack from the front using
four rack screws (not included). Three rack spaces will be used.
See Figure A-3.