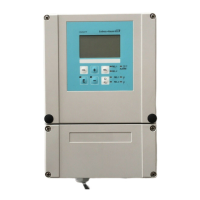
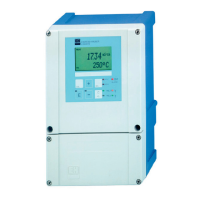
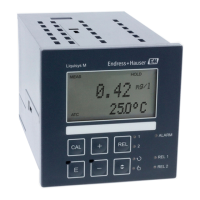
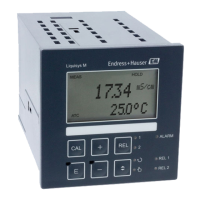
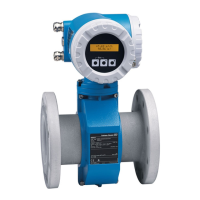
4.4 Electrical connection of the Mycom CLM 152
Warning:
• Only properly trained personnel is
allowed to work on the instrument
when the system is live and
connected to the mains.
• A mains disconnecting device
must be installed near the
instrument and must be identified
as the mains disconnection device
for the Mycom CLM 152
(see EN 61010-1).
• Do not start the instrument without
a protective earth connection!
• Before plugging the instrument to
the mains, make sure that the
mains voltage is the same as the
voltage rating on the nameplate!
Warning:
All signal-carrying lines must be
screened in compliance with
VDE 0165 and routed separately
other control lines.
Note:
• Immunity to interference can only
be ensured if the screen earth is
kept as short as possible.
Do not solder an extension to the
screen!
• If the instrument is mounted on a
post, we recommend earthing the
post as well.
Instrument connections
• Remove the four screws in the bottom third
of the housing front panel.
• Remove the terminal compartment cover.
• You will find a wiring diagram and
information on the instrument-specific
module configuration folded up in the
cover.
• Replace the dummy plugs in the housing
base with the correct size and number of
Pg cable glands.
• Feed the cable through the Pg cable
glands into the terminal compartment .
• Connect the wires as specified in the
wiring diagrams depicted on the following
pages.
• Tighten the Pg cable glands to ensure the
proper strain relief.
Warning:
In the non-hazardous area, the
contact outputs can also be
connected to the instrument’s power
supply.
First break out the section in the
partition wall of the terminal
compartment cover using a pair of
pliers.
Then connect the right and left-hand
parts of the terminal compartment by
carefully fixing the cable in the cable
ties provided without coiling the
cable.
Installation Mycom CLM 152
12 Endress+Hauser
 Loading...


