Installation Methods
The projector supports the following six different projection methods.
Install the projector according to the installation location.
Turn the projector off when you are changing the installation method. Turn
the projector back on after changing the installation method.
a
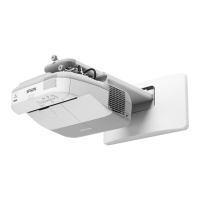
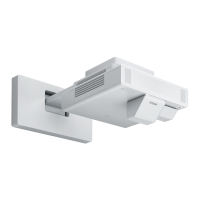
• When mounting the projector on a wall or ceiling, or placing the
projector vertically, make sure you use the correct tools for the
installation method.
s "Optional Accessories" p.198
• The default Projection setting is Front/Upside Down. You can
change to other Projection settings from the Configuration menu.
s Extended - Projection p.144
• You can change the Projection setting as follows by pressing down
the [A/V Mute] button on the remote control for about five seconds.
FrontWFront/Upside Down
Rear
W
Rear/Upside Down
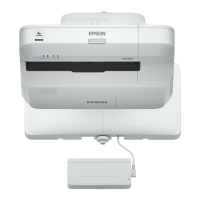
• When using the interactive function, install so that the projected
screen is a rectangle without any distortion.
• You cannot use the interactive function while the Projection setting
is Rear/Upside Down or Rear.
s "Interactive Function" p.62
• When installing multiple projectors in the same room, set Distance
of Projectors according to the distance between the projectors.
s Extended - Easy Interactive Function - Distance of
Projectors p.144
• Mount the projector on a wall
or ceiling and project images
from in front of a screen.
(Front/Upside Down projection)
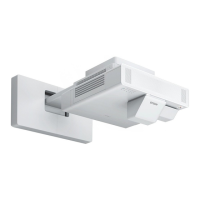
• Mount the projector on a wall
or ceiling and project images
from behind a translucent
screen. (Rear/Upside Down pro‐
jection)
Installing the Projector
27