EB-E01 series Disassembly and Assembly INTERNAL USE ONLY
SEIKO EPSON 157 Revision A
OBTAINING THE DR DATA
2. Obtaining the DR data
Obtain the corresponding DR data referring to the Technical Information
AP08-0912E.
3. Saving the data to the PC
Save the DR data file to the following folder in the PC.
C:\IRIS\DRDATA\
REPLACING THE ENGINE
4. Replacing it with a good engine
Replace the engines and reassemble it until the projector can be powered
on correctly.
5. Turning on the projector and Connecting to the PC
Connecting using RS-232C cable
1. Press the [Power] button on the projector or the remote controller to
turn on the projector.
2. Connect the projector to the PC using RS-232C cable.
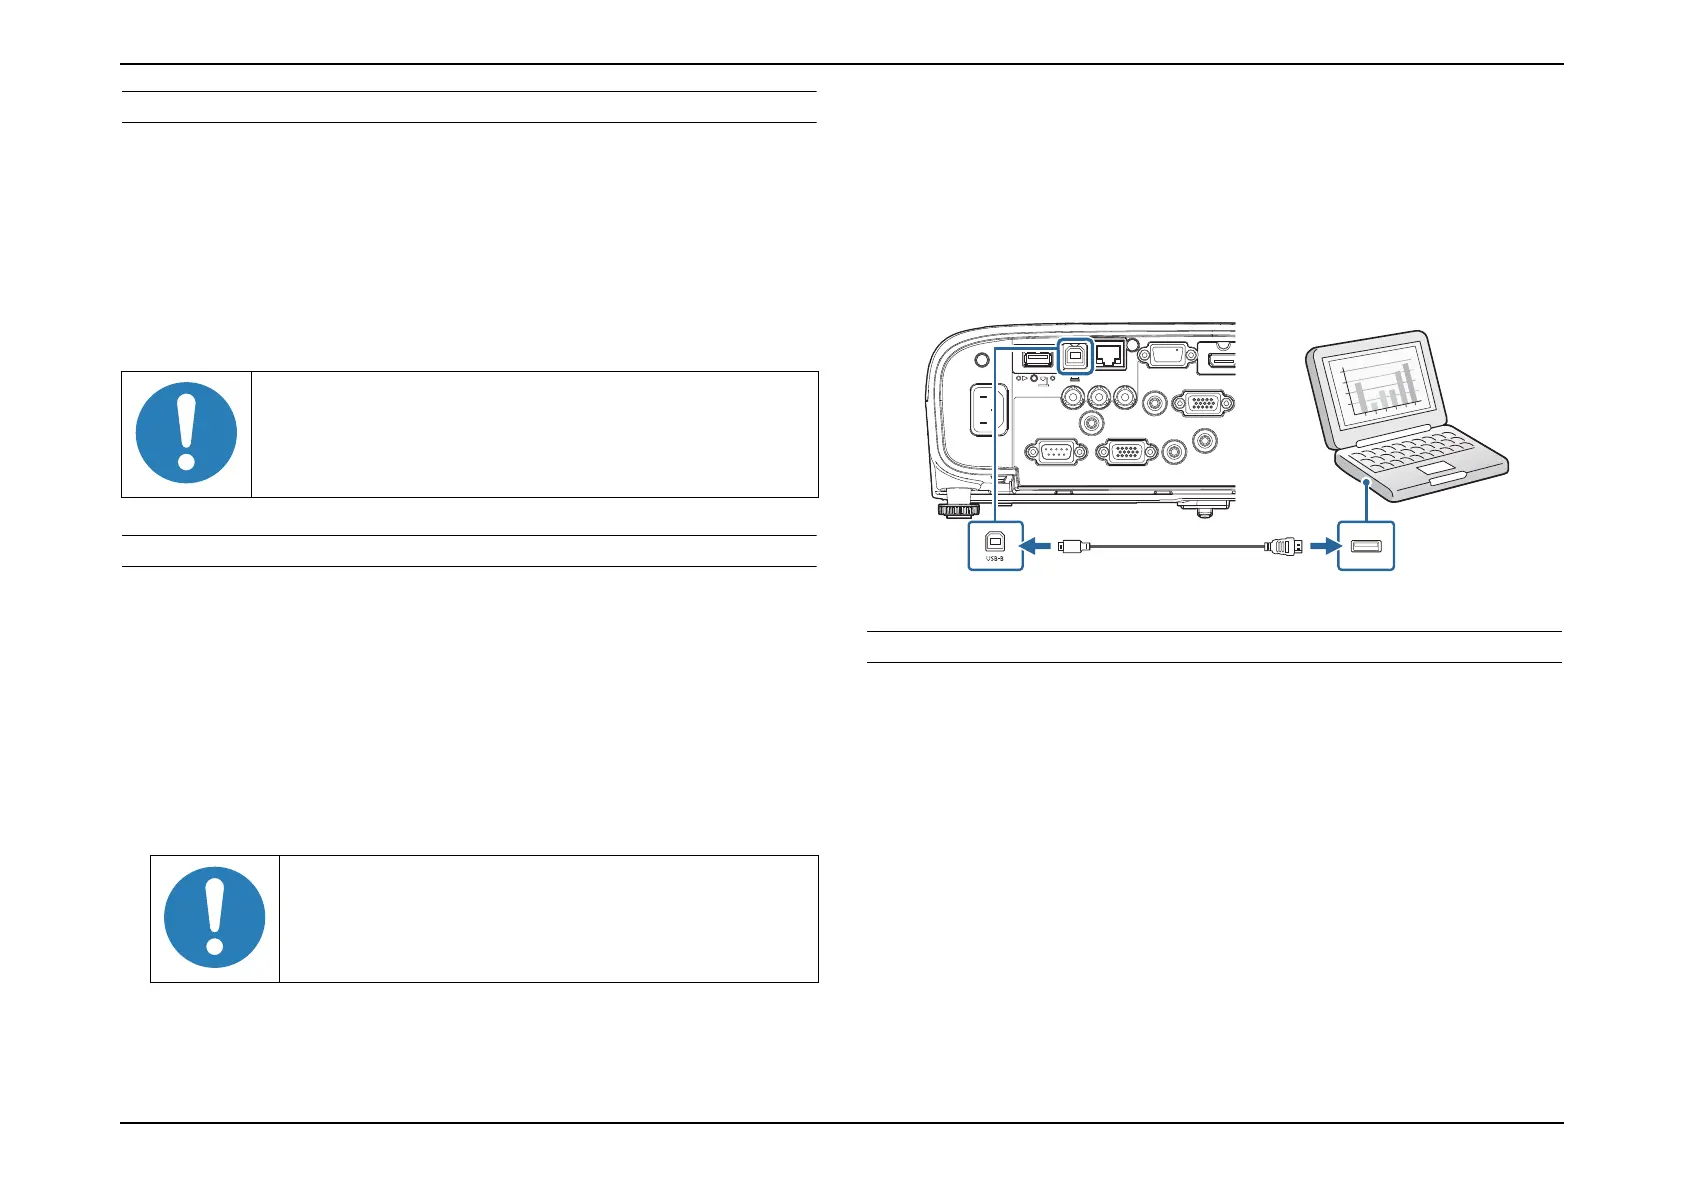
Connecting using USB cable
1. Disconnect the power cord from the projector and check that all of the
indicators on the projector are off.
2. Connect the power cord to the projector while pressing the [Enter]
button on the Control Panel or remote controller. When the LED panel
on the projector flashes four times and then lights up, release the
[Enter] button.
3. Connect the projector to the PC using USB cable.
4. Press the [Power] button on the projector or the remote controller.
WRITING THE DR DATA
6. Writing the DR Data
6-1. Start up the CAT.
6-2. Select the group from SETUP / SELECT MODEL menu, by
referring to
the number; *** and xx, that can be found in a file name;
"H***_xx_yyy_zzzzz_zzzzzz_zzzzzz.bin" of supplied DR data.
6-3. Enter the 11-digit serial number of the engine noted in advance
, and run "RESTORE".
7. Image/Operation check
Restart the projector (Power OFF → Power ON) once, and confirm there
is no problem in the projected image and operation.
RESTORE cannot operate correctly if the DR data is
not saved in the specified folder. (RESTORE will not
function correctly if the file cannot be detected.)
Do not change the name of the DR data file.
See "User's Guide" for the method to configure serial
communication.
 Loading...