Color correction has been applied.
Solutions
When printing from the Windows printer driver, the Epson auto photo adjustment setting is applied by
default depending on the paper type. Try change the setting.
On the More Options tab, select Custom in Color Correction, and then click Advanced. Change the
Scene Correction setting from Automatic to any other option. If changing the setting does not work, use
any color correction method other than PhotoEnhance in Color Management.
& “Adjusting the Print Color” on page 53
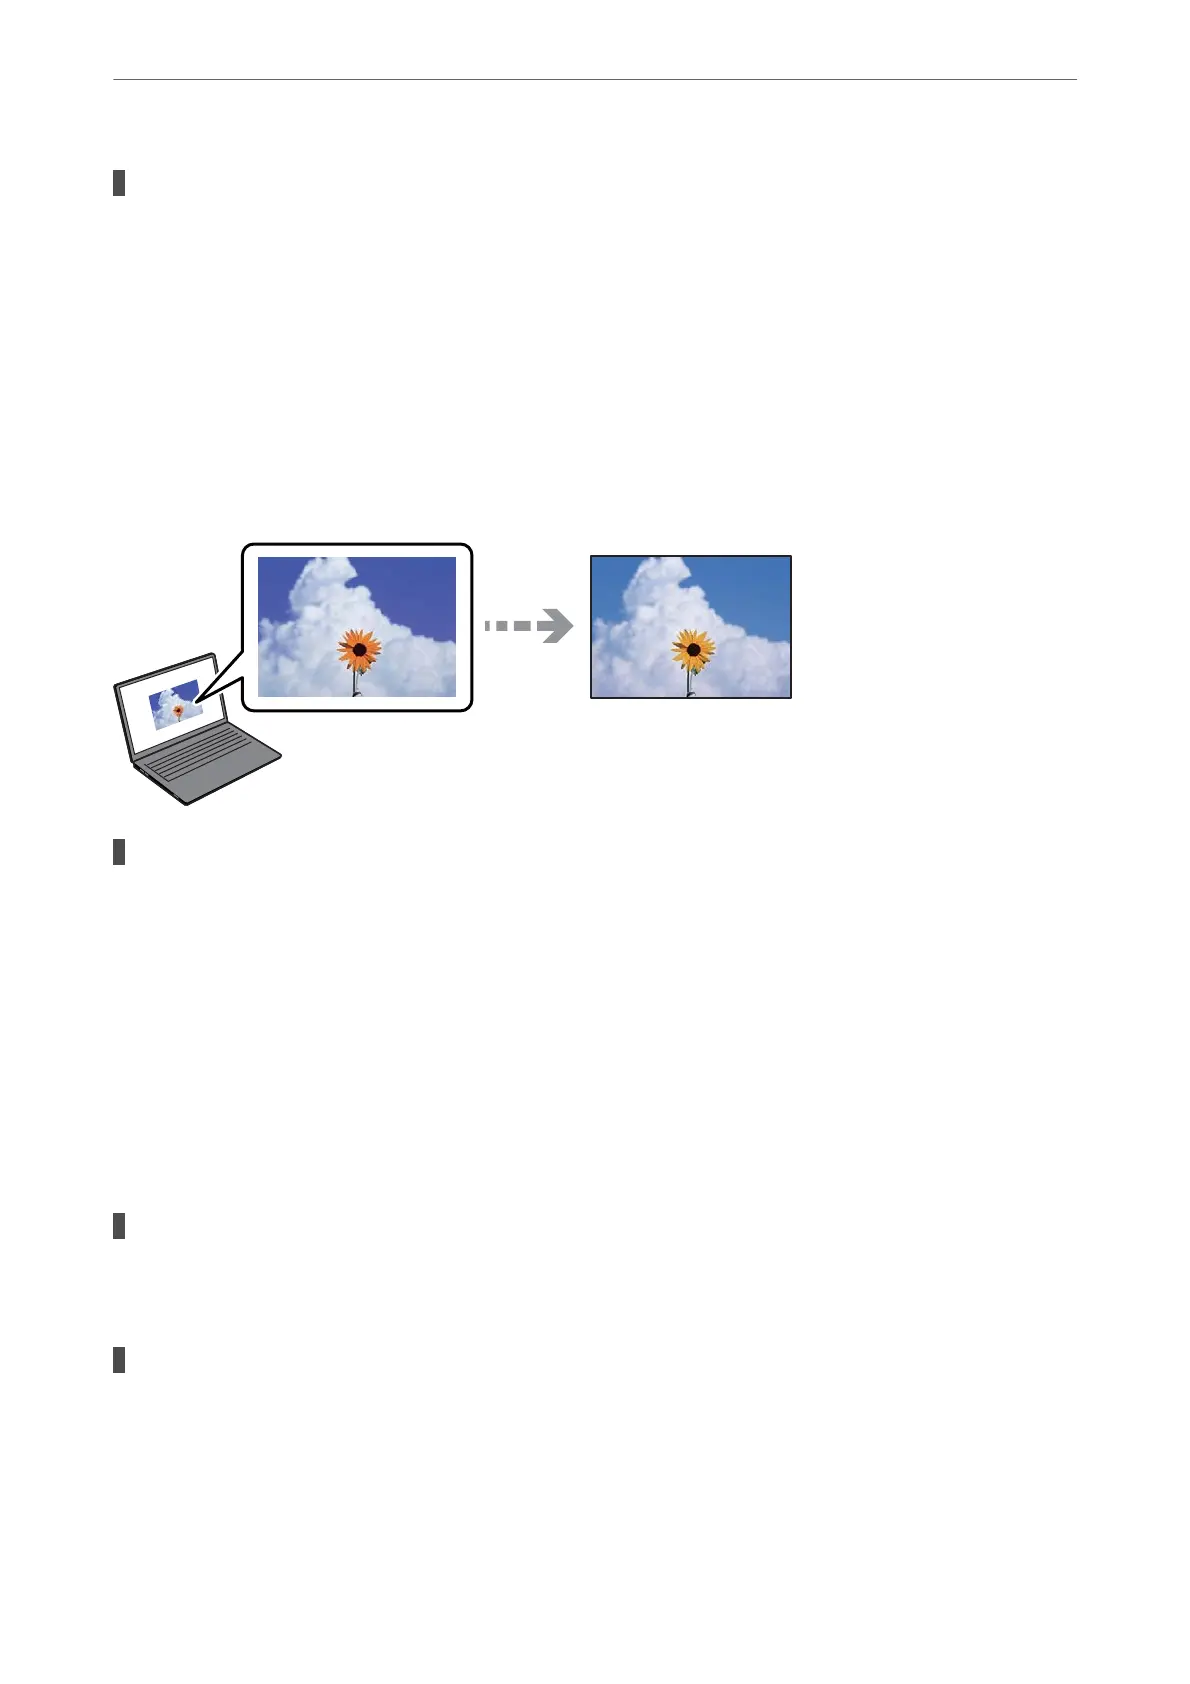
Colors in the Printout Dier from Those on the Display
The color properties for the display device you are using have not been adjusted correctly.
Solutions
Display devices such as computer screens have their own display properties. If the display is unbalanced,
the image are not displayed with proper brightness and colors. Adjust the properties of the device. Next,
perform the following.
❏ Windows
Access the printer driver window, select Custom as the Color Correction setting on the More
Options tab, and then click Advanced. Select EPSON Standard as the Color Mode setting.
❏ Mac OS
Access the print dialog. Select Color Options from the pop-up menu, and then click the arrow next to
Advanced Settings. Select EPSON Standard as the Mode setting.
The display device is
reecting
external light.
Solutions
Avoid direct sunlight and
conrm
the image where an appropriate illuminance is assured.
The display device has a high resolution.
Solutions
Colors may
dier
from what you see on smart devices such as smart phones or tablets with high-
resolution displays.
Solving Problems
>
Print Quality is Poor
>
Print Quality is Poor with Black Ink
114
 Loading...


