Displaying and Adjusting the Image 31
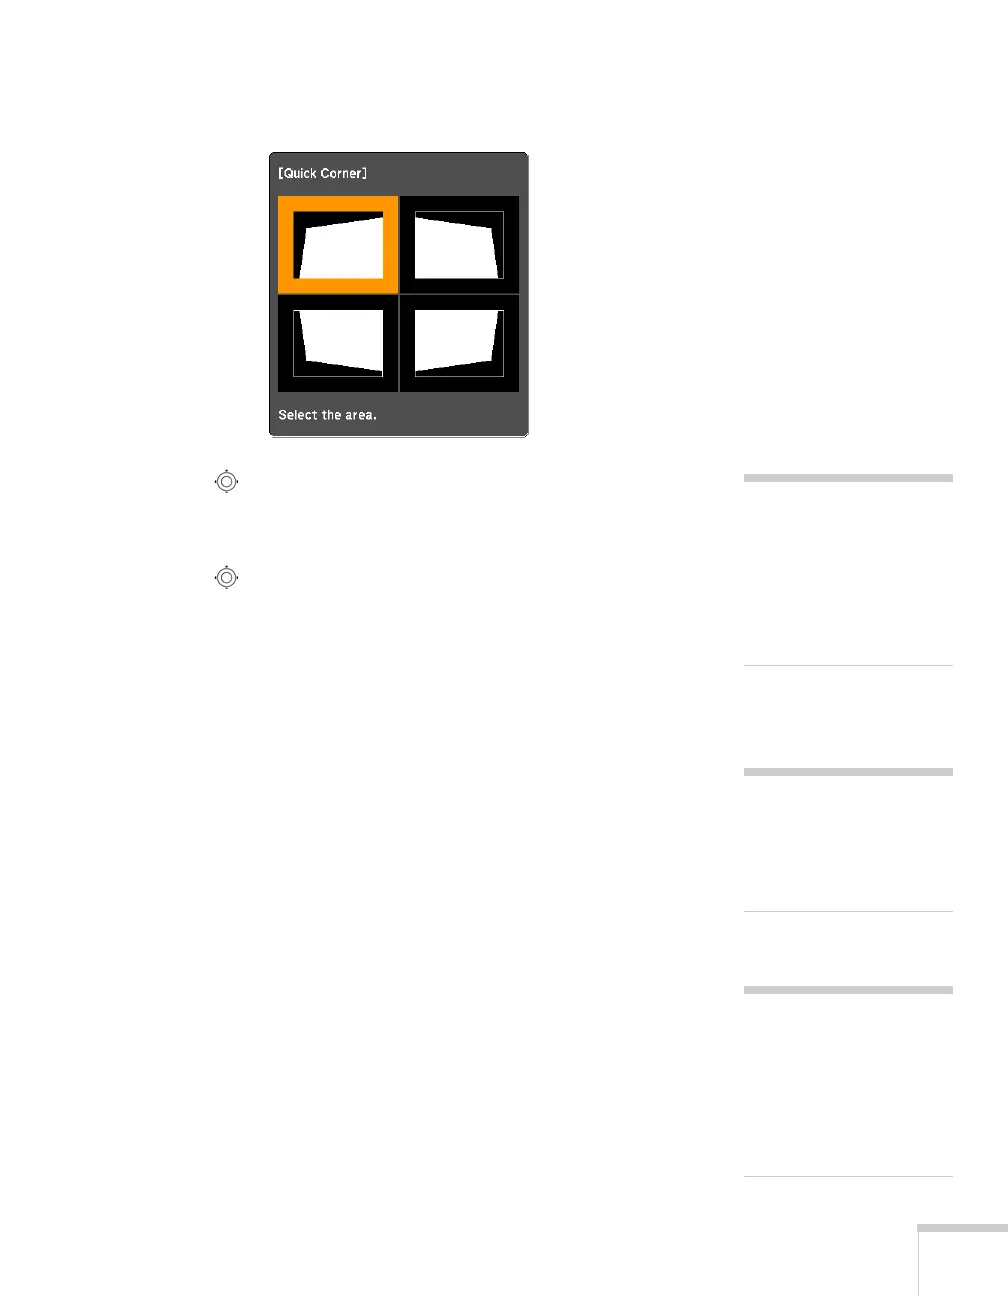
You see this screen:
5. Use the pointer button on the remote control (or the arrow
buttons on the projector) to select the corner you want to adjust,
and press
Enter.
6. Use the pointer button on the remote control (or the arrow
buttons on the projector) to adjust the shape, then press
Esc when
you are finished.
7. Repeat steps 5 and 6 as needed to adjust the other corners.
8. When you’re done, press
Esc to exit.
Using Keystone Correction
You can manually adjust the shape of the image to compensate for
vertical and horizontal keystone distortion.
Before performing horizontal or vertical keystone, use the lens shift
function to horizontally center the lens and vertically move the lens to
the top or bottom (see page 29); otherwise, the distortion will not be
corrected accurately. Also, the distortion may not be corrected
accurately for some zoom settings.
1. Press the
Menu button on the remote control or projector.
2. Select the
Settings menu and press Enter.
3. From the Settings menu, select
Keystone and press Enter.
4. Select
H/V-Keystone and press Enter.
note
To undo your Quick Corner
adjustments, press and hold
the
Esc button for about 2
seconds, select
Reset Quick
Corner
from the screen that
appears, then press Enter.
note
Epson recommends using
Quick Corner to accurately
adjust keystone distortion.
See page 30.
note
You can also use the
projector’s arrow buttons to
perform keystone correction
as long as the projector’s
Keystone setting is set to
H/V-Keystone.
 Loading...