SC-F9200 Series Revision B
DISASSEMBLY & ASSEMBLY Disassembly and Assembly Procedure 169
SE Group Confidential (Related Staff Only)
3.4.5.14 PG HP Sensor
1. Unlock the CR Unit. (p98)
2. Remove the Wiper Cleaner. (p100)
3. Remove the Media Loading Lever. (p210)
4. Remove the Right Upper Cover. (p103)
5. Remove the Right Cover. (p108)
6. Remove the Left Rear Cover. (p110)
7. Remove the Left Upper Cover. (p111)
8. Remove the Left Cover. (p114)
9. Remove the APG Unit. (p167)
10. Remove the CR Motor. (p161)
11. Remove the CR Cover. (p139)
12. Remove the Duct CR. (p140)
13. Remove the Print Head. (p144)
14. Remove the CR Scale. (p157)
15. Remove the CR Unit. (p200)
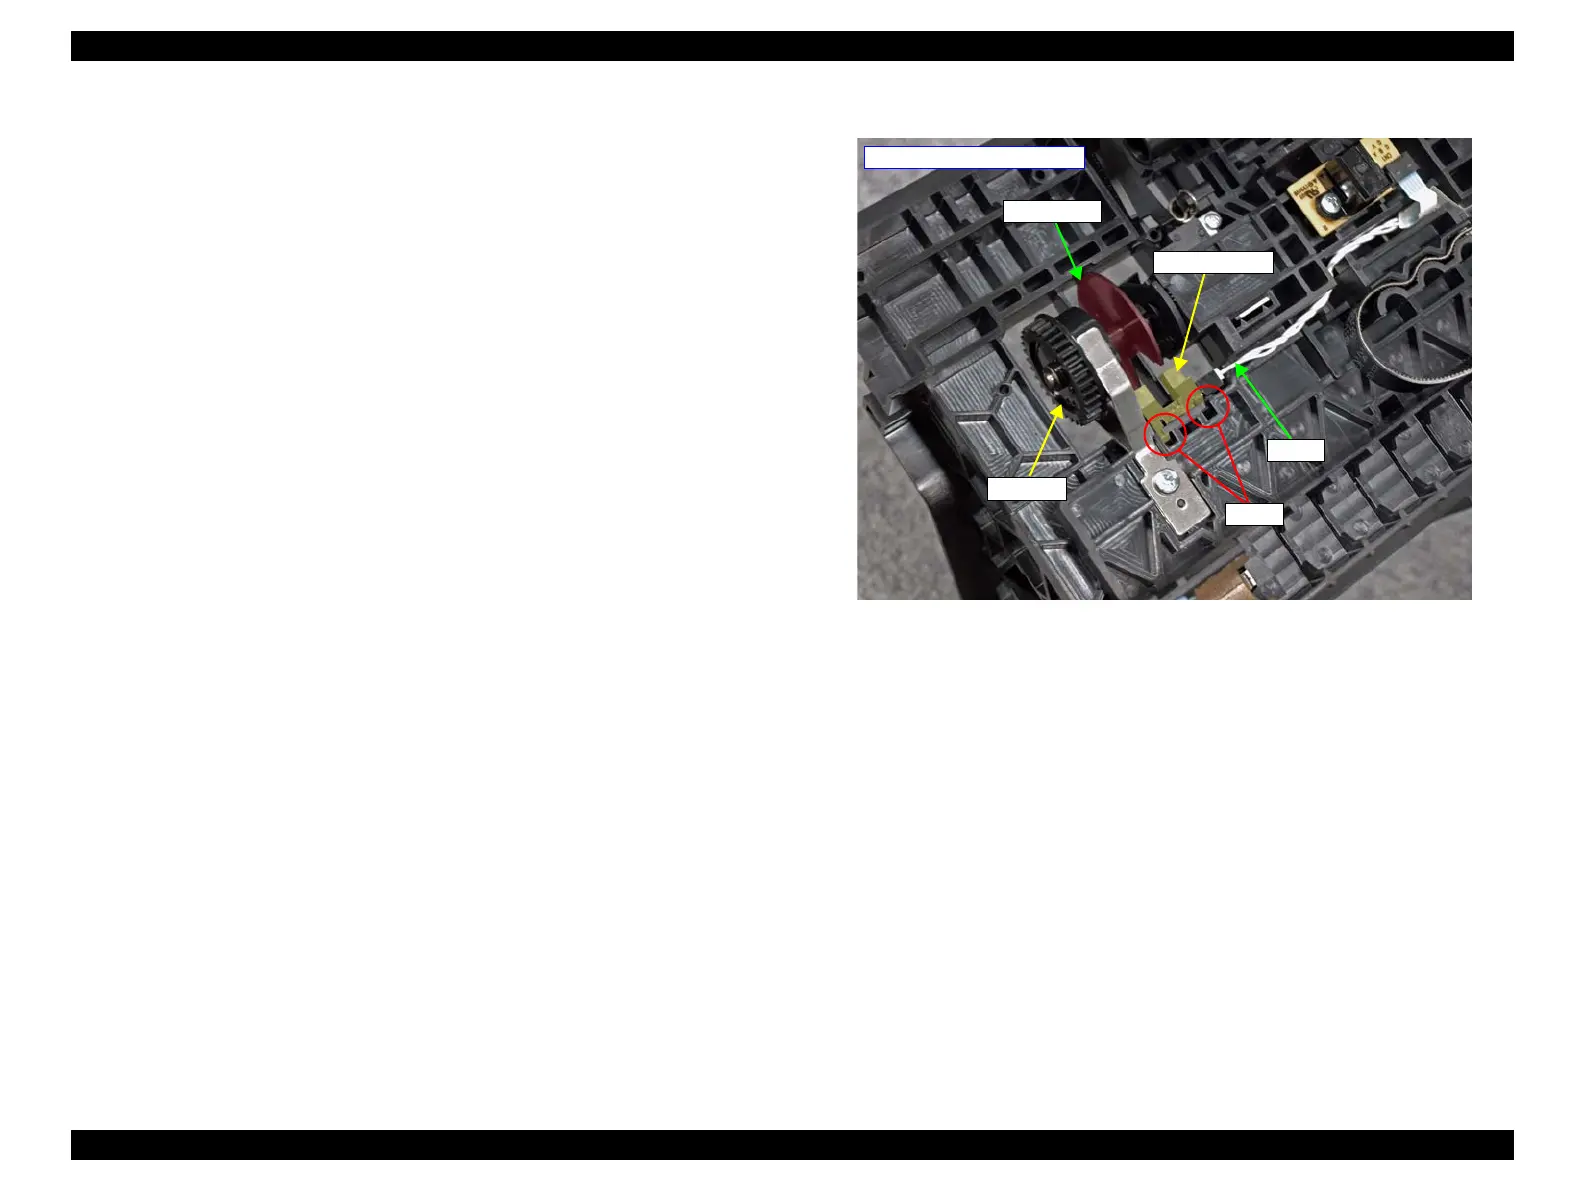
16. Turn the PG gear until the slit of the incline plate faces the sensing portion of the
PG HP Sensor.
17. Disengage the hooks, and remove the PG HP Sensor.
18. Disconnect the cable from the PG HP Sensor.
Figure 3-110. Removing the PG HP Sensor
- Back Side of the CR Unit -
Cable
PG Gear
PG HP Sensor
Incline plate
Hooks

 Loading...


