B
A C D E F G SERVICE
50
Pull the top of the frame toward you slightly and lift the glass and frame out and away from the
fire. Hold the glass and take care that the glass does not fall from the frame. Place the glass and
frame carefully aside.
Step 3: Take out fuel bed and gently clean away any soot from fuelbed with a soft hearth brush.
The burner tops and fuel media tray can be vacuumed to remove any excess material.
Step 4: Clean the inside and outside of glass with normal glass cleaning products. Use a
CLEAN, DRY cloth only. Stubborn marks may be cleaned with a ceramic glass cleaner.
Step 5: Reinstate fuelbed media and glass; test run the heater.
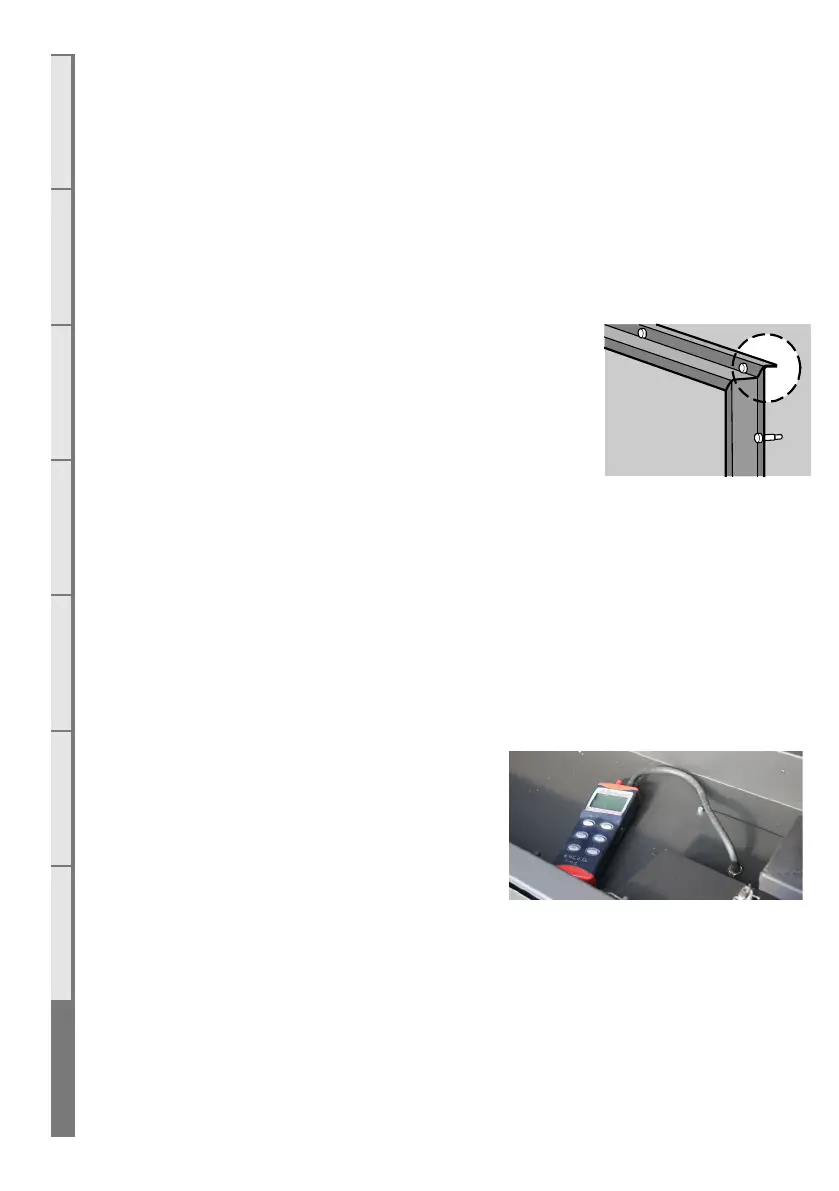
NOTE WHEN REPLACING THE GLASS:
When replacing the glass, note that the metal flange shown to
the right must be on top (not the bottom), or the glass will not fit
correctly to the fireplace.
S4 Checking Operating Pressure
WARNING: The regulator that is supplied with the fire MUST NOT BE REMOVED.
Removal of the regulator, or replacing it with one not intended for use with an Escea fire, will void
the limited appliance warranty.
By law, the original installer has supplied a test point prior to the appliance. With all gas
appliances within the house running on full, including this DX1500, check the inlet pressure
upstream of the appliance. It must conform with the table in section E10 on page 34.
To check the operating pressure, remove one burner
and place your manometer hose onto the jet spigot,
as shown. Ensure you place the manometer well
away from the other burner as this will get hot.