B
A C D E F G SERVICE
54
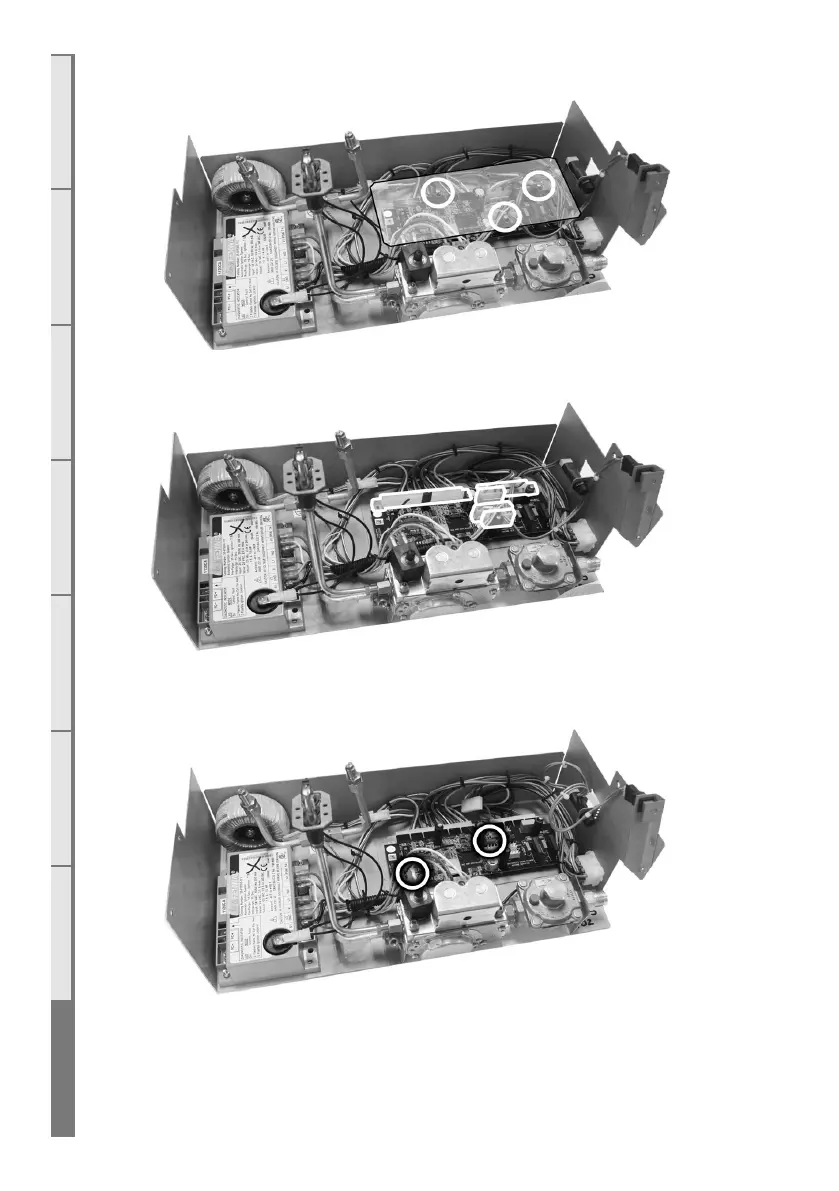
Step 3: Remove the clear plastic insulation cover from ontop of the circuit board by removing
the screws circled below.
Step 4: Remove all 5 connections to the circuit board as highlighted below.
Step 5: Remove any screws securing the circuit board to the base and remove the circuit board.
Take care that the black spacers underneath the board stay in place until the board is replaced.
Replace the circuit board (if applicable) and reverse these steps to re-assemble the engine.