ES415.1 - User’s Guide 47
ETAS Getting Started
Rules on Connecting the Modules on the DIN Rails using the ES4xx Angle Bracket
(right)
To be able to fasten the modules in the desired arrangement with the ES4xx
angle bracket (right) on DIN rails, observe the following rules:
Preparing the Component
Connecting the Module with the ES4xx Angle Bracket (right)
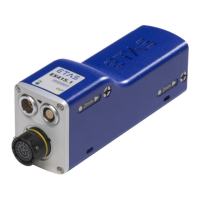
To connect the ES400 module with the ES4xx angle bracket (right) requires two
M3 screws, two washers and a screwdriver.
Connecting the module and the ES4xx Angle Bracket (right):
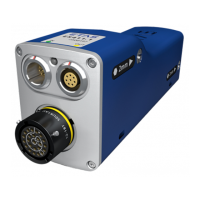
1. Position the module to the left of the ES4xx angle
bracket (right).
2. Align the thread bores of the integrated assembly
elements on the right side of the module with the
through bores of the ES4xx angle bracket (right).
3. Insert one screw through the bore of the ES4xx
angle bracket (right).
4. Fasten the screw with the module from the right
side of the ES4xx angle bracket.
Both parts are now mechanically connected on one
side.
5. Insert the other screw through the other bore of the
ES4xx angle bracket (right).
The two integrated thread bores in the module for accepting the screws can be
accessed only from the right side of the module.
For this reason, the ES4xx angle bracket (right) must always be screwed onto
the module from the right side.
If the module is screwed onto the ES4xx angle bracket (right), no additional
modules can any longer be screwed onto this module.
The pin of the integrated assembly element can be screwed out of the module
by approximately 6 mm.
Screw the two parts together without canting the
threads!