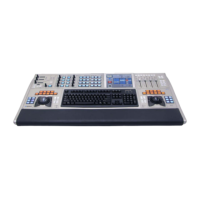
Euphonix Media Application Controller Operation Manual DAW Integration
94
4. Right-click in the window below Bus Name.
Nuendo has the following busses available:
• External Input (6) - Create inputs for external sources to monitor in the
control room.
• Talkback (1) - The Talkback bus is controlled by the Talkback button on
the MC surface.
• Studio (4) - Create mono or stereo studio outputs for talent to monitor.
These are also selectable sources for the Control Room output.
• Headphone (1) - The headphone output is a dedicated stereo downmix for
the control room headphones.
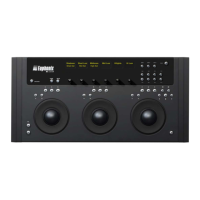
• Monitor (4) - Create up to four speaker outputs (all formats up to 8.1) controlled
by the Main Spkrs/Alt 1 Spkrs/Alt 2 Spkrs buttons on the MC surface.
5. Click on a bus to create.
A dialog appears to name the bus and select its format (up to 8.1 depending on
the bus). When finished, it appears in the Studio tab.
6. Click Not Connected in the Audio Devices column of the bus name just cre-
ated. Select the hardware driver to use with that bus from the popup menu (your
ASIO soundcard).
7. Now click the + button next to the bus name.
The display expands to show the input or output channels that are part of that
bus. After selecting the hardware, Nuendo automatically assigns each output or
input to the first available hardware port (i.e., MADI 1, MADI 2). To reassign
these, click in each channel’s Device Port column and select the proper port
from the pop-up menu. For example, if Monitor 1 is a 5.1-channel system and
should go to outputs 20–25, click on each output (L, C, R, LFE, LS, RS) and
assign them to ports 20–25.
8. When using Nuendo’s Control Room Mixer, you may want to lock the MC
Monitor section to retain Monitor control when Nuendo is not the application
in focus. To do so, press and hold the MC keyboard’s Shift Key and press the
MC Monitors section’s Setup button.