5700MSC-IP
IP Network Grand Master Clock & Video Master Clock System
Revision 0.2 Page - 7
1.1.6.1. PTP All Ports Menu
To navigate to this menu, press the GENERAL button on the front panel of the 5700MSC-IP, then the
ESC button to reach the top level of the menu. With the encoder knob, scroll down to the PTP All Ports
submenu, and press the SELECT button. You will see a list of choices as shown below.
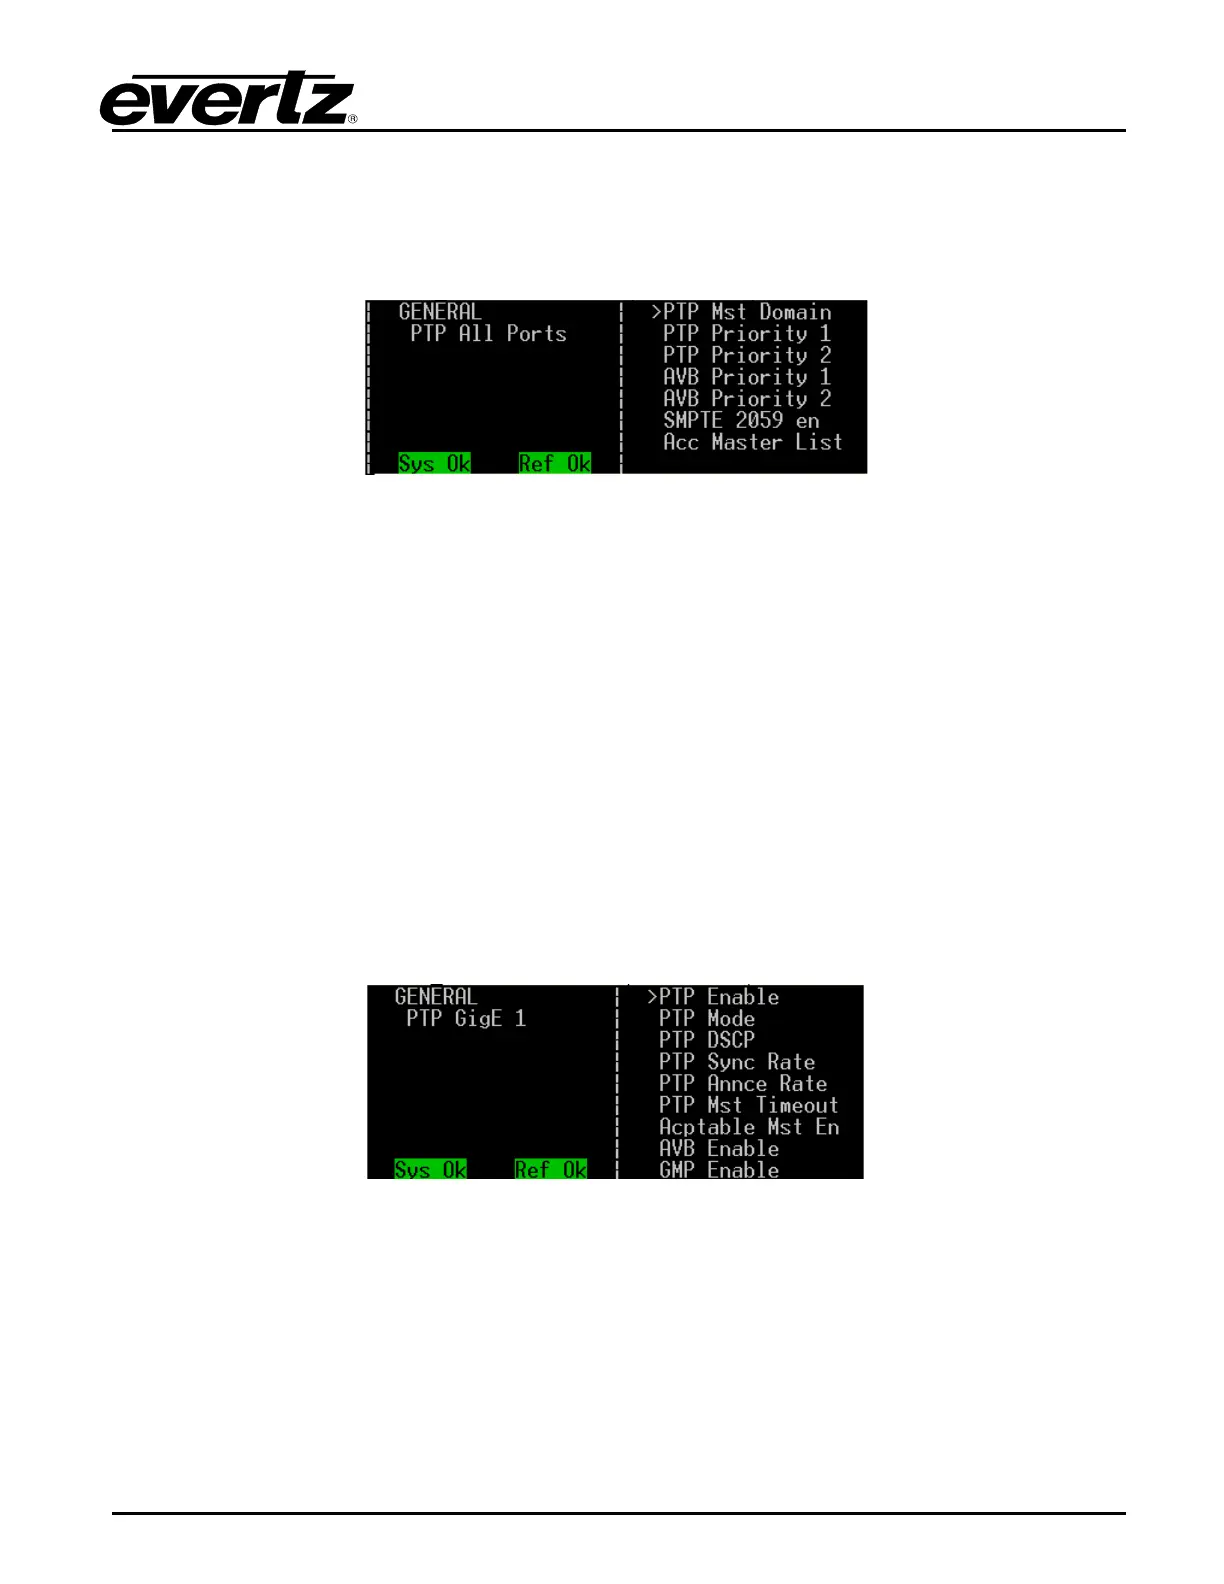
Figure 1-3: PTP All Ports Menu
This is where all PTP global options are set.
• Enter your PTP domain number (0 through 127) in the PTP Mst Domain submenu.
• Enter the PTP priority 1 and priority 2 values (0 through 255) in the respective submenus.
• Enter AVB priority 1 and priority 2 values (0 through 255) in the respective submenus.
• Set the SMPTE 2059 en to the respective sync spigot that you wish Sync Metadata to be based
upon.
Set PTP Acceptable Masters if you wish to restrict PTP Masters that this unit will lock to.
(An acceptable master is defined by its unicast IP address.)
1.1.6.2. PTP Port Specific (GigE 1, GigE 2, 10GigE 1, 10GigE 2, and Frame Ethernet) Settings
To navigate to this menu, press the GENERAL button on the front panel of the 5700MSC-IP, then the
ESC button to reach the top level of the menu. With the encoder knob, scroll down to the PTP port that
you wish to configure and press the SELECT button. You will see a list of choices as shown below.
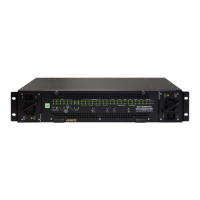
Figure 1-4: PTP GigE 1
• Enter the PTP Enable submenu to enable or disable PTP on the respective port (GigE 1 in
Figure 1-4)
• Set the PTP Mode to the PTP Profile that you wish. The choices are IEEE1588 annex j, SMPTE
2059 and AES 67.
• Set the PTP DSCP to the value that you wish. The default for IP video networking is 56.
• Set the PTP Sync Rate to the value that you wish. This should be the same as other PTP
devices on the same PTP network that this 5700MSC-IP will be communicating with via this
port.