METALJET D2+ INSTALLATION
Revision 19, November 2016 Page 4-18
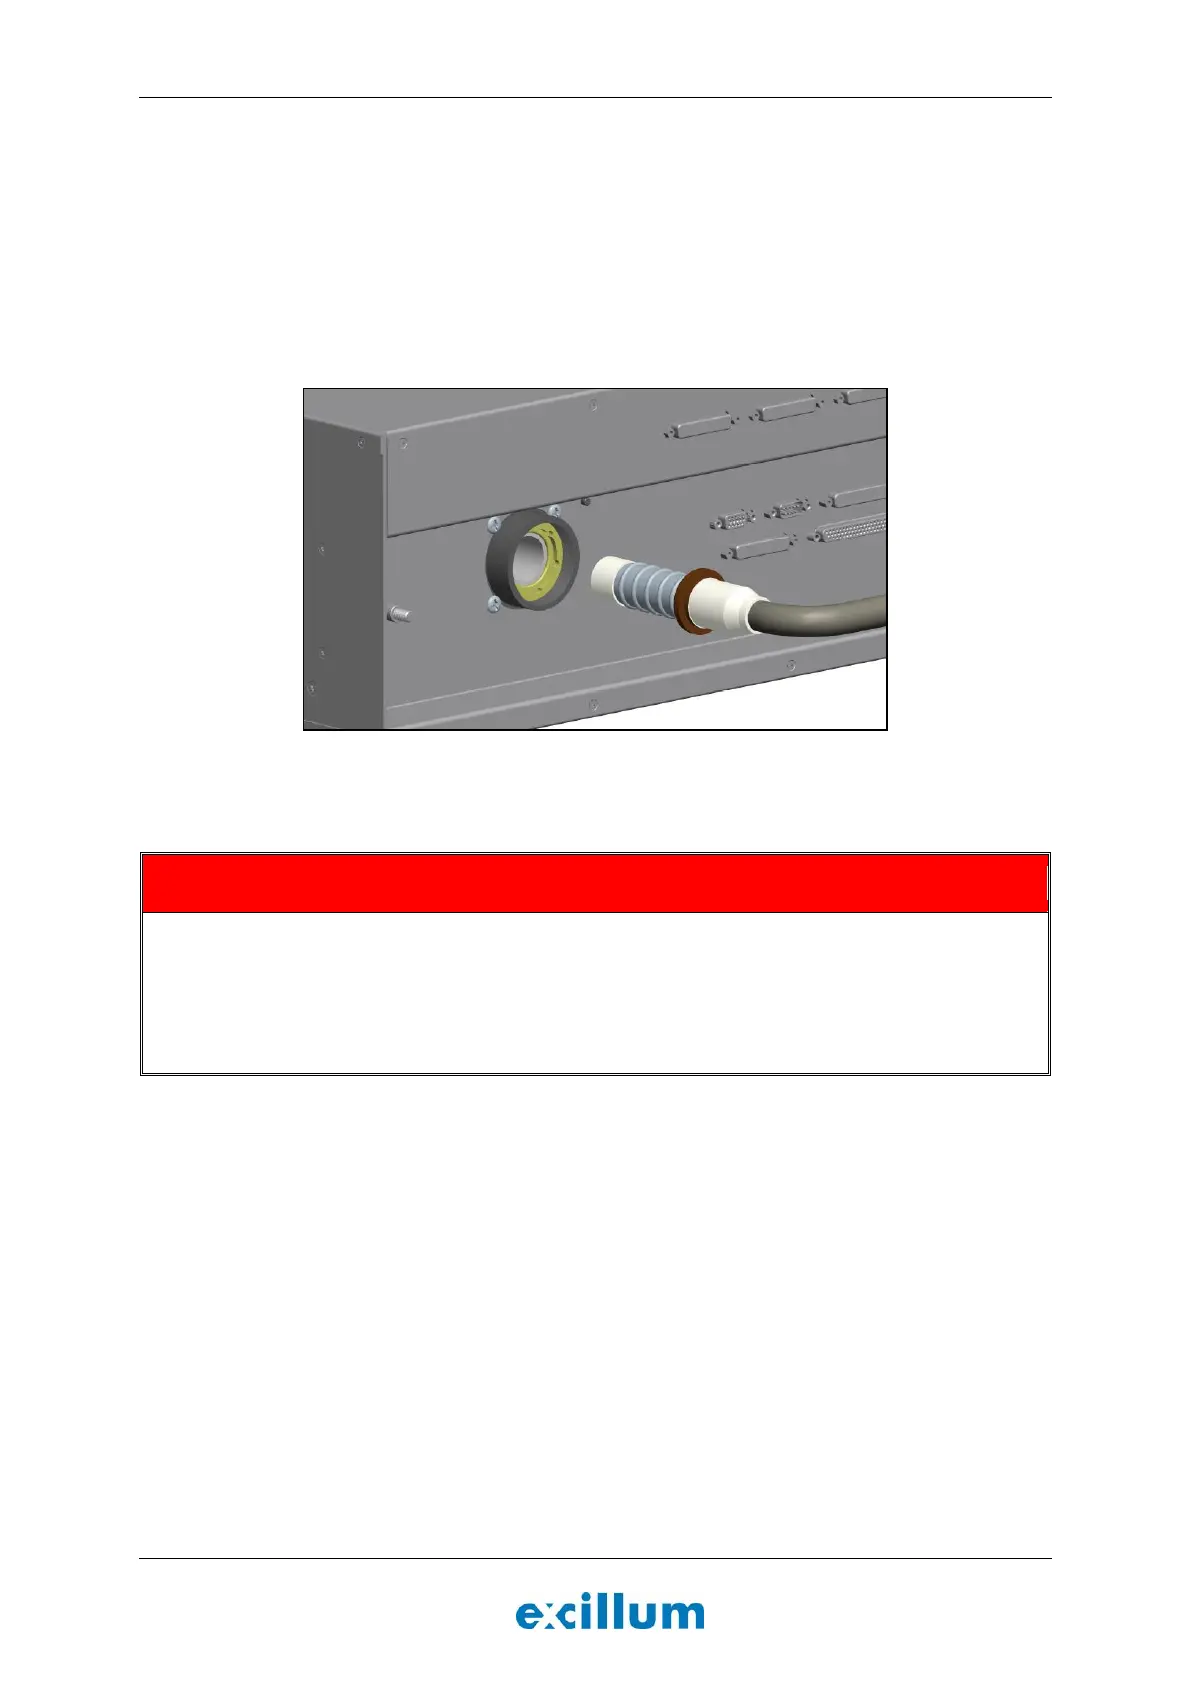
3. Remove transportation cover and connect the high-voltage cable to the x-ray high-voltage controller
(Figure 4-20).
a. Insert the ribbed contact into the receptacle socket on the back of the x-ray high-voltage
controller while paying attention to that the key mates with the bottom of the receptacle.
- If the friction when inserting the ribbed contact is too high; put a small amount of
silicone oil (part number M-00420) on the ribbed contact and smear it out properly.
b. Hand-tighten the ring nut.
c. Tighten the grub screw.
Figure 4-20. Connect the ribbed contact of the high voltage cable to the rear of the x-ray high-voltage
controller unit.
High voltage is potentially lethal
All sub-assembly units must be properly grounded and all cables must be securely attached before turning
on the MetalJet D2+ source.
Ensure that all interlocks are connected before energizing the MetalJet D2+ source.
Do not disconnect or bypass any interlocks.