Room Scheduling System • Room Agent Installation and Configuration 27
3
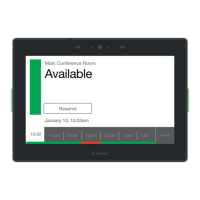
Reserve: drop-down list (see figure 21 on the previous page)—
Use this drop-down list to select whether the Reserve button
appears on the panel and how it functions. The Reserve button
allows user to book the room locally, on the panel itself. Anytime
allows you to reserve any half-hour segment displayed on the
panel.
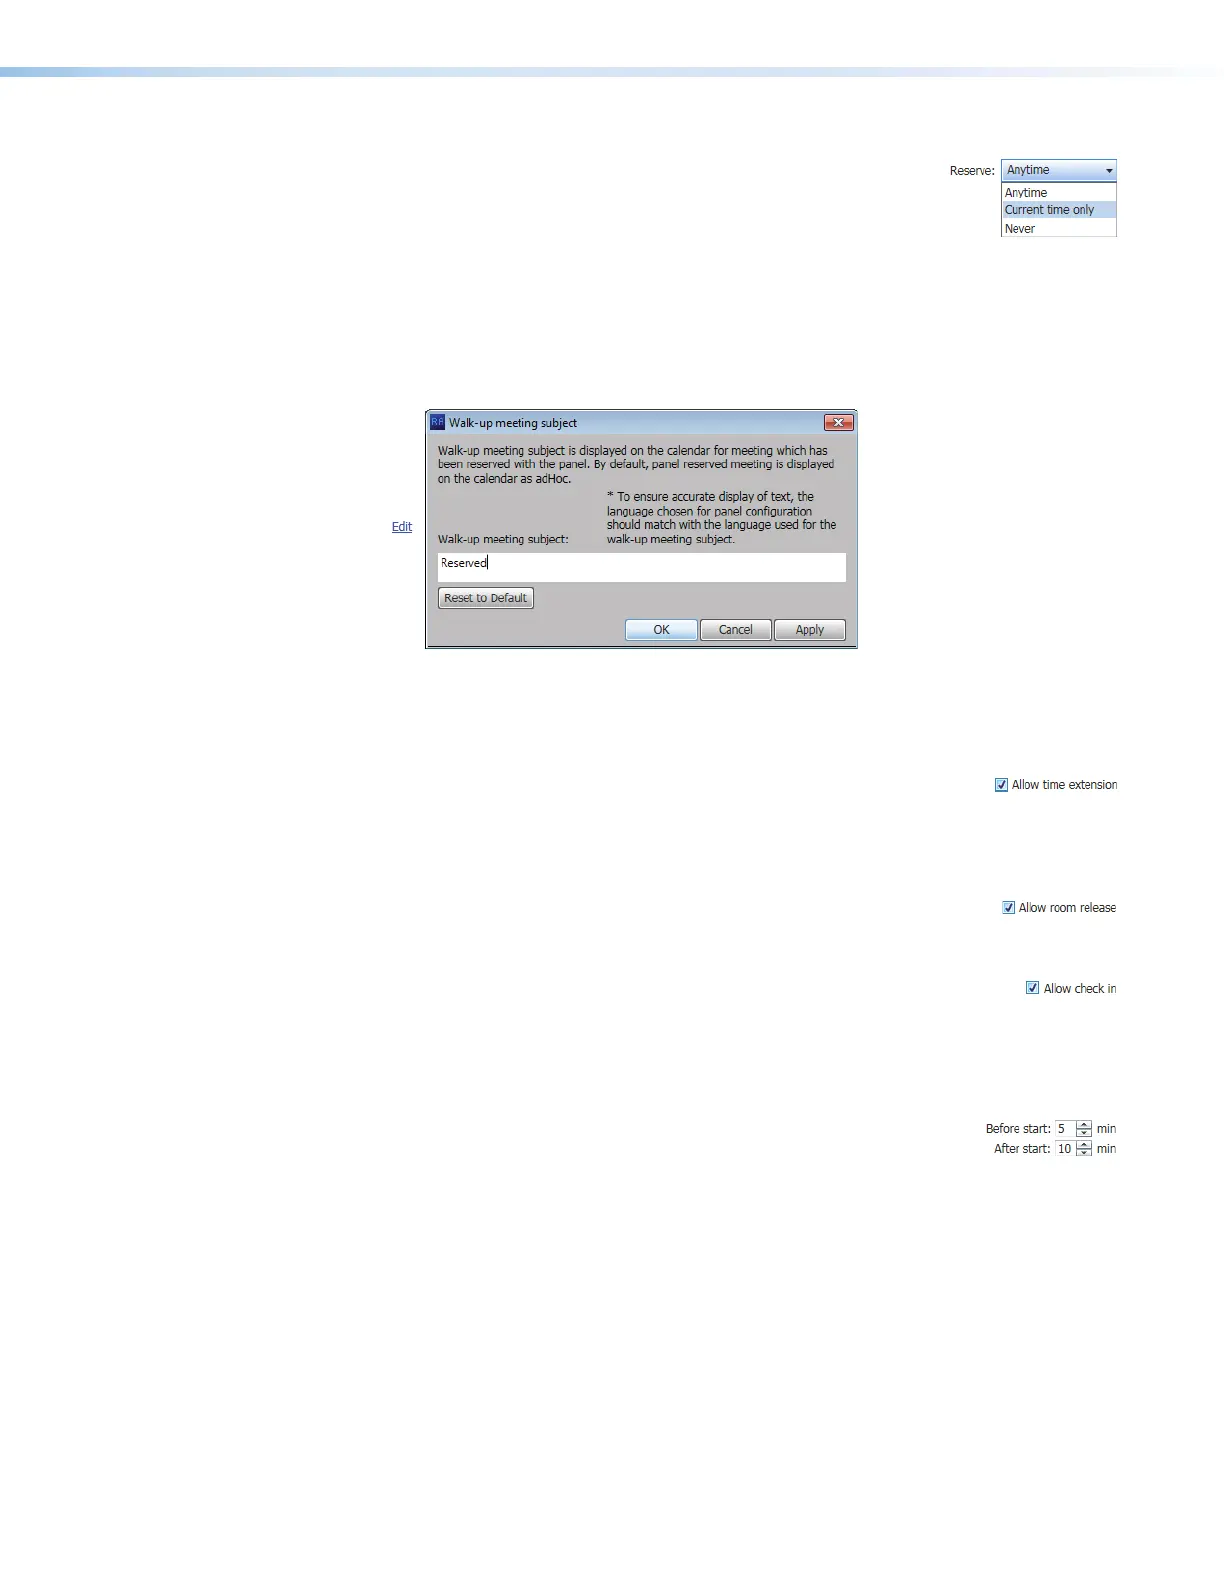
Subject field — This field shows the meeting subject displayed on the panel when
a room is reserved from the panel. adHoc is the default subject. Change the meeting
subject as follows:
1. Click the Edit link (see figure 49,
1
).
1111111111
1111
3333333333
3333
2222222222
2222
Figure 22. Walk-up Meeting Subject Dialog Box
2. Type the new subject name in the Walk-up meeting subject: field (
2
).
3. Click OK (
3
).
3
Allow time extension checkbox (see figure 21, ) — Check and
uncheck this box to select whether the Extend until button appears
on the panel. Extend until extends the reservation of a room in half-hour increments
IF no previously scheduled reservation exists in the extension period. The Extend
until button does not appear if there is a conflict.
4
Allow room release checkbox — Check and uncheck this box to
select whether the Release button appears on the panel. Release
frees up a room, for example if the meeting ends early.
5
Allow check in checkbox — Check and uncheck this box to select
whether the Check in button appears on the panel for a scheduled
meeting. Check in disappears from a panel once it is pressed.
If checked, additional controls appear on the panel to control how the Check in button
functions.
Before start and After start fields — Use the scroll buttons or
type a value into these fields to define how long the Check in button
appears.
• Before start: controls how many minutes the Check in button displays before
the scheduled start of a meeting.
• After start: controls how many minutes the Check in button appears after the
scheduled start of the meeting.