2-7VTG 400/400D • Installation and Operation
If the Frequency buttons are held down for more than one second, the VTG
automatically advances through the frequency adjustment in the direction
indicated by the button.
4
Power — Power up or power down the VTG by holding down the Power
button for one second.
5
Menu — Press this button to enter the main menus and to move from menu
to menu.
6
Quick Select — Press these buttons to save and recall up to four user-
defined presets of current audio settings, video settings, or all settings. See
Quick select buttons later in this chapter.
7
Scope Trigger adjustment — Press the cursor buttons to position the
oscillosope’s trigger point, press the Shape button to toggle between a
crosshair or single pixel on-screen cursor, and press the Hide button to
make the cursor visible or invisible. See Scope trigger buttons in this chapter.
8
Next — Press this button to enter a specific submenu of a selected main
menu.
9
Video test pattern (Test Pattern) — Press the or button to select from
among 28 different test patterns. See Selecting a Video Test Pattern later in
this chapter.
10
Video output range (Range) — Pressing this button will display the video
output range menu. See Video output range menu later in this chapter.
11
Video output rate (Rate) — Press the or button to select from among
98 different output rates. See Video output range and rate buttons in this
chapter.
If the Rate buttons are held down for more than one second, the VTG
automatically advances through the video output rate adjustment in the
direction indicated by the button.
12
Select video settings (Select) — Press this button to accept the specified
video settings for the signal range (
10
) and output rate (
11
).
13
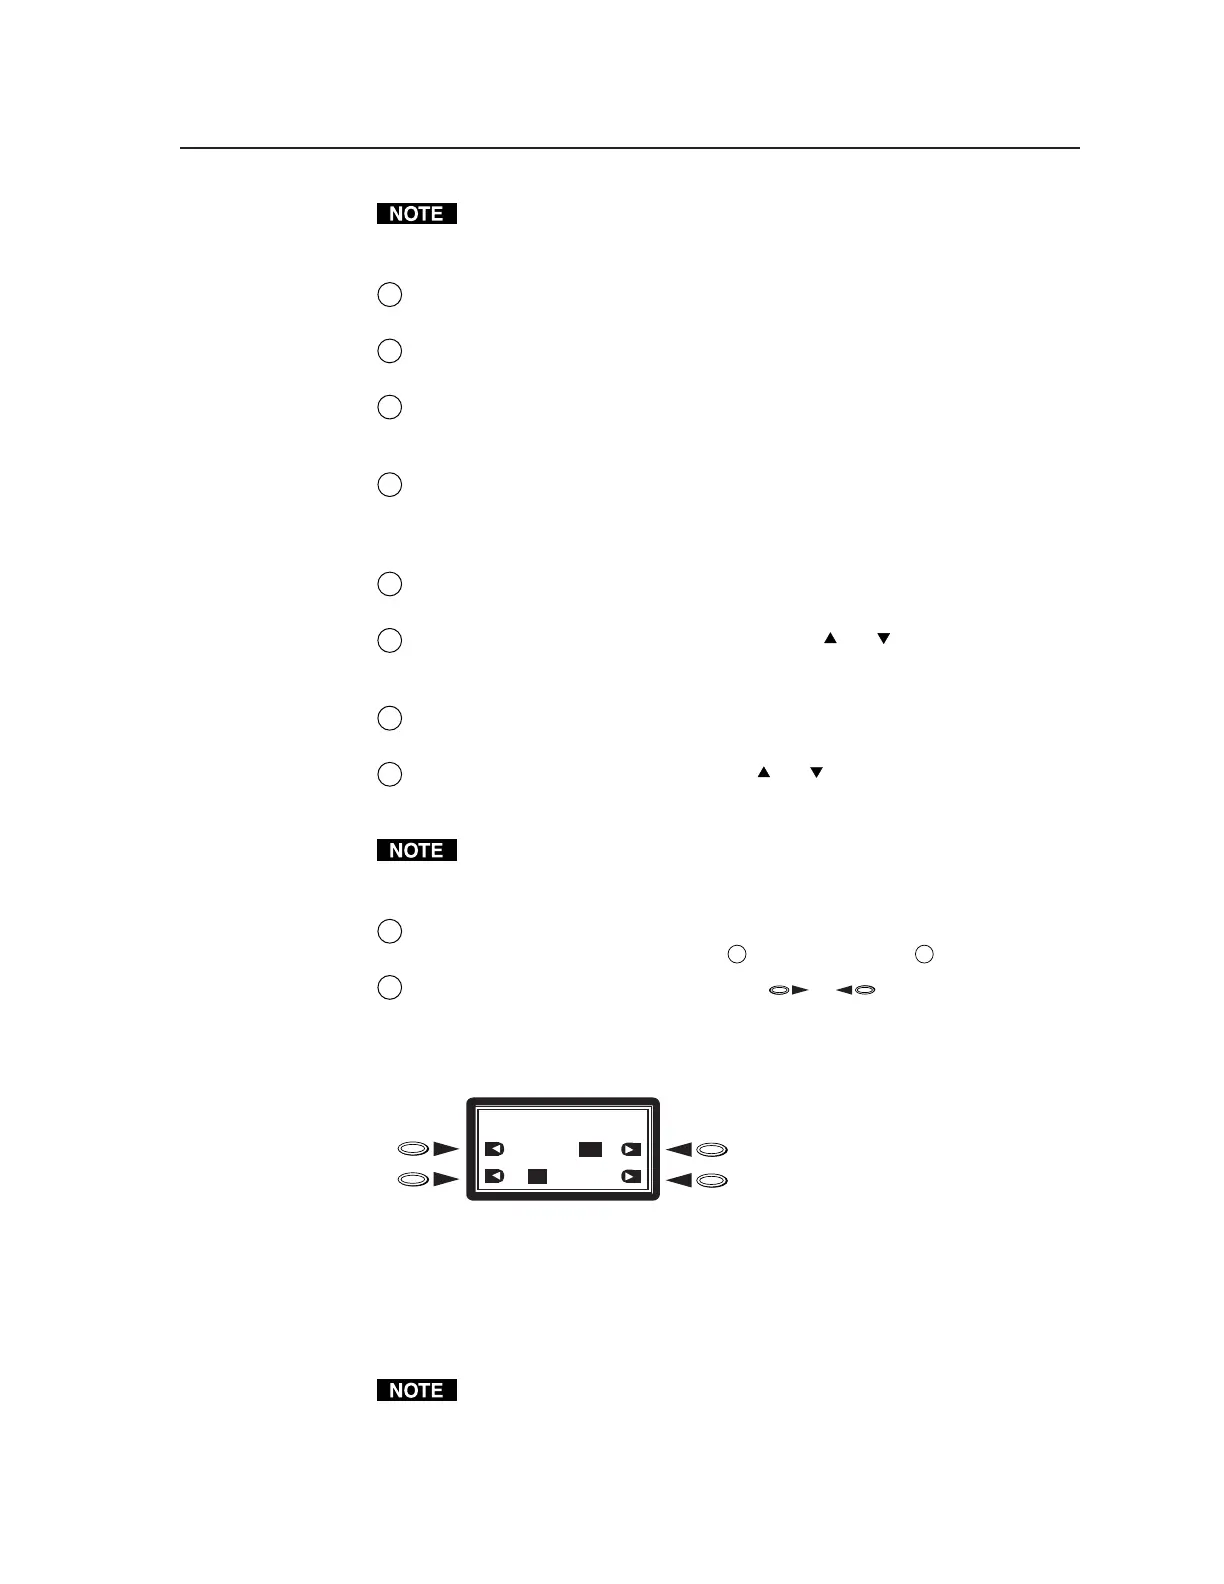
LCD display and four arrow selection ( , ) buttons — View this
five-row liquid crystal display to read the VTG status, menus, and options.
Use the four arrow selection buttons on either side of the LCD to select
function option icons, as shown in the example below.
Press arrow selection buttons adjacent
to the function option icons. See the
table of Function Option Icons on the
right.
AUDIO SETUP: <5 of 5>
Audio Mute:
ON
Square Wave Auto Attenuate
ON
OFF
OFF
Each arrow selection button is assigned to the adjacent function on the LCD
display. The following table identifies the different function option icons.
The VTG’s backlight times out after 10 seconds of button inactivity.
Pressing any button except the power button turns the backlight back on.
Tel. 07131 911201
Fax 07131 911203