830
Users Manual
16
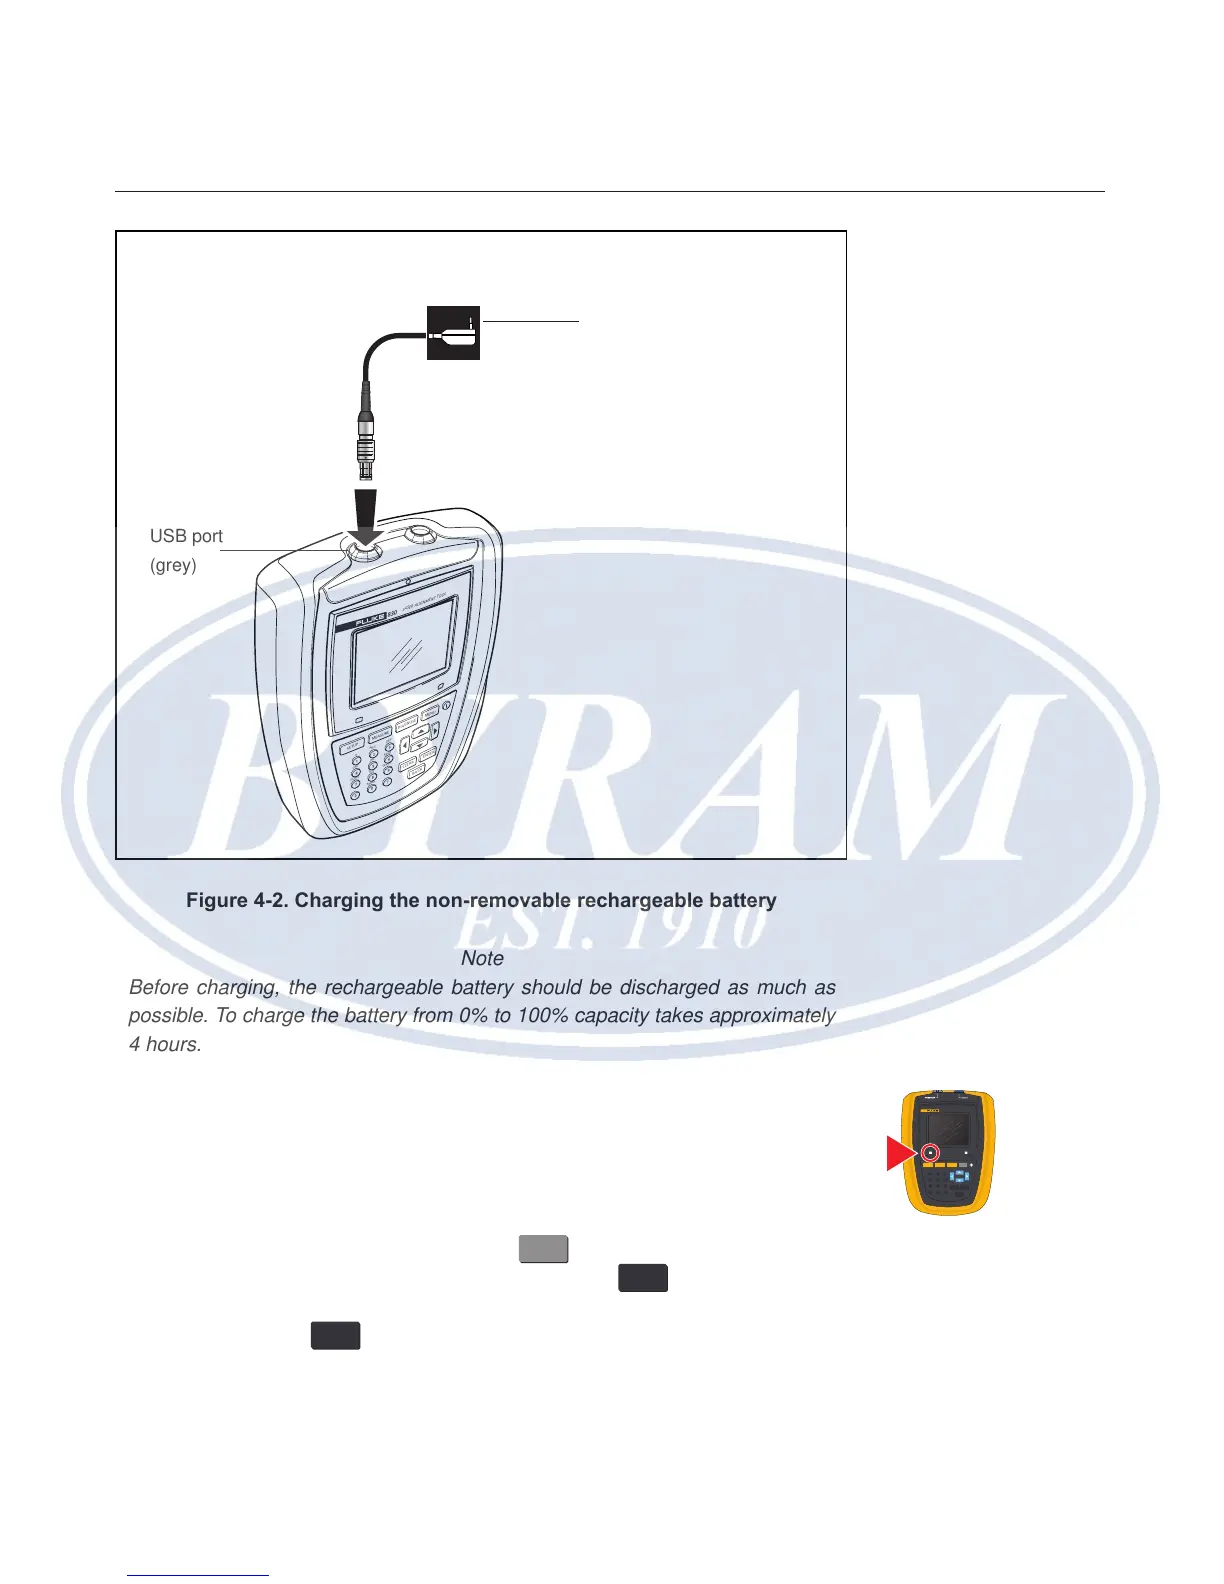
Figure 4-2. Charging the non-removable rechargeable battery
Note
Before charging, the rechargeable battery should be discharged as much as
possible. To charge the battery from 0% to 100% capacity takes approximately
4 hours.
The battery LED indicates the charging status of the battery. The LED ashes
green at initialization and during the charging process. A constantly lit green LED
denotes that the battery is fully charged.
The charge level of the battery is displayed under the menu item ‘Device
settings’. With system switched on, pressing
MENU
, then using the navigation
keys to highlight ‘Cong’. Conrm selection by pressing
ENTER
and from the
conguration menu use the navigation keys to highlight ‘Device setting’. Conrm
selection by pressing
ENTER
. The device settings are displayed.
SETUP
MEASURE
DIAGNOSE
MENU
CLEAR
ENTER
BACK
1
2
ABC
3
DEF
4
GHI
5
JKL
6
MNO
7
PQRS
8
TUV
9
WXYZ
+
-
0
space
.
/
.
830
LASER AL IGNMENT T OOL
Charger/adapter is
connected to the Product
via the USB port.
USB port
(grey)
830
LASER ALIGNMENT TOOL
SETUP MEASURE
DIAGNOSE MENU
CLEARENTER
BACK
1
2
ABC
3
DEF
4
GHI
5
JKL
6
MNO
7
PQRS
8
TUV
9
WXYZ
+
-
0
space
.
/
.