Franke Kaffeemaschinen AG
TD-100041 A.doc 7 / 15
4. Anschlüsse / Connections / Raccordements
Elektroanschluss mittels vorhandenem Anschlusskabel an Steckdose 230 Volt / 10 Ampère
Establish the electrical connection to a 230 or 115 volt / 10 amp socket by means of the supplied connector
cable. Check the voltage on the power rating plate in the cooling compartment.
UL: A 125V single phase, 15 or 20A receptacle intended for general use shall have ground-fault circuit-
interrupter (GFCI) protection for personnel. The GFCI shall comply with the Standard for Ground-Fault
Circuit-Interrupters, UL943.
Class 2 circuit for connection to coffee maker models Evolution / Sinfonia Manufactured by Franke
Kaffeemaschinen AG.
Procéder au raccordement électrique au moyen du câble joint à la livraison sur une prise 230 volts / 10
ampères.
UL: Une seule phase 125V, 15 ou 20A prise destinée à l'utilisation générale doit avoir la protection d'erreur
de la terre d'interrupter du circuit (de GFCI) pour le personnel. Le GFCI doit se soumettre au Modèle des
Interrupters du Circuit, UL943 D'erreur du Ground.
Circuit de la classe 2 pour la connexion avec les machines à café, modèles Evolution / Sinfonia
fabriqués par Franke Kaffeemaschinen AG.
5. Inbetriebnahme / Placing in operation / Mise en service
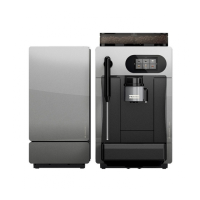
Wenn die Kühleinheit das erste Mal in Betrieb genommen wird, muss diese zuerst gründlich gereinigt
werden. Nach der Reinigung kann der Milchbehälter im Kühlraum mit max. 6l frischer Milch gefüllt werden.
a) Den Ansaugschlauch durch den Behälter-Deckel führen und in die Milch eintauchen. Stellen Sie
sicher, dass der Ansaugschlauch nicht genickt ist und der Behälter-Deckel richtig aufgesetzt ist.
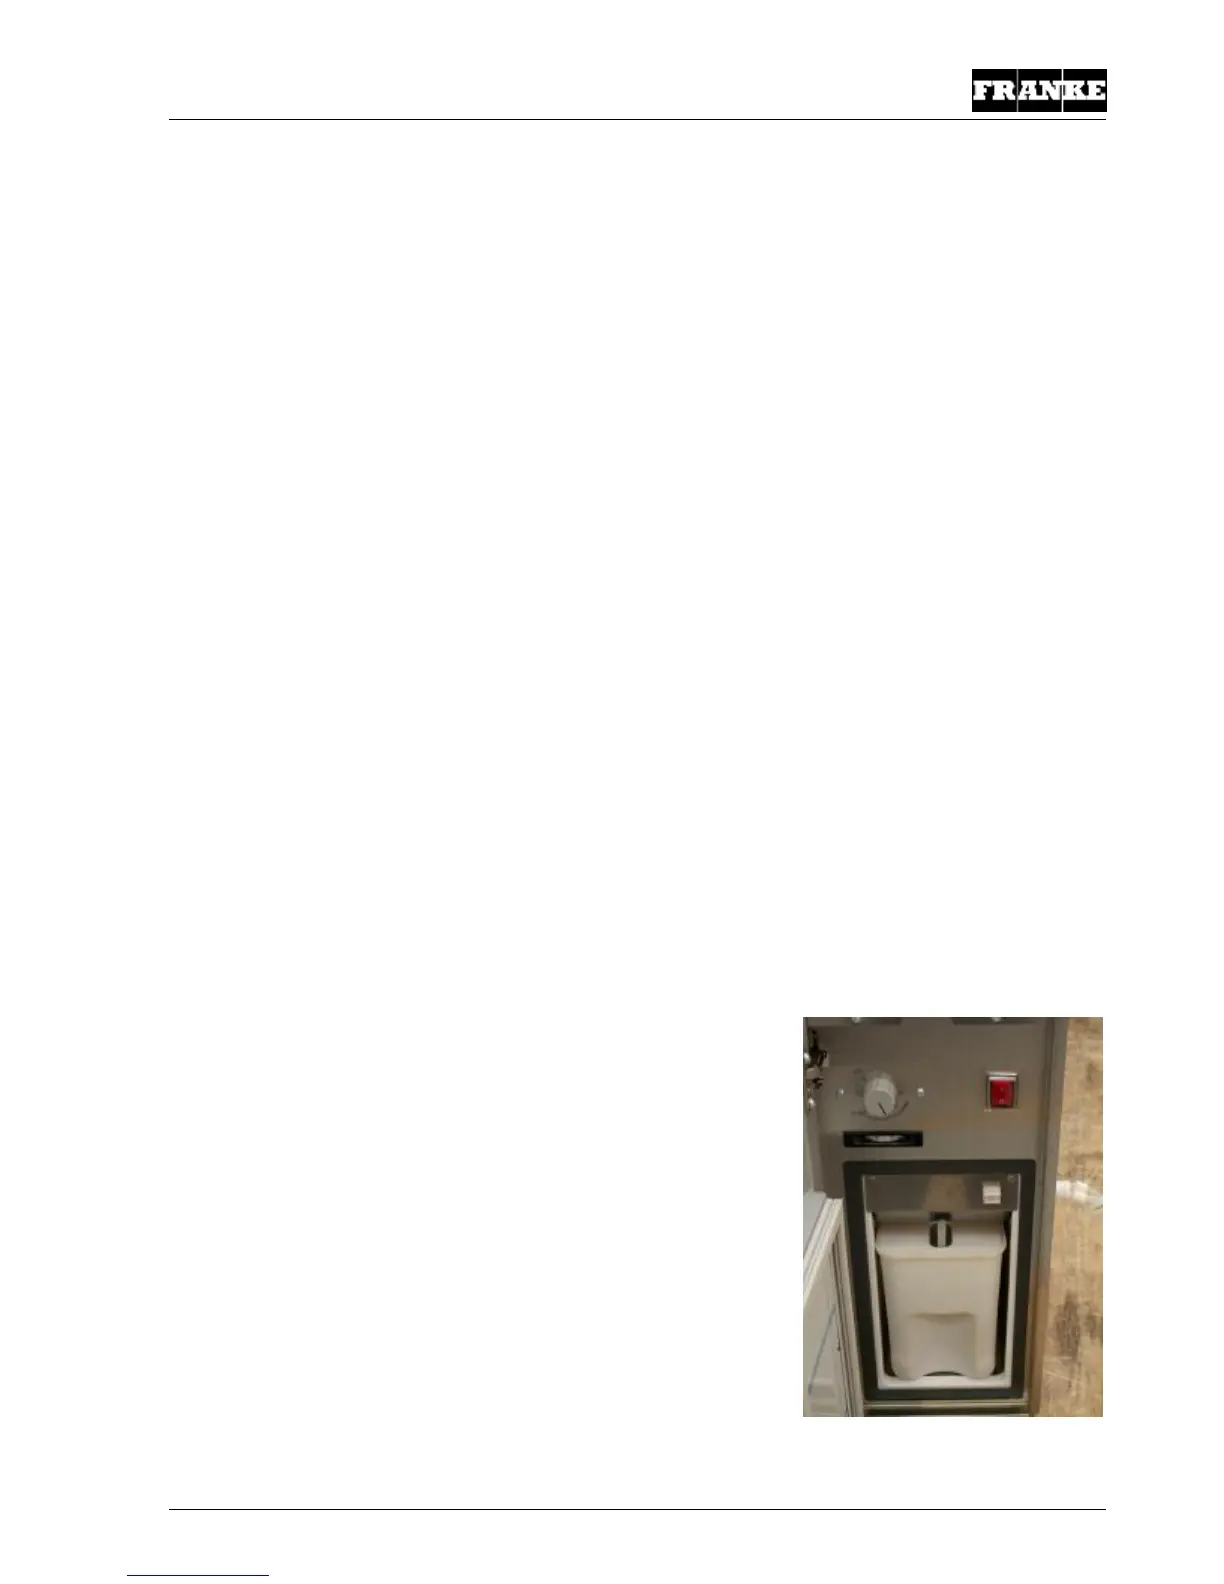
b) Die Kühleinheit am Stromnetz mittels mitgeliefertem Netzkabel anschliessen
c) Kühleinheit mit dem Netzschalter einschalten und gewünschte Temperatur mittels
Thermostatenregler einstellen.
Mittels dem eingebauten Thermostat können Sie die Temperatur-
Einstellung vornehmen
(optimal 5°C / 41°F). Einstellung in kleinen Schritten vornehmen!
The cooling unit must be thoroughly cleaned before being placed in
operation for the first time. After cleaning, the milk container in the
cooling compartment can be filled with a max. 6l of fresh milk.
a) Pass the suction hose through the container cover and
immerse the end in the milk. Make sure that the suction hose
is not kinked and that the container cover is correctly fitted.
b) Connect the cooling unit to the mains current supply with the
cable supplied.
c) Switch on the cooling unit with the mains switch and set the
desired temperature using the thermostat controller.
A monitoring indication for the internal temperature is provided by an
integrated thermometer (ideal 5°C / 41°F). Adjustment in small steps!