59
DE
Datamanager Card einbauen:
Neue Datamanager Card einsetzen
und am Print Recerbo anstecken
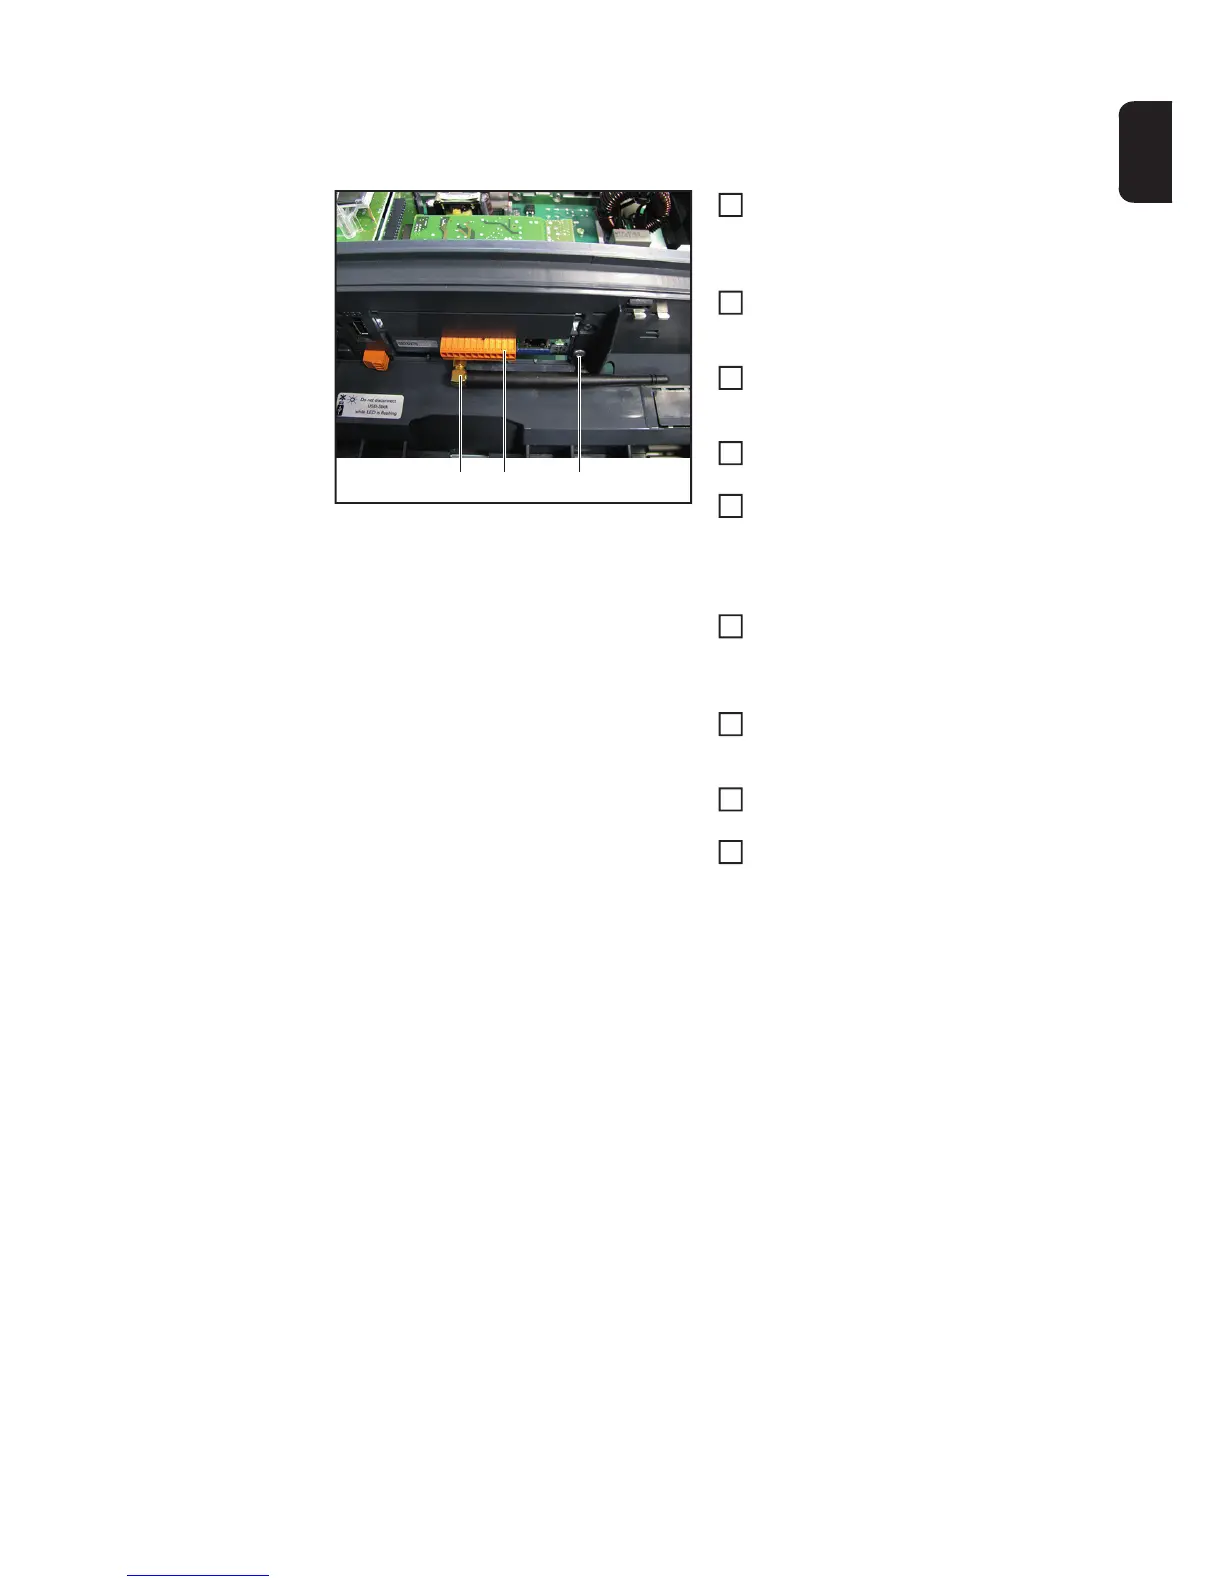
Datamanager Card:
Print Datamanager mit 1 Stk. Schrau-
be Taptite 4x8 TX20 (3) montieren
[1,2 Nm]
Antenne (2) mittels Gabelschlüssel
montieren
[0,6 Nm]
Steckverbinder 12pol (1) am Print Da-
tamanager montieren
Wechselrichter schließen und in die
Wandhalterung einsetzen (siehe Ab-
schnitt „Gerät öffnen und schließen“)
Datamanager Card 2:
Print Datamanager 2 mit 1 Stk.
Schraube Taptite 4x9 TX20 (3) montie-
ren
[1,2 Nm]
Antenne (2) mittels Gabelschlüssel
montieren
[0,6 Nm]
Steckverbinder 16pol (1) am Print Da-
tamanager 2 montieren
Wechselrichter schließen und in die
Wandhalterung einsetzen (siehe Ab-
schnitt „Gerät öffnen und schließen“)
(1)(2) (3)
1
2
3
4
5
2
3
4
5