151
EN
Replacing the
power board -
SymoPS DC
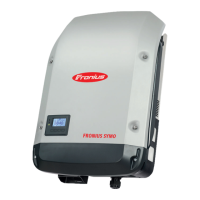
Removing the SymoPS DC:
Take the inverter out of the wall bra-
cket and open it (see "Opening and
closing the device" and necessary
„Replacing the Overvoltage PC board“
sections)
Disconnect all cables and plug connec-
tions (1) and thread them out
Undo the 13/15 4x9 TX20 screws (2)
Undo the four 4x9 TX20 screws (3) on
the solar modules
Insert the screwdriver into the "Remo-
ve Print" hole (4) and detach the Sym-
oPS DC from the heat sink in the
direction of the arrow
Remove the SymoPS DC
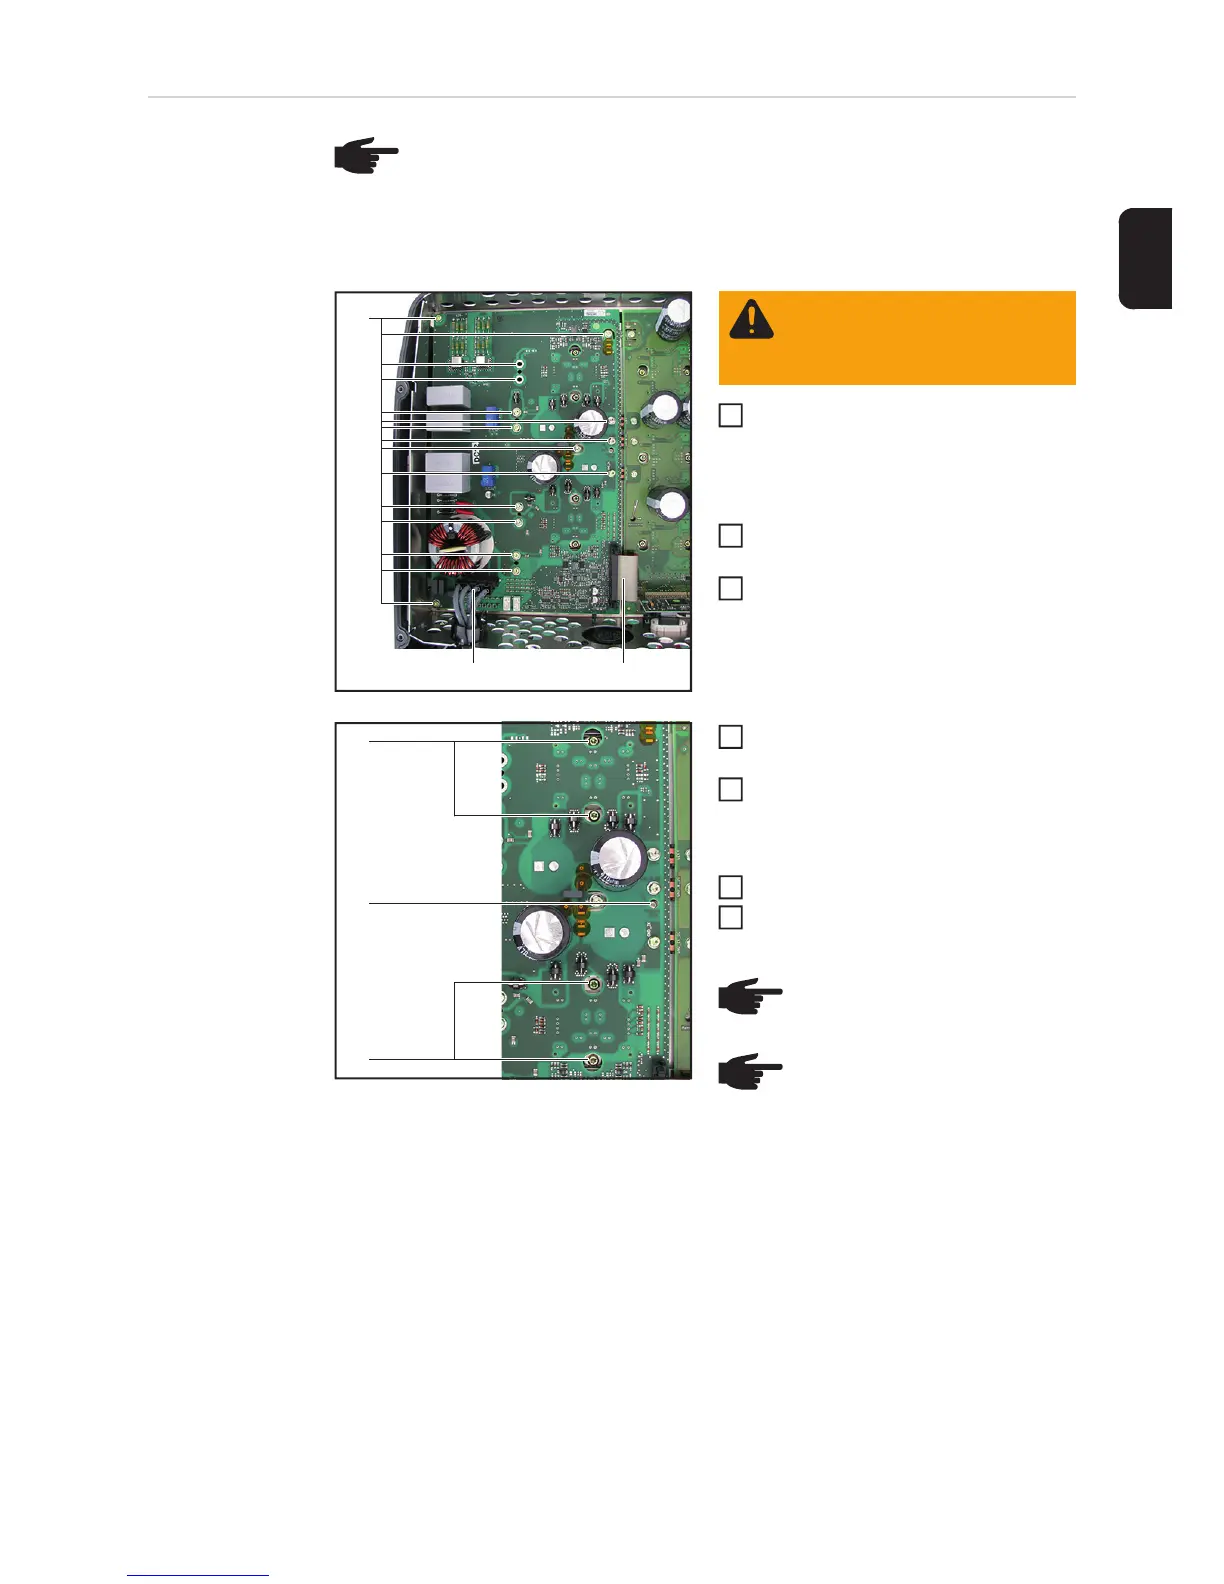
Remove any old PCM paste residues
from the heat sink using a clean cloth
Inserting the SymoPS DC:
NOTE! The SymoPS DC power board from version V1.4A_B already has an in-
tegrated overvoltage function. If the SymoPS DC replacement PC board is ver-
sion V1.4A_B or higher, any existing OVP SYMPRI overvoltage PC board must
be removed.
(2)
(1)(1)
WARNING! Observe the safety
rules (see the beginning of the
"Safety" section)
1
2
3
(3)
(3)
(4)
NOTE! Ensure you remove all
PCM paste residues
NOTE! If you are returning the
SymoPS DC, the solar modules
must also be cleaned with a clean
cloth.
- Take the PCM film from the small
parts kit
- Position it on the solar modules
and smooth it out
- Ensure that all the protective film
is removed!
4
5
6
7